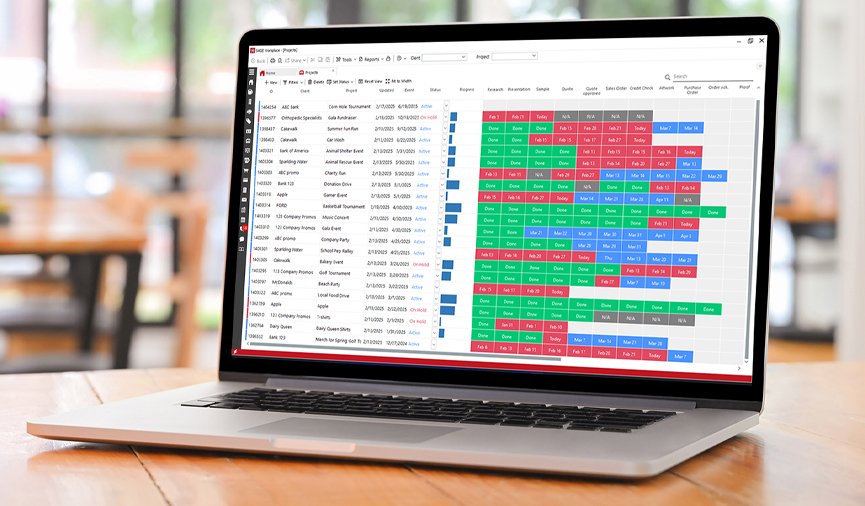
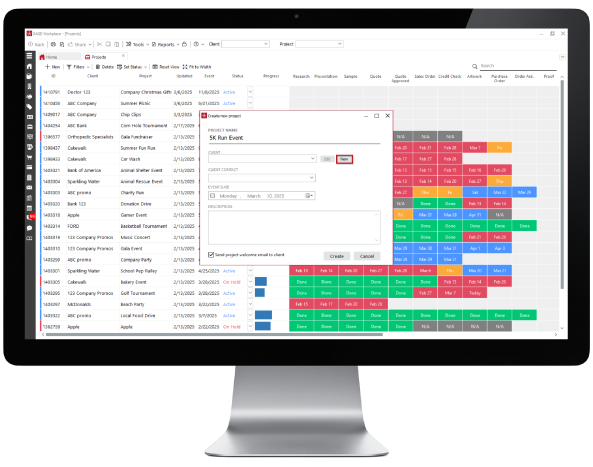
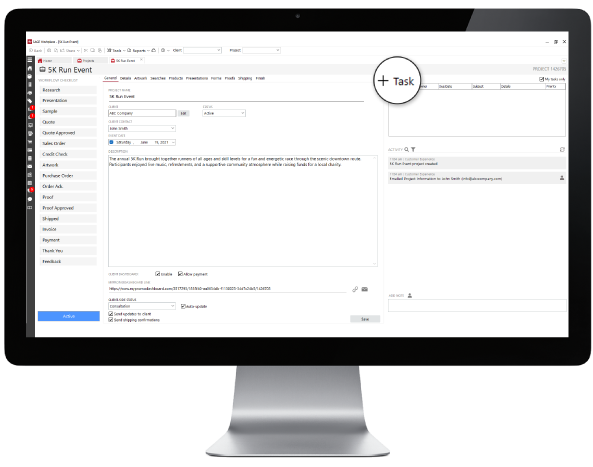
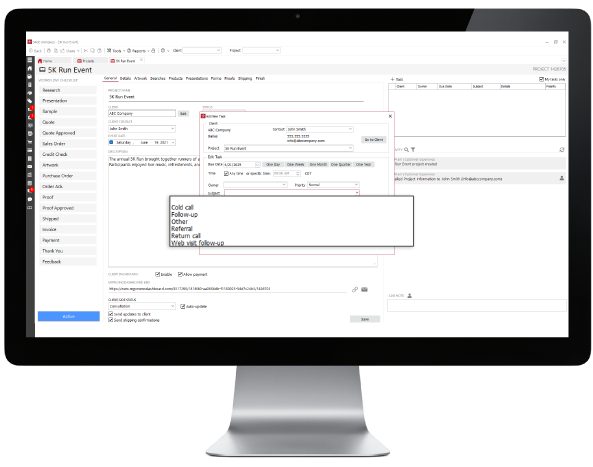
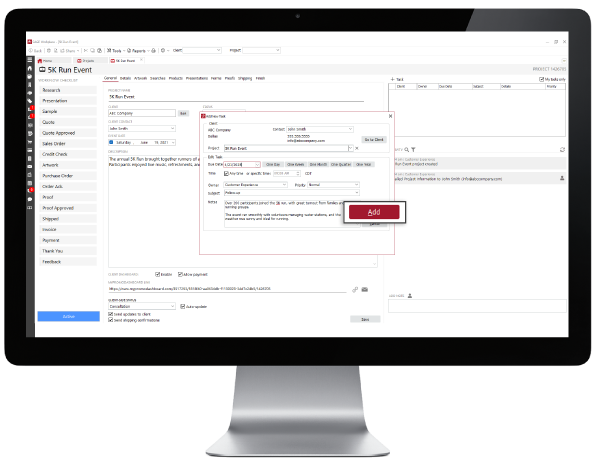
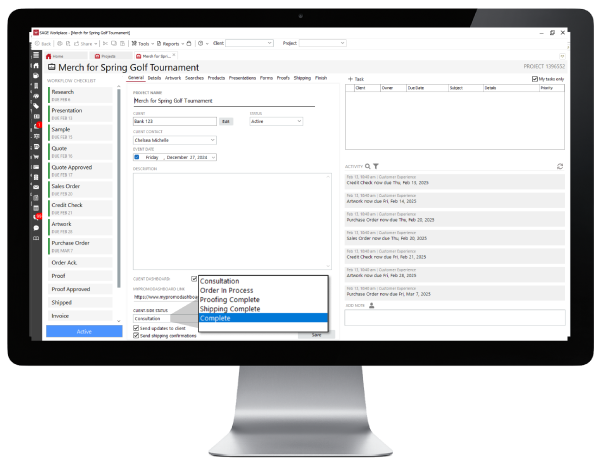
- You can create presentations, forms, and more all directly from the Project Management module.
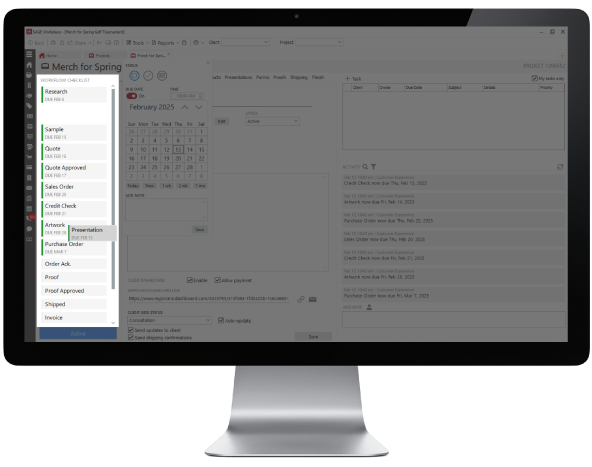
- Add artwork to your project by navigating to the Artwork tab. Click “Add Artwork” in the bottom-left corner of the page. Select your file, add a file name and any notes, then click “OK” to add the artwork.
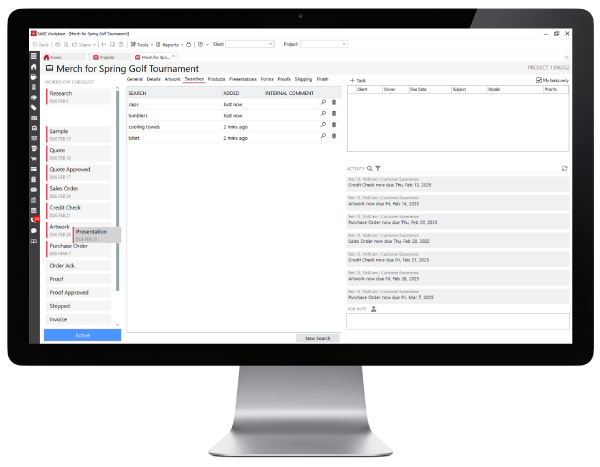
- Start a new product search for the project under the Searches tab by clicking New Search. This will open a new tab where you can perform your search as normal and it will automatically get saved to your project.
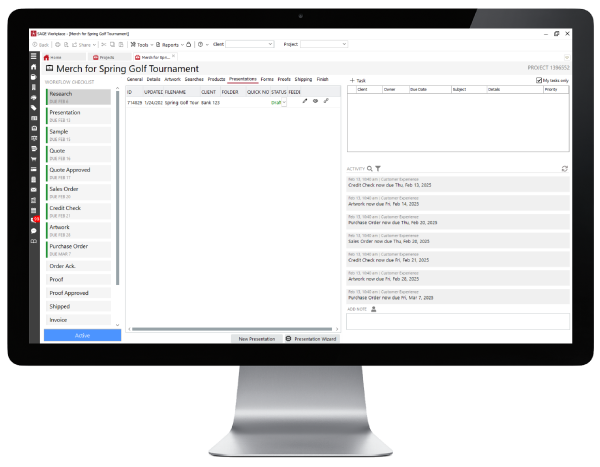
- To create a new presentation, click on the Presentations tab. Click “New Presentation” to start a new presentation that will be saved to this project automatically.
- The Forms tab holds all your Order Management forms for this project. Create a new order form by clicking “New Form” in the bottom right-hand corner of the page.
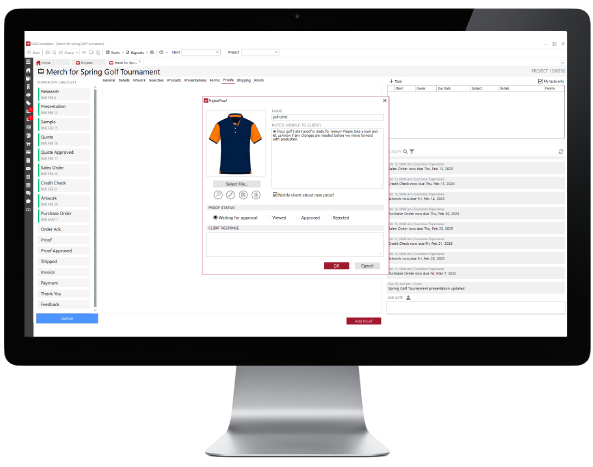
- On the Proofs tab, you can add a proof and send it to your client for approval or feedback. Click “Add Proof”, select your file, add a name and a note to your client, and click “OK” to add the proof and send to your client.
- Easily send a thank you note to your client under the Finish tab. Type your thank you note in the “Thank You Note Text” box, then click Send.