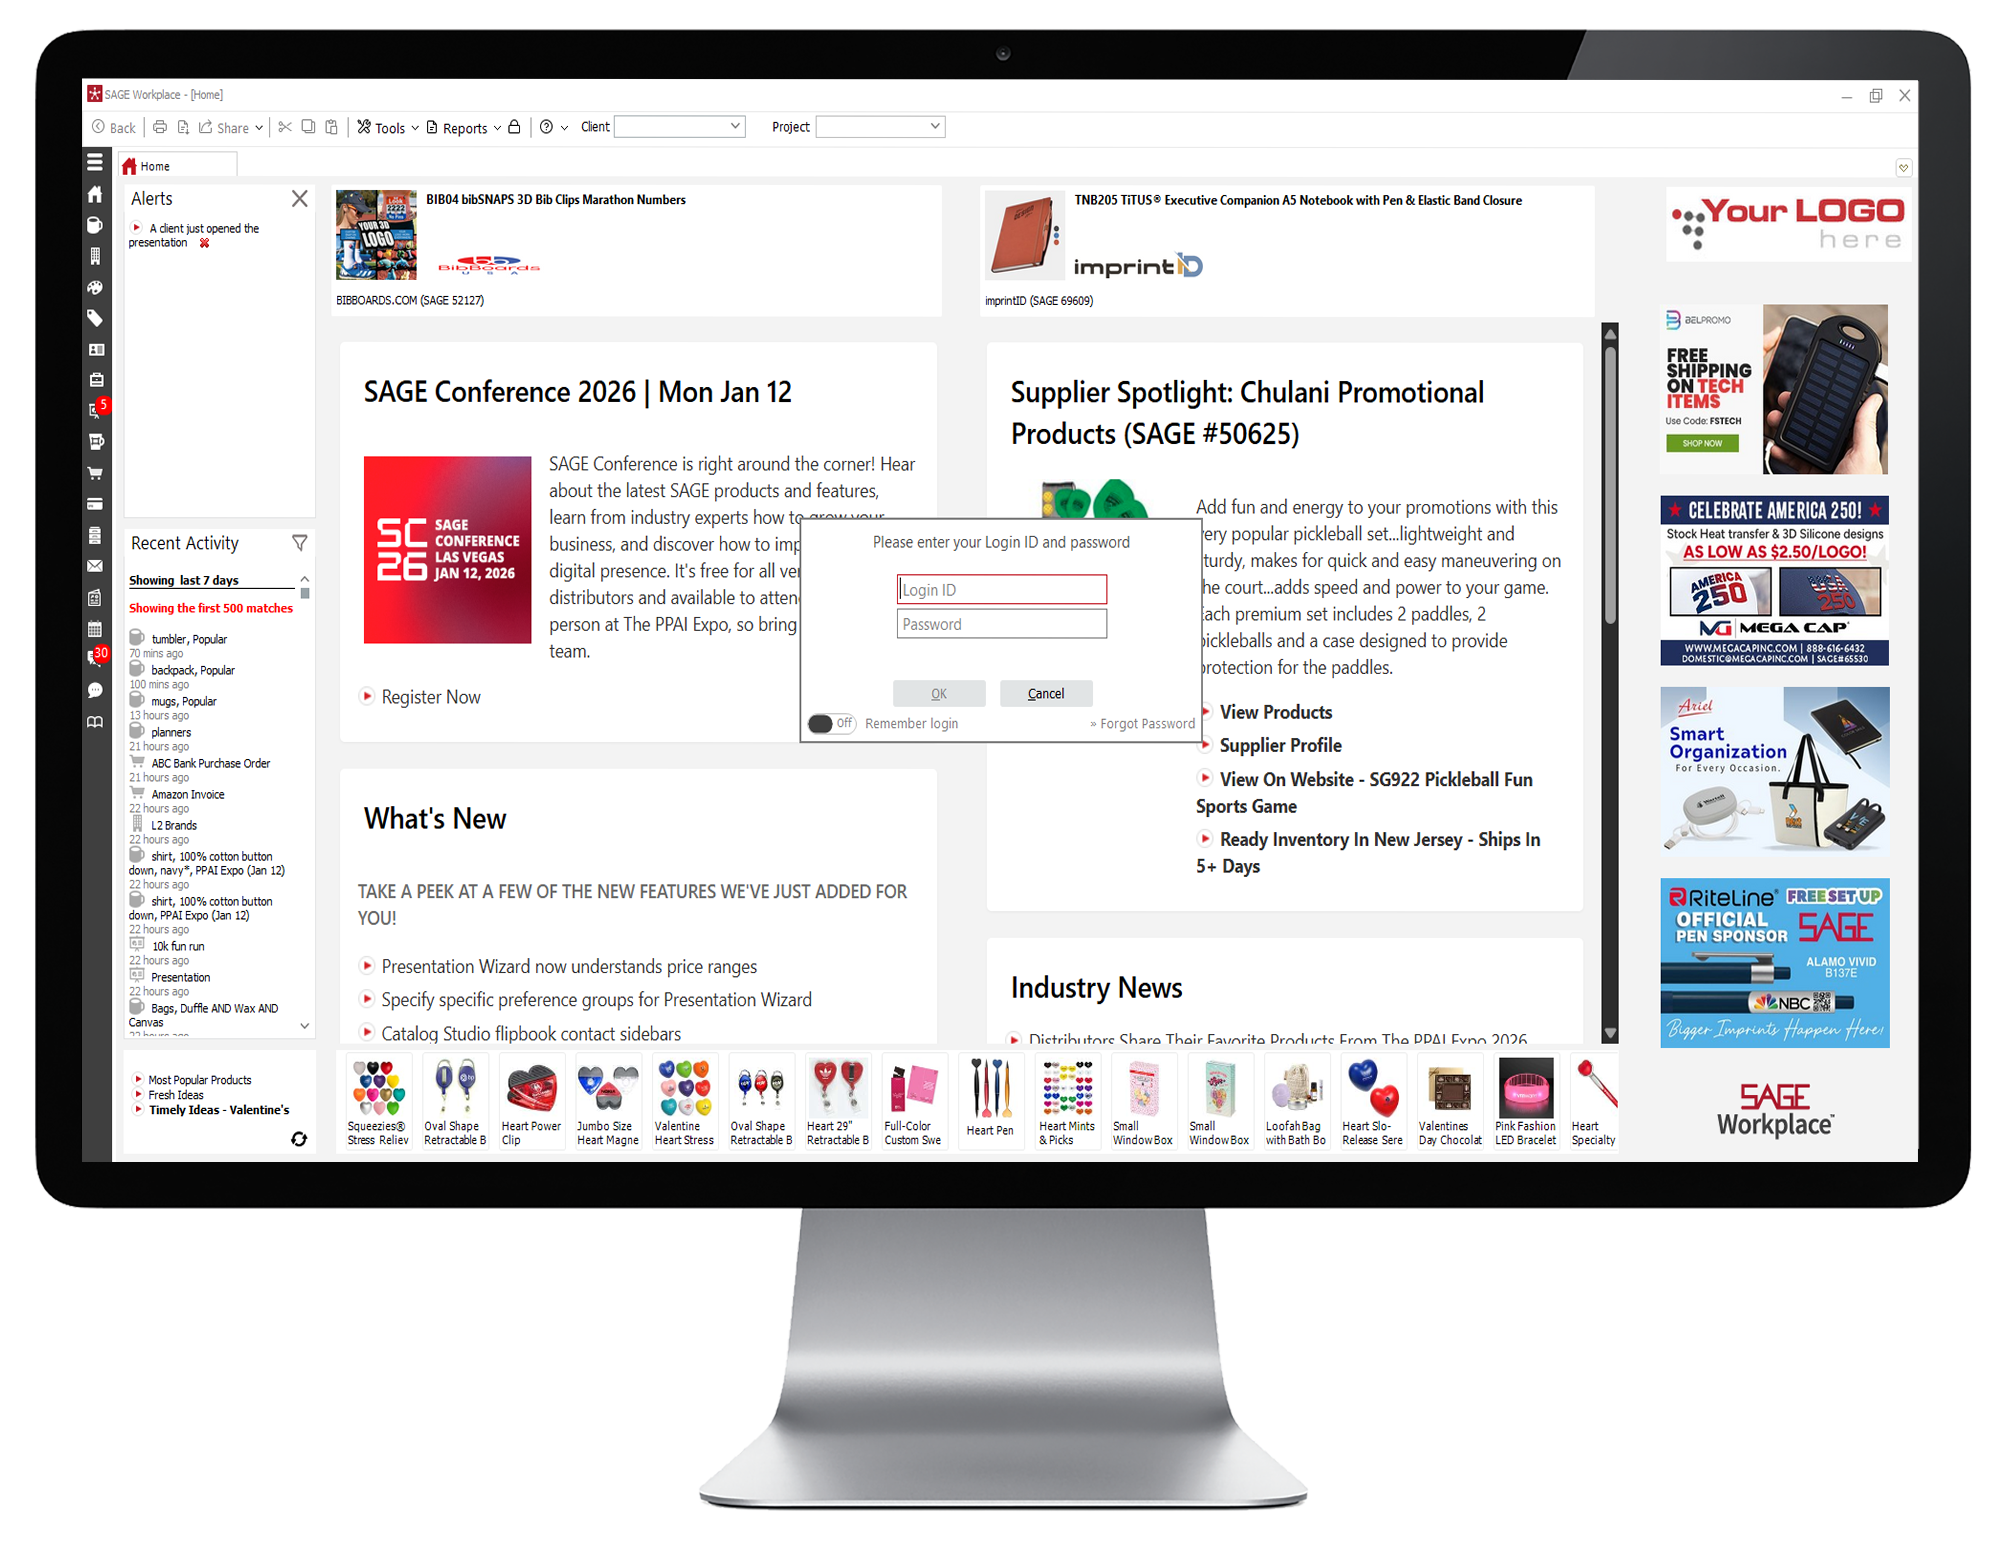
- Log into SAGE Workplace.
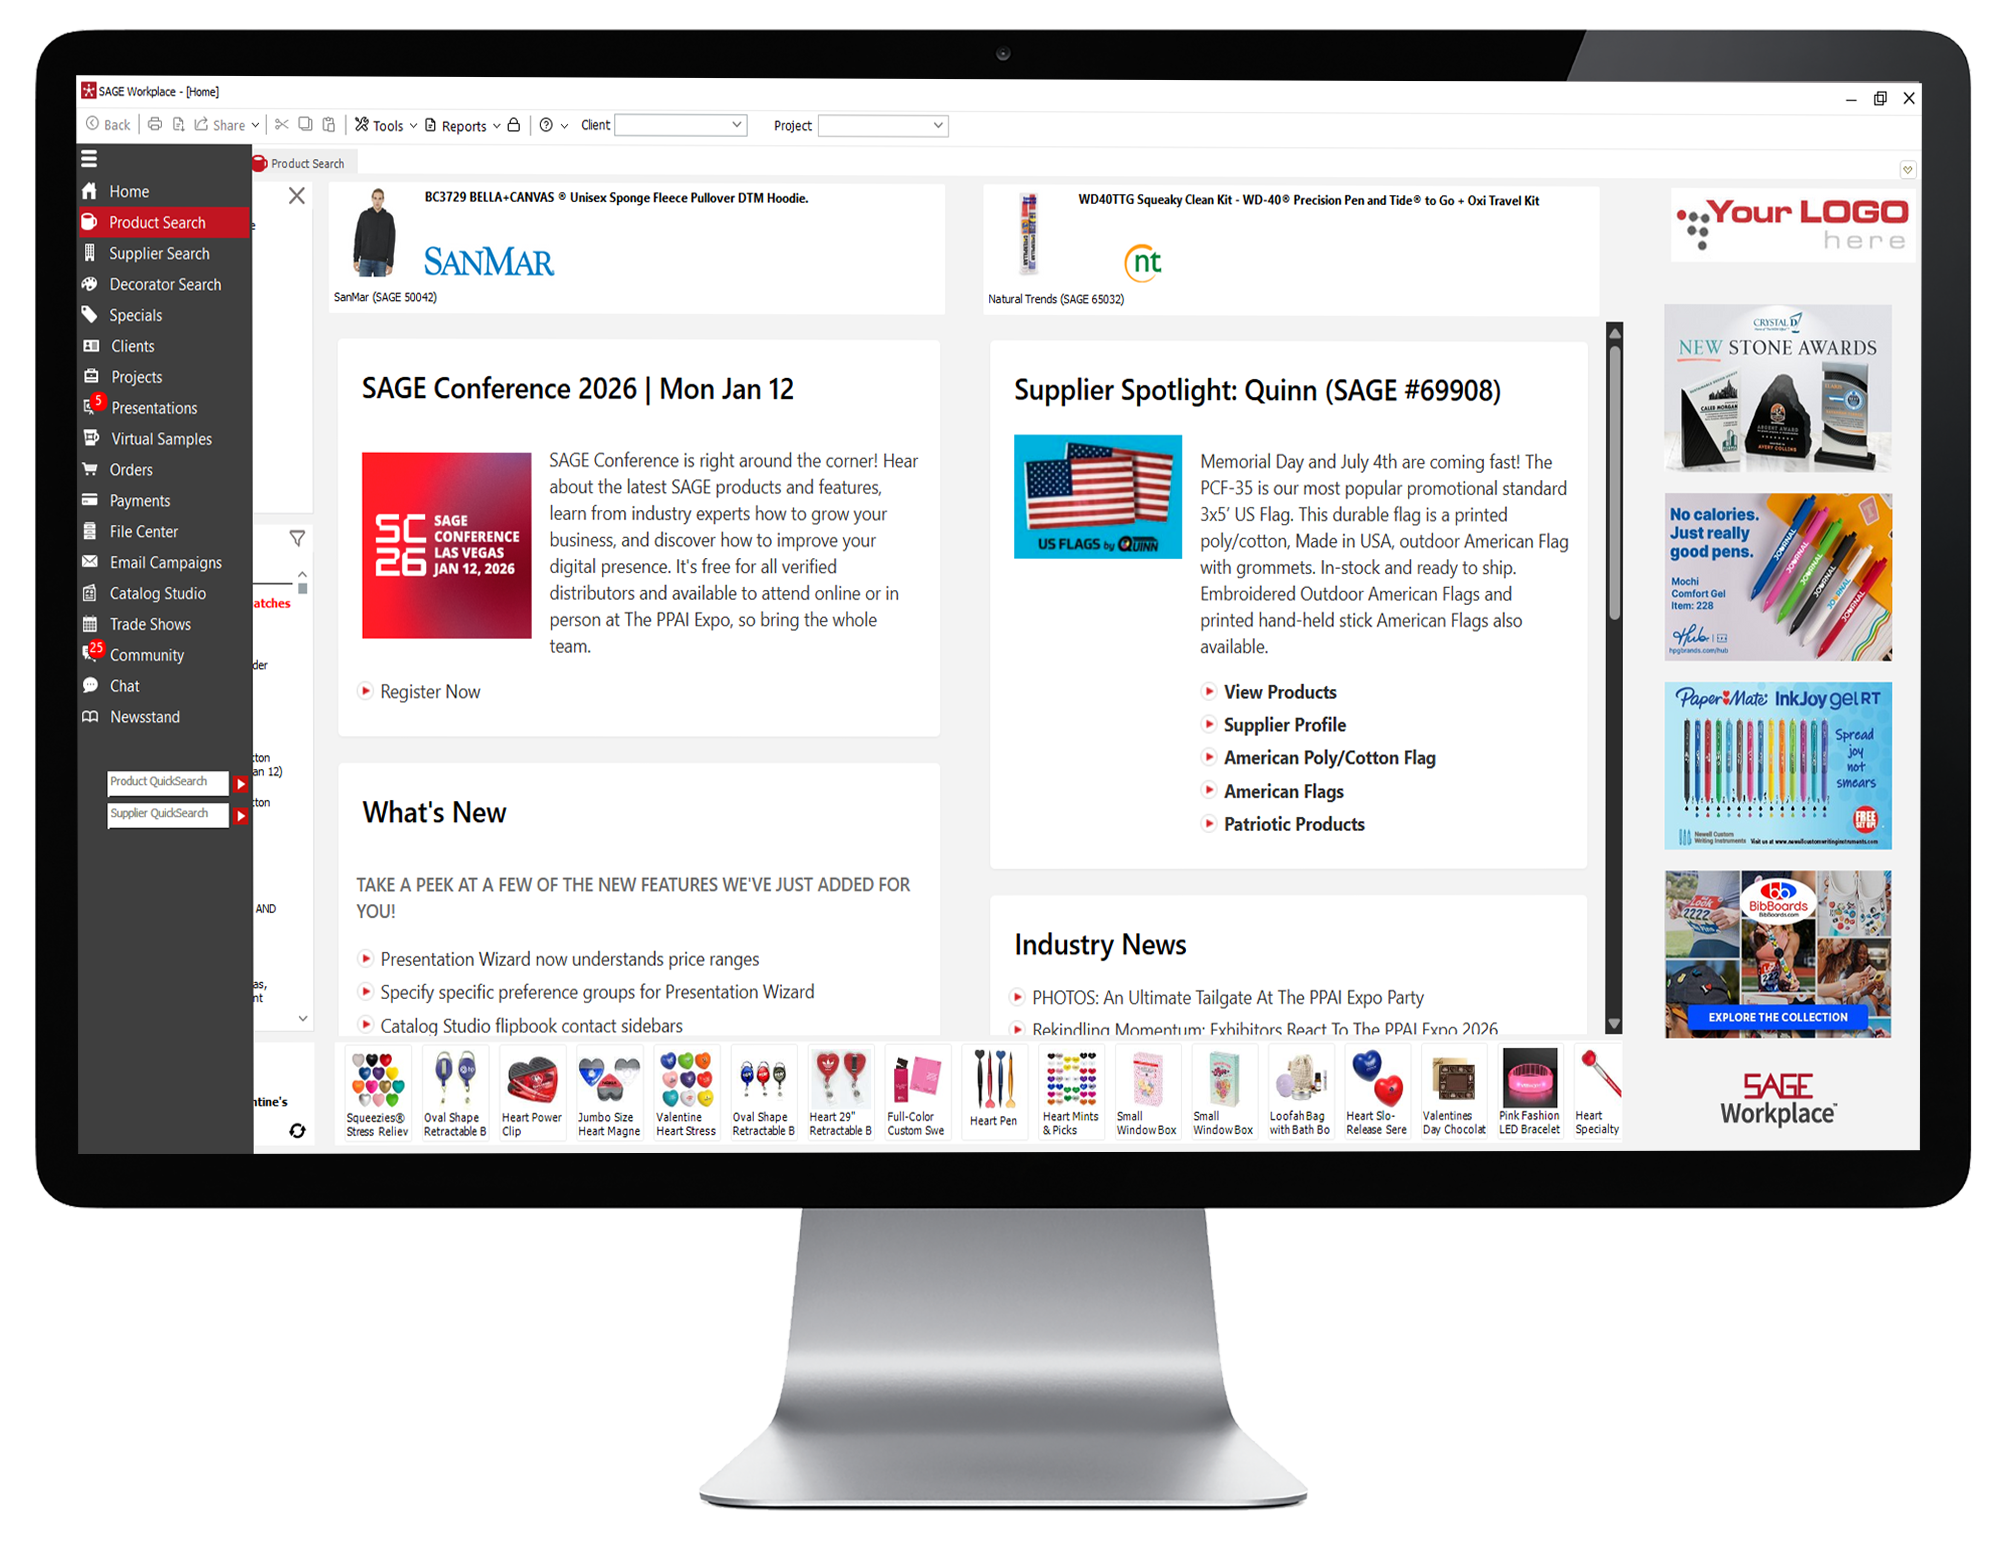
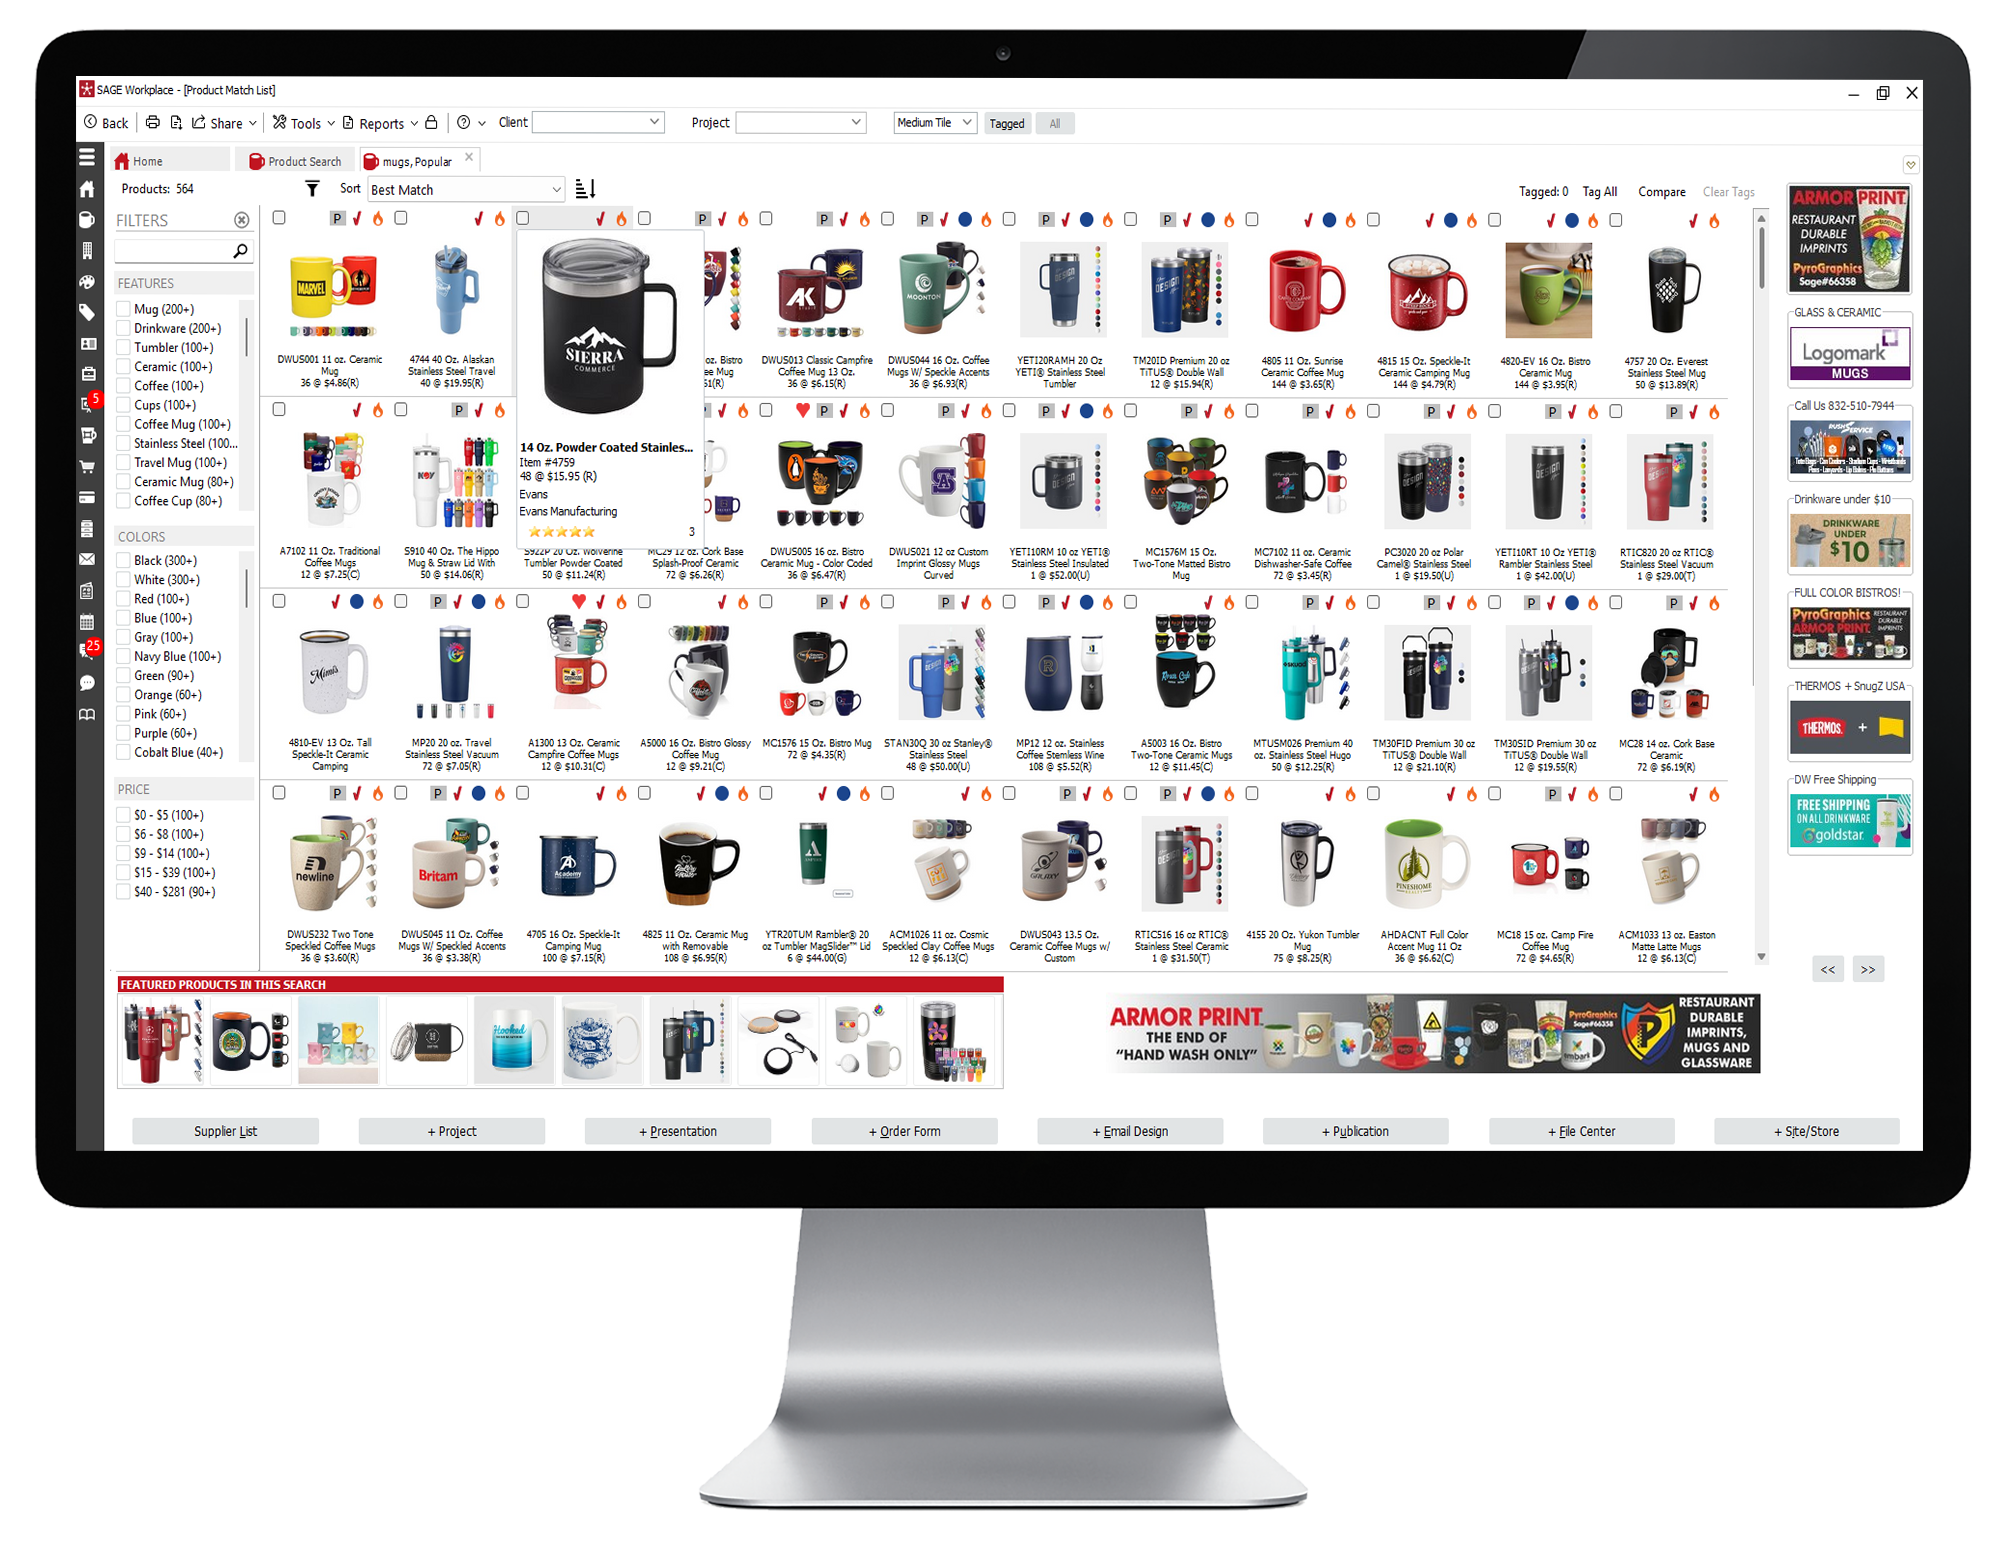
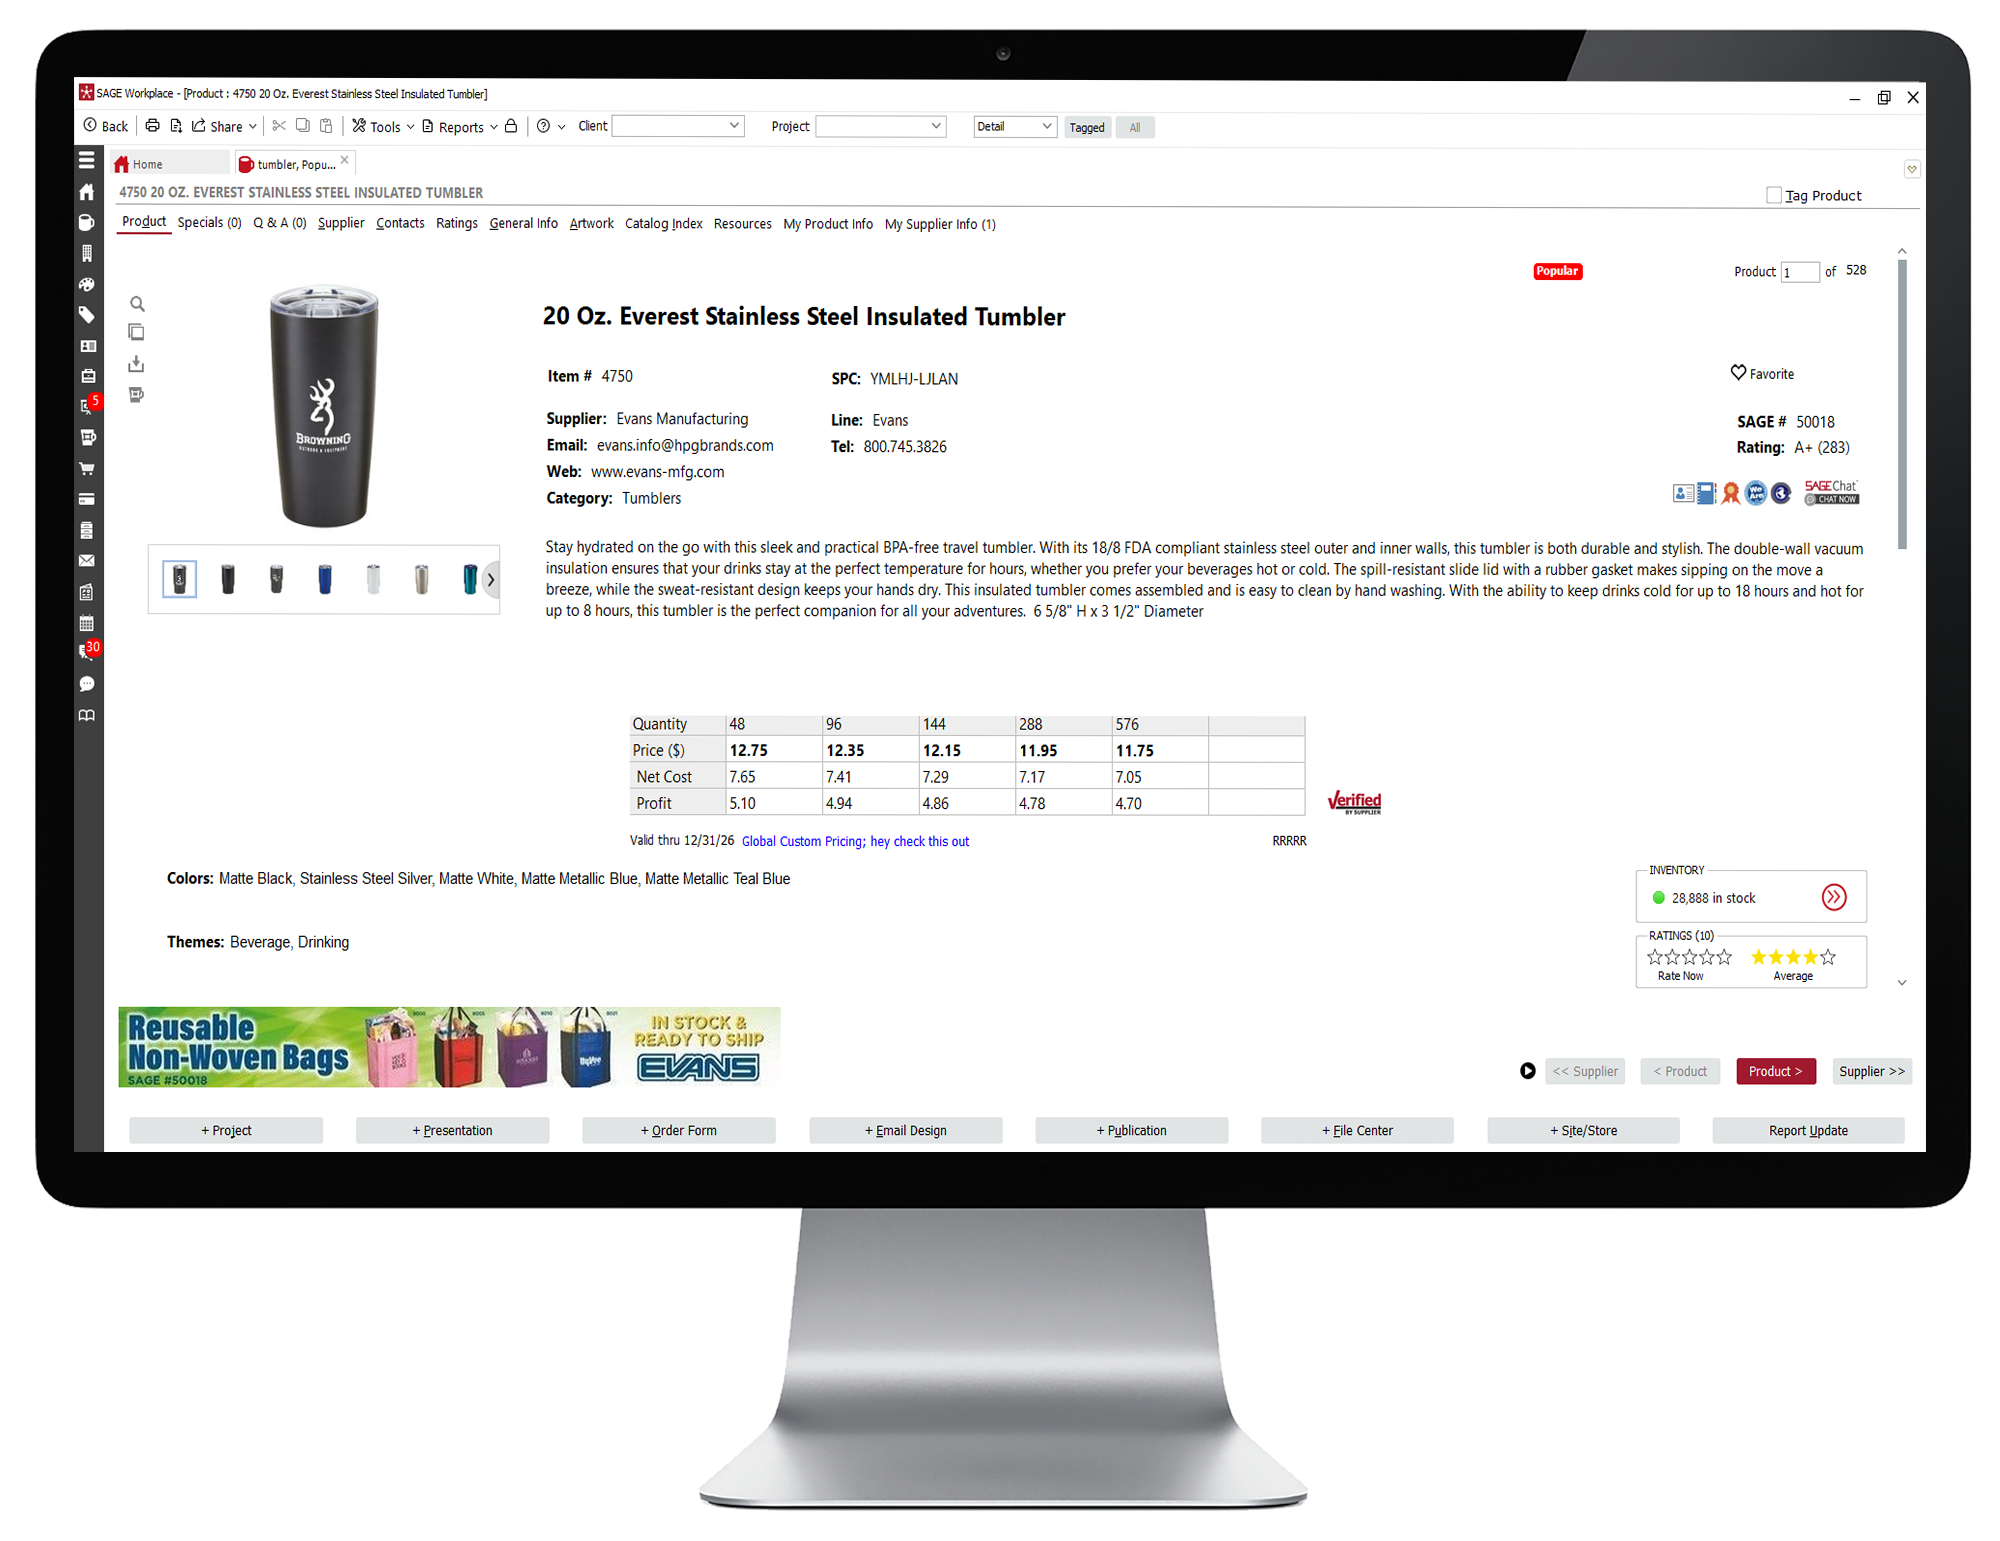
- Click on the Product Search in the left menu. Perform a product search and locate the product of your choice.
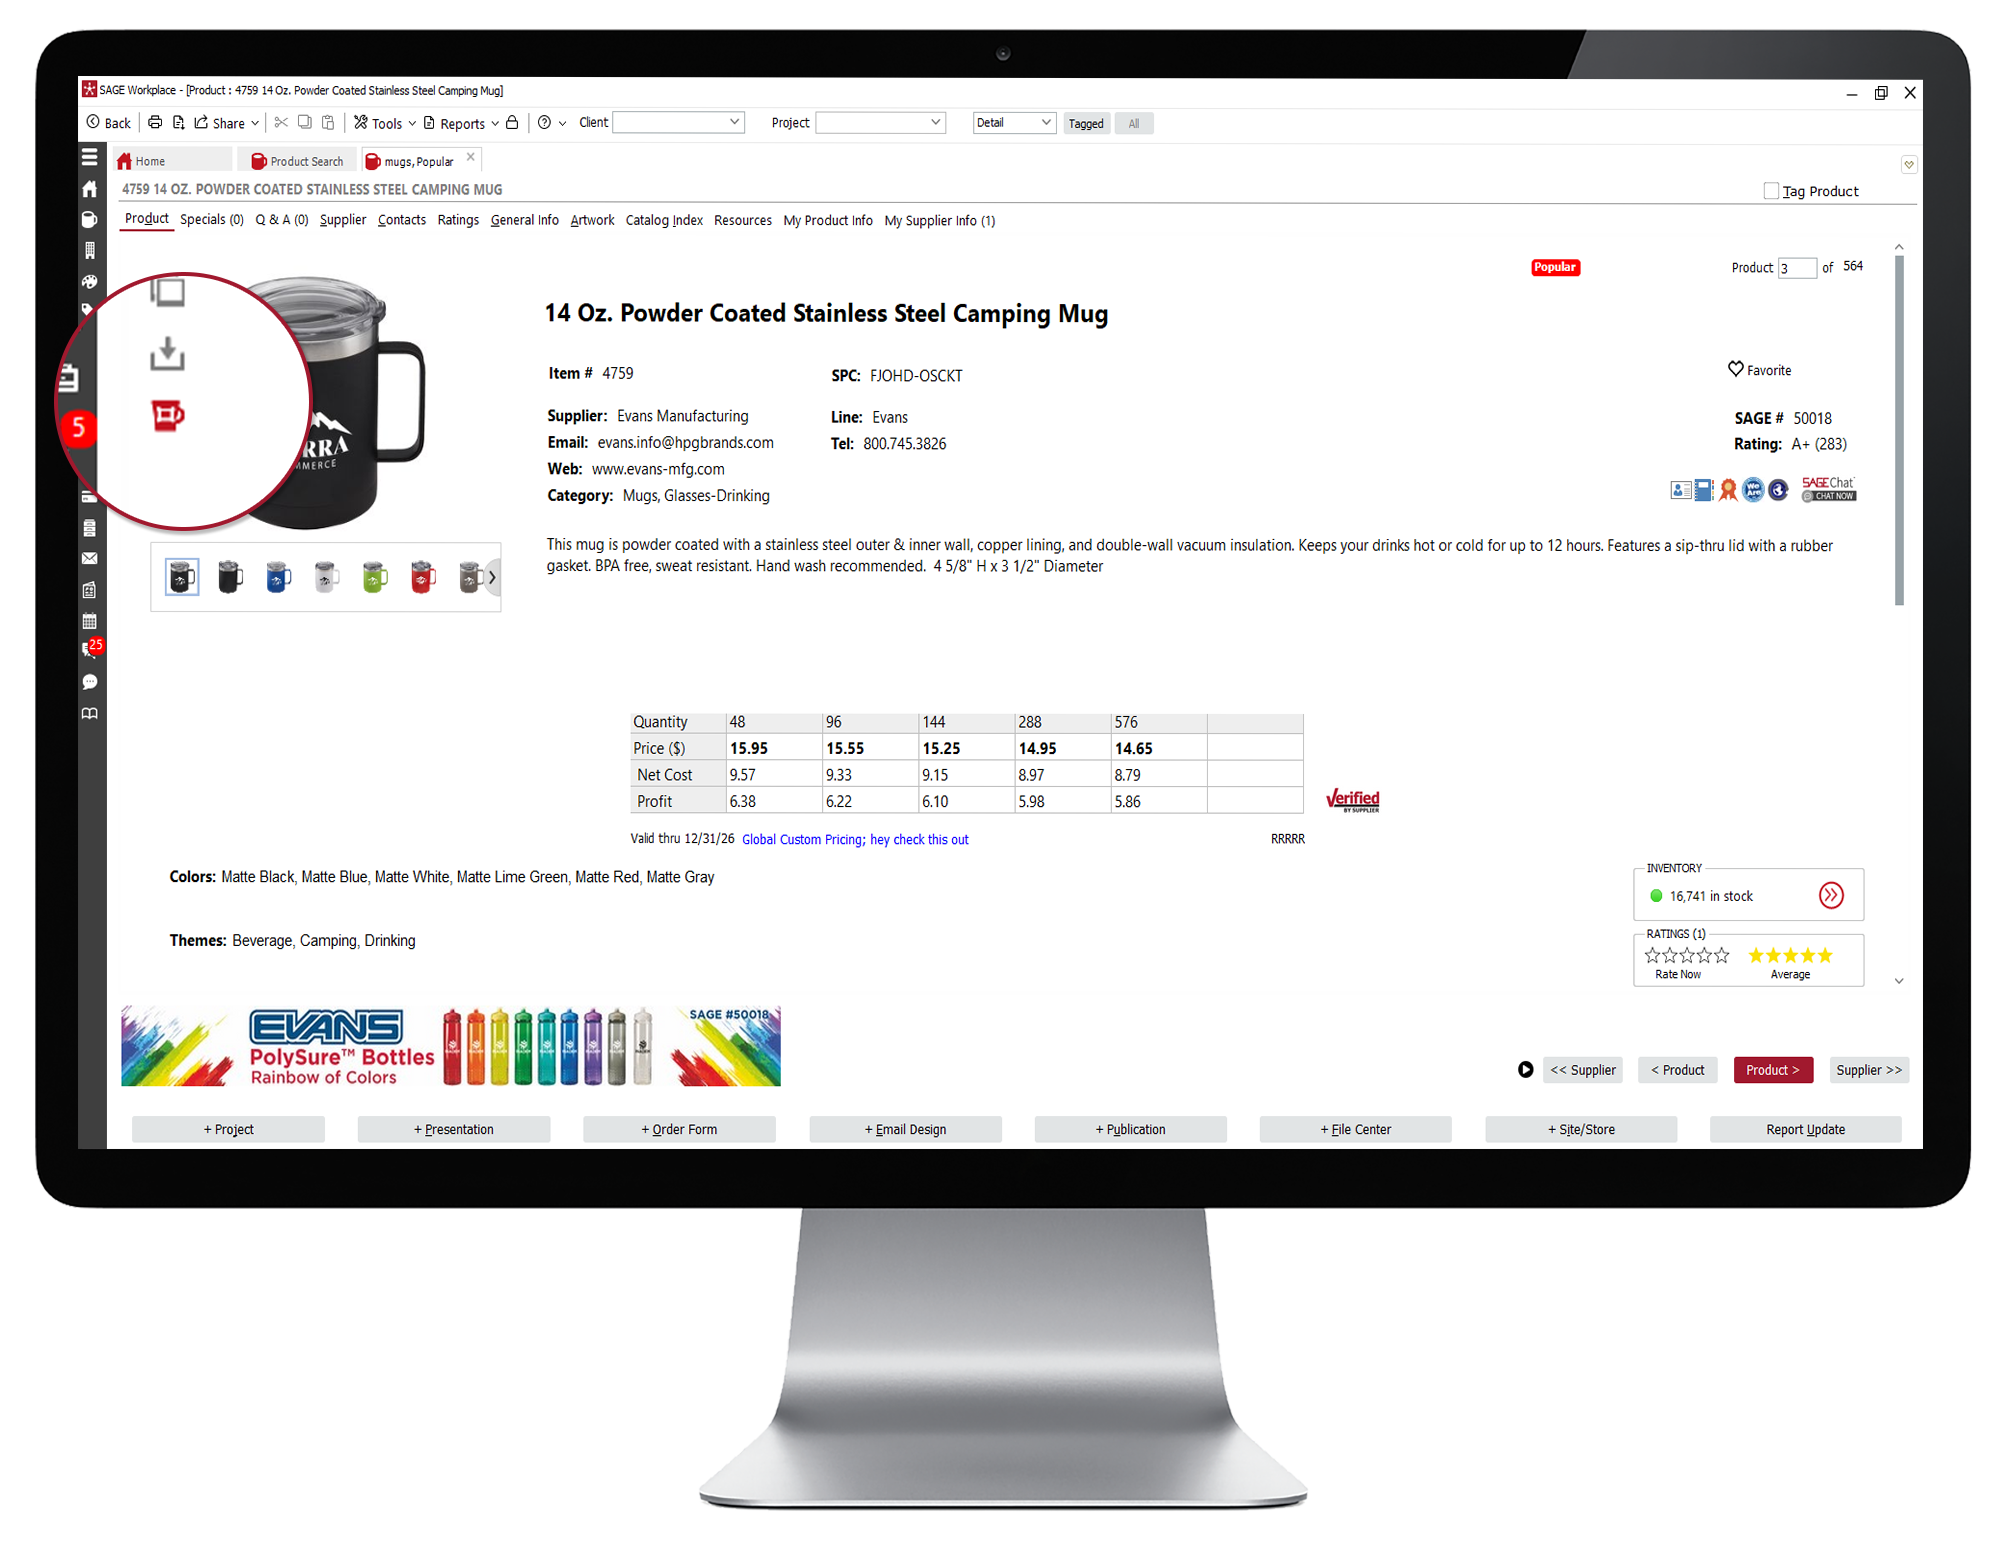
- Once you've located a product, double-click the product to open the product detail page.
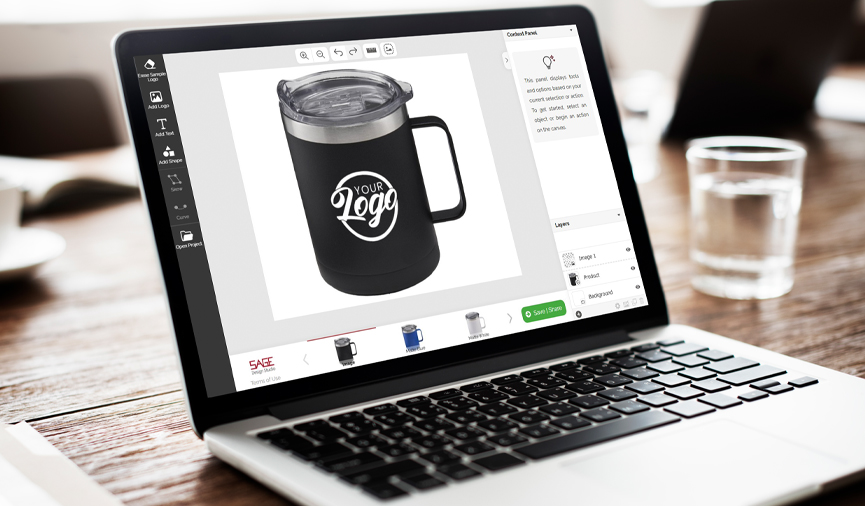
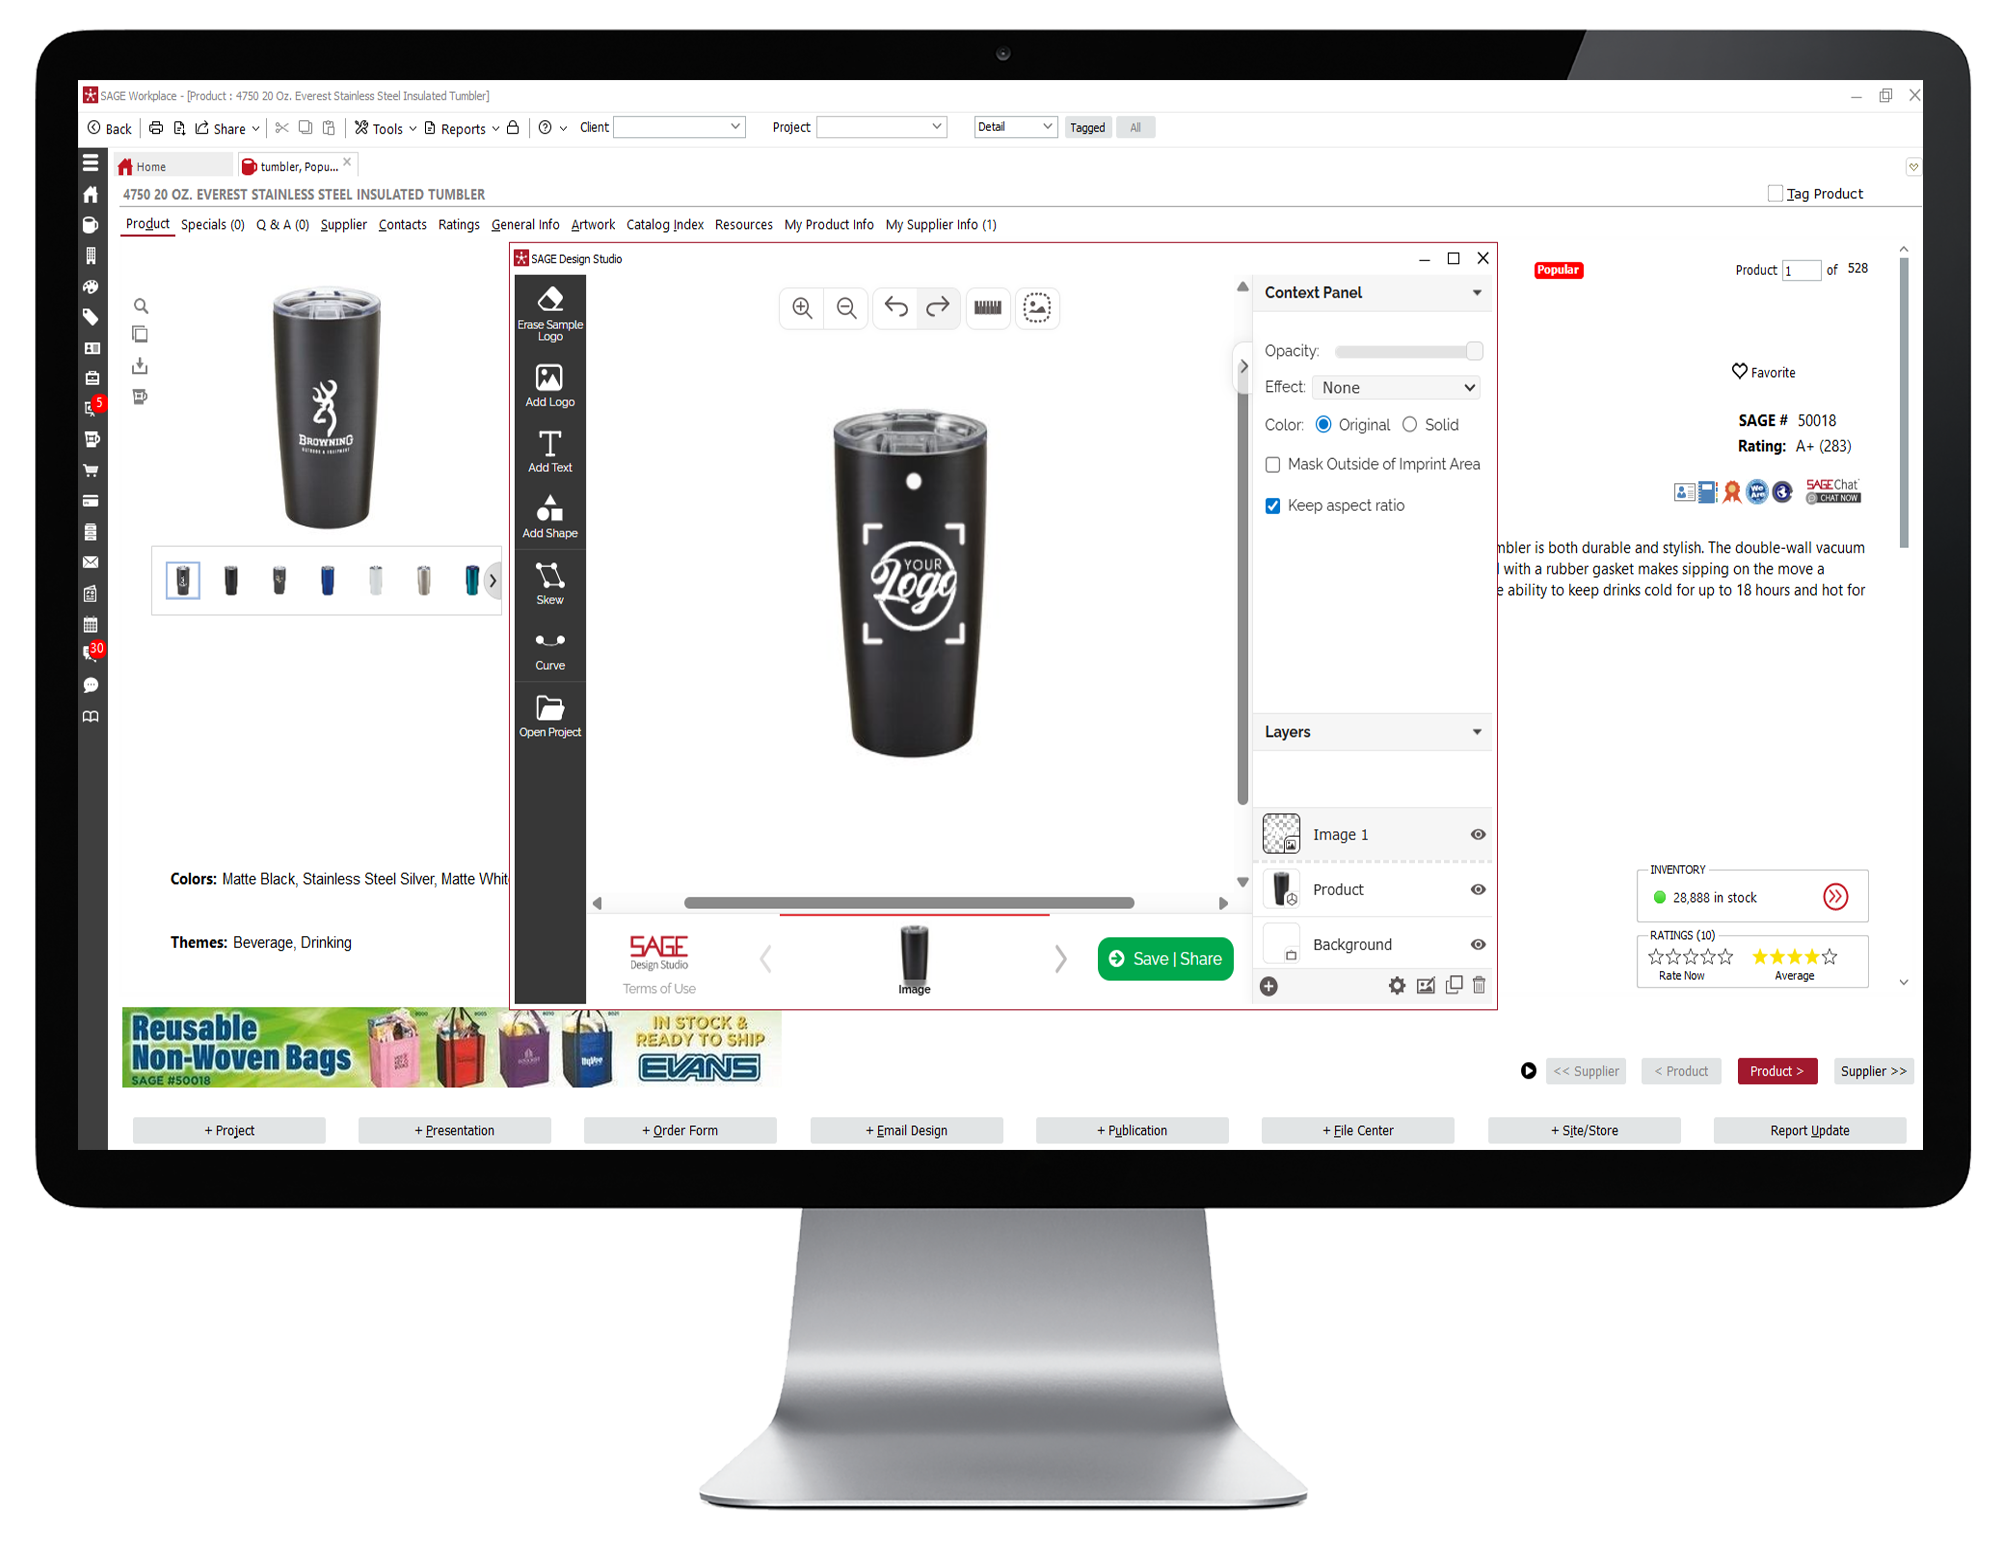
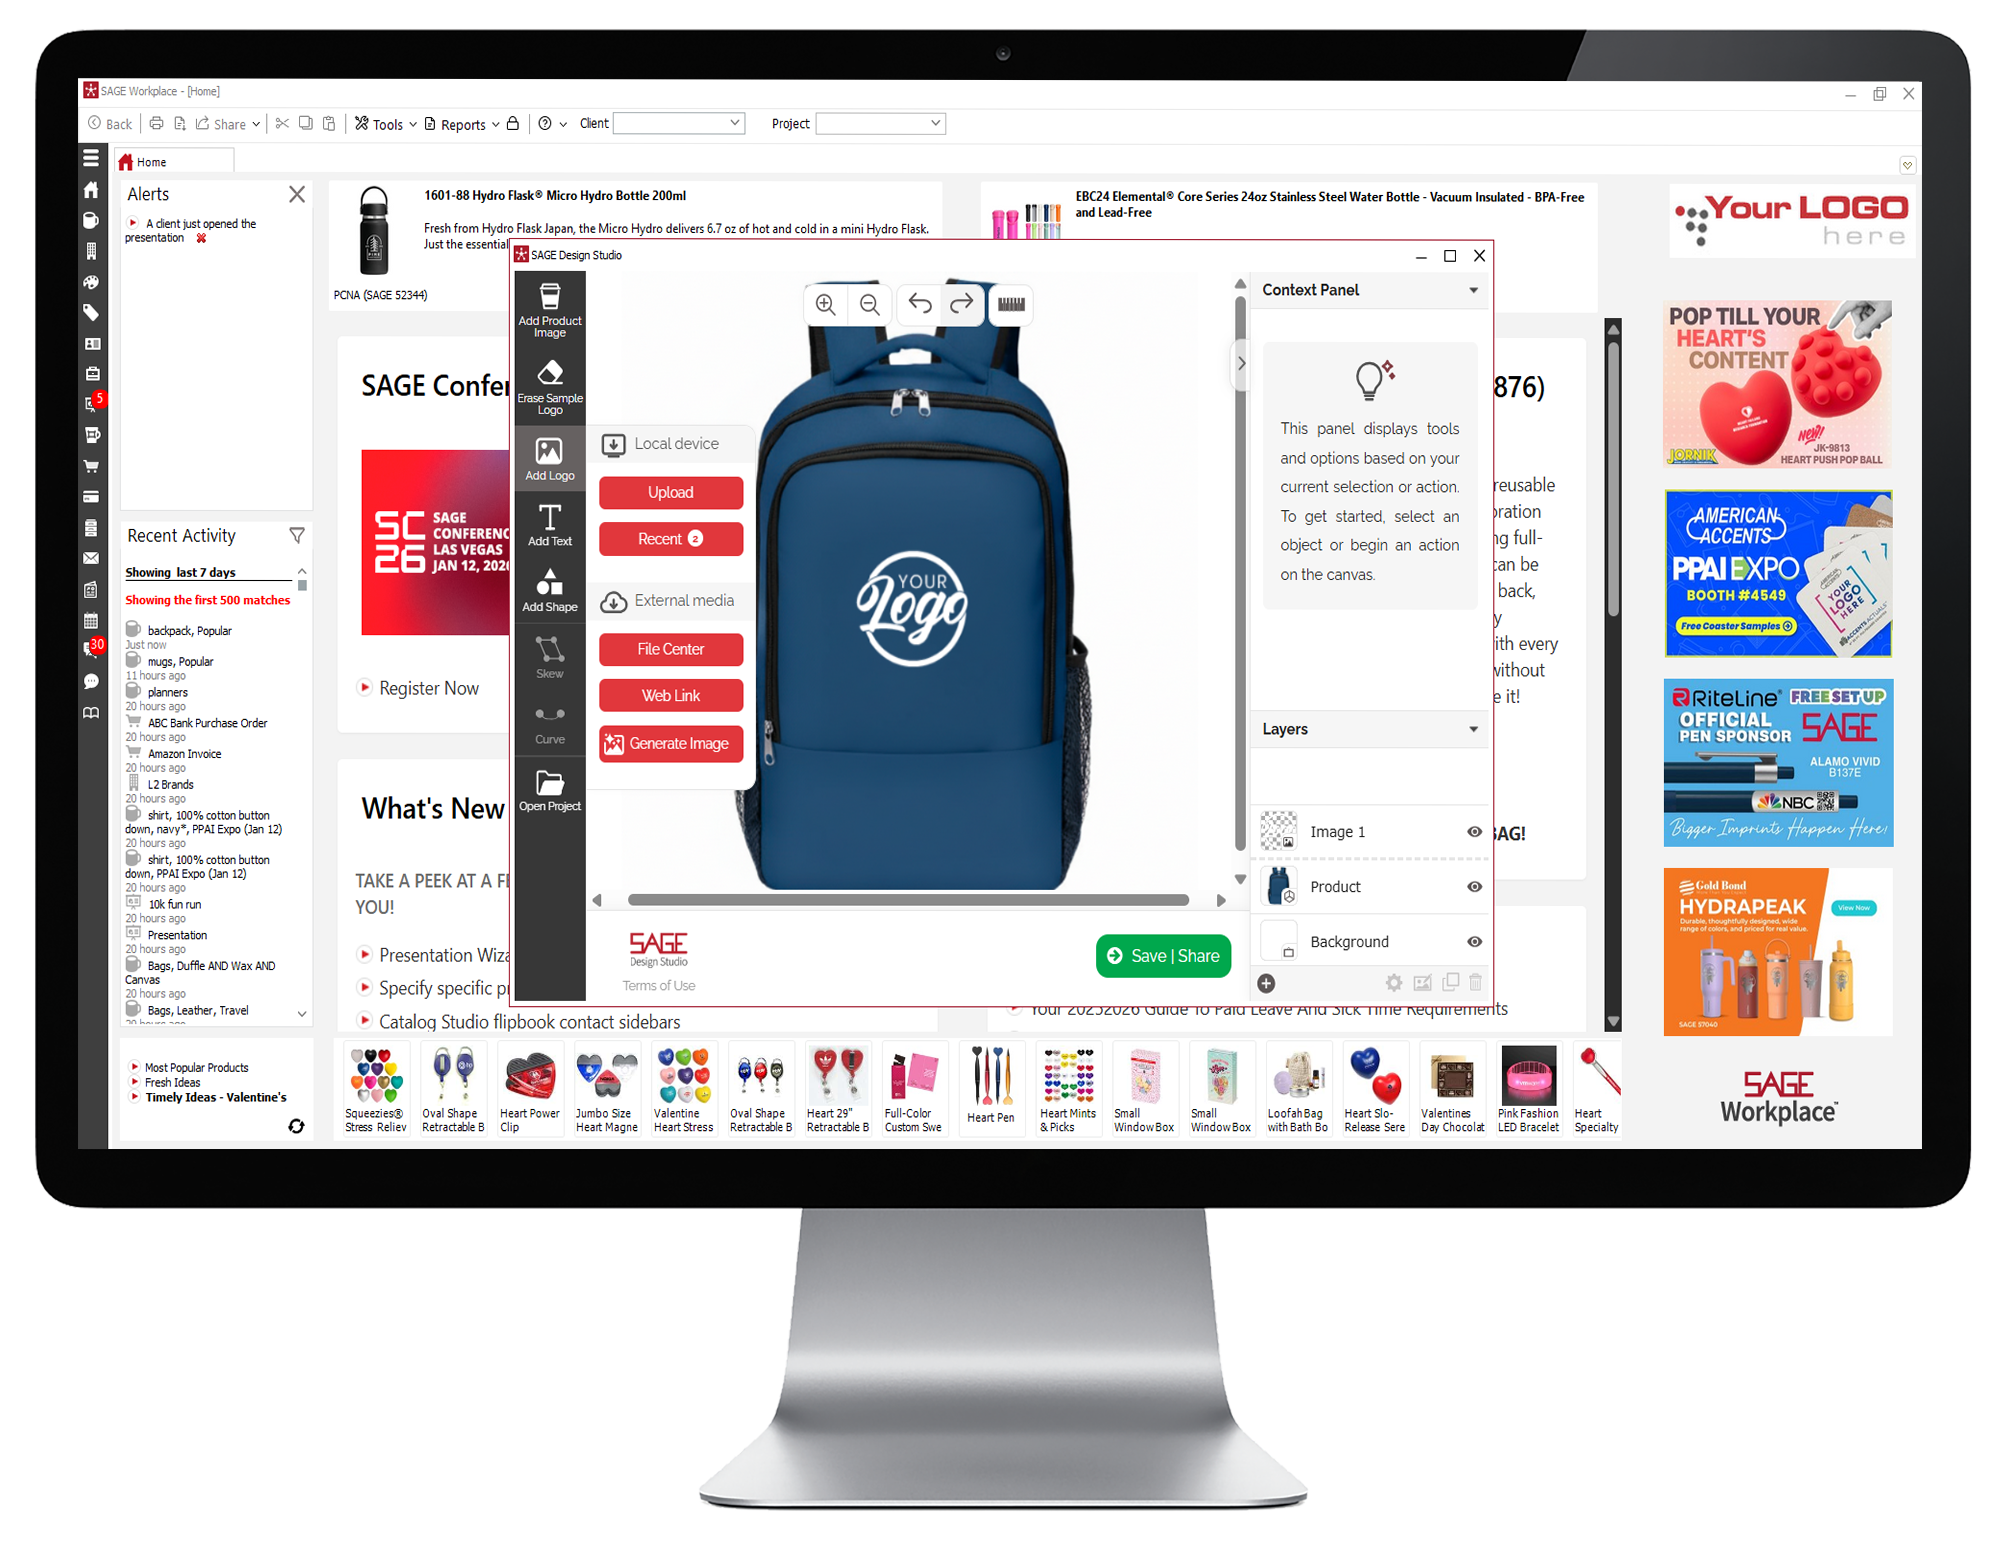
- Click on the mug icon to open the SAGE Design Studio.
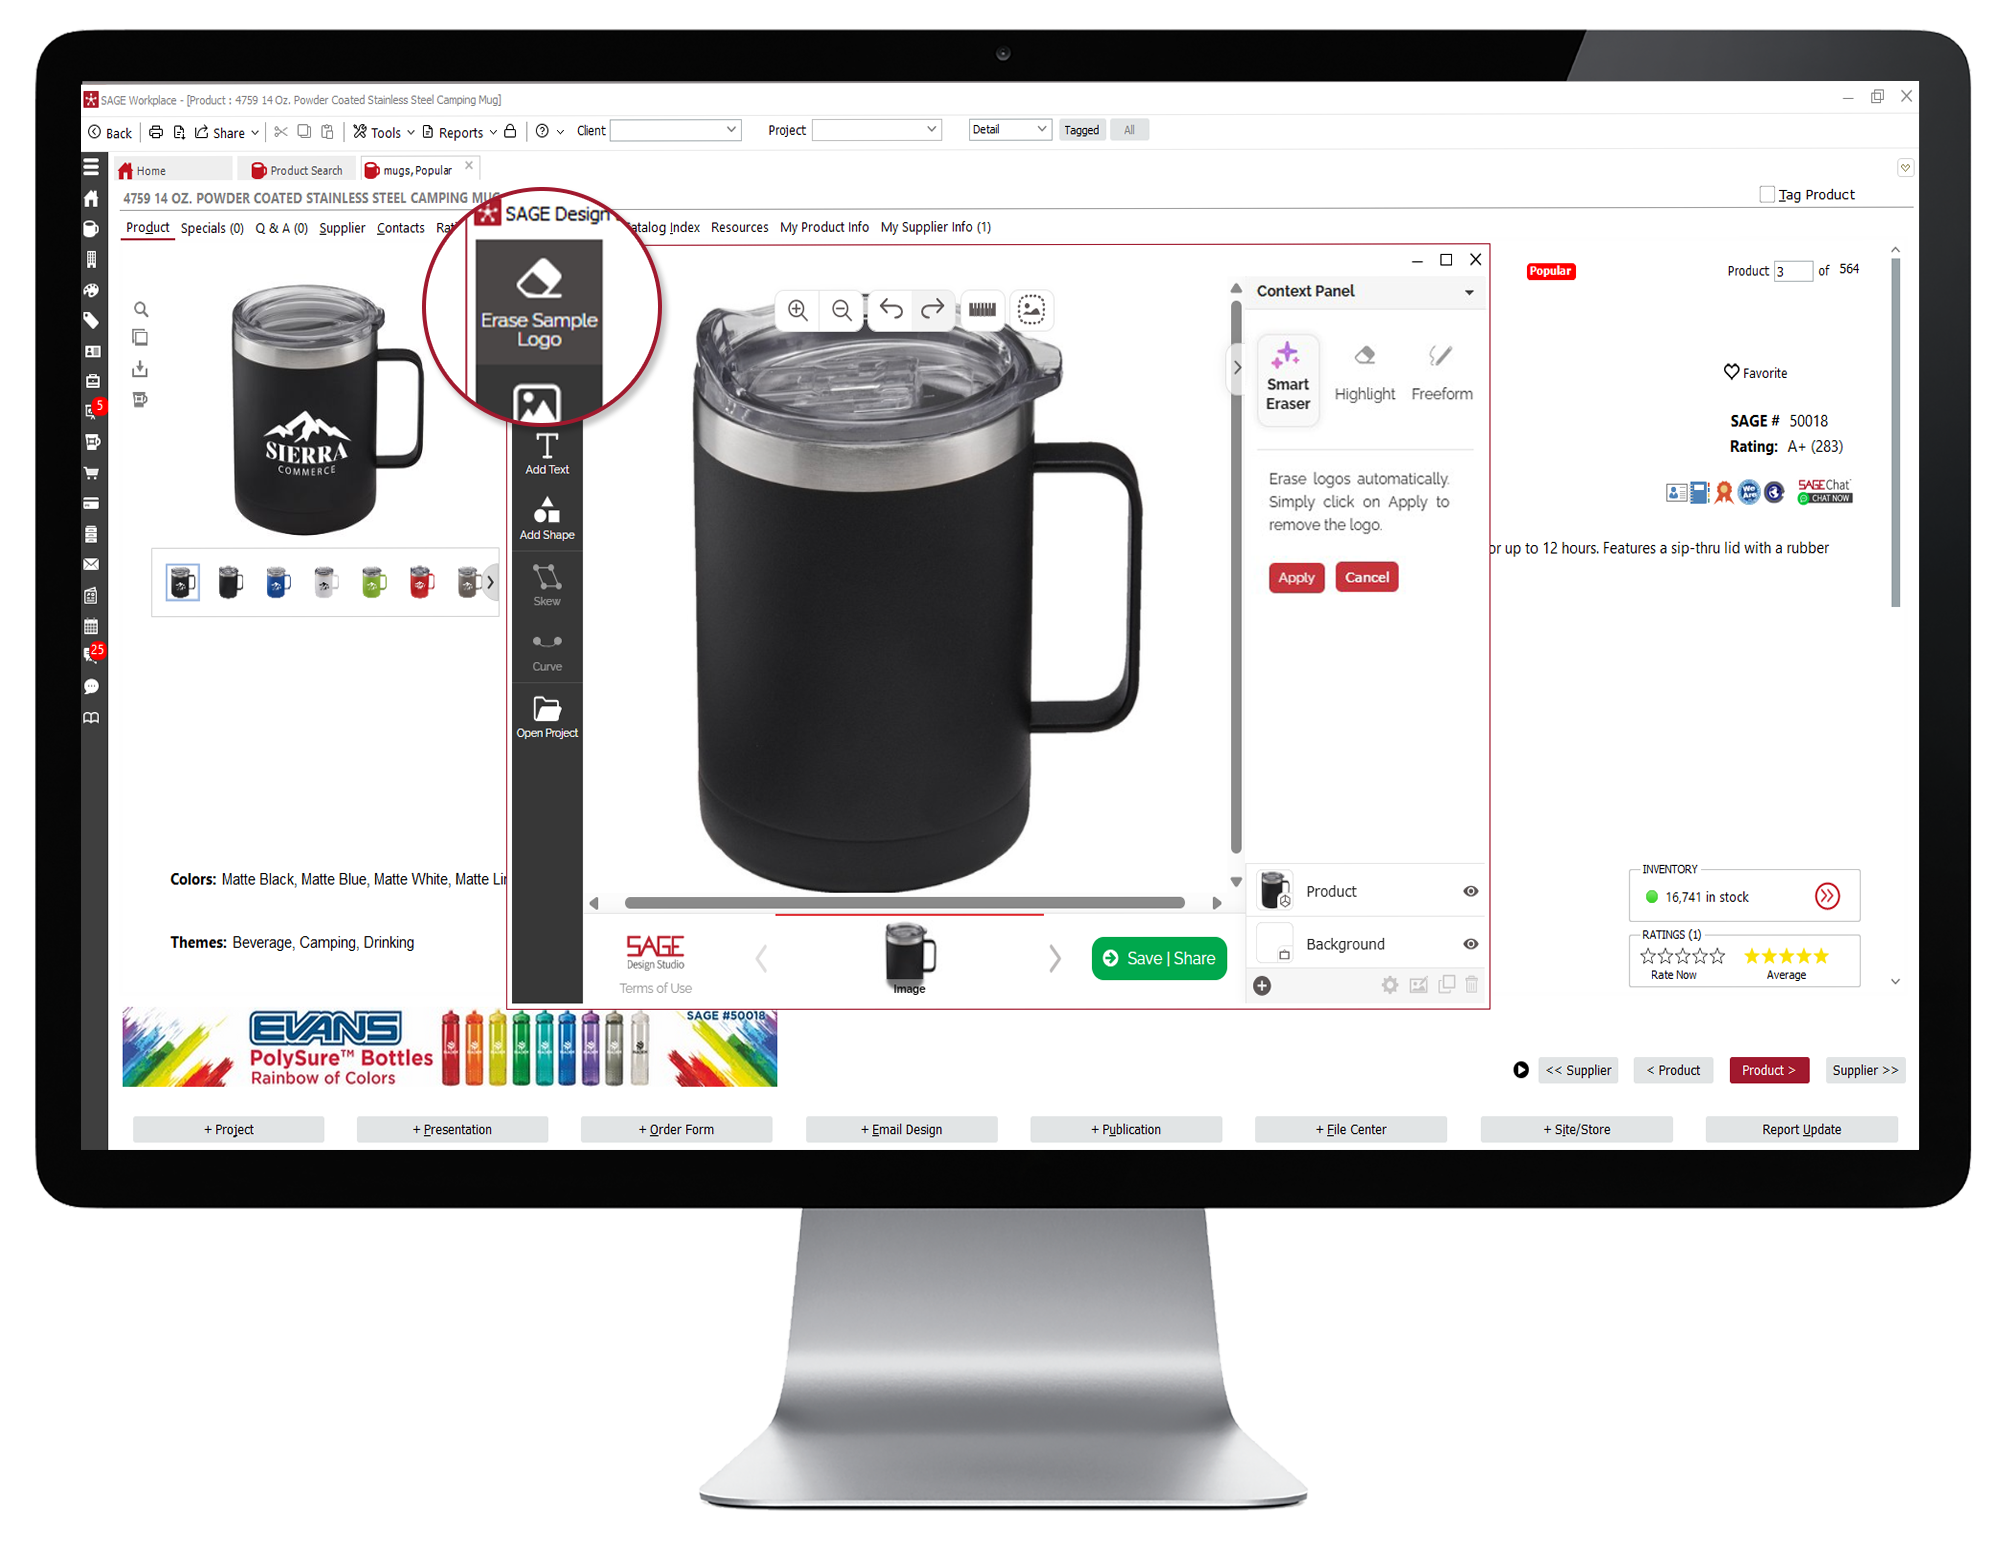
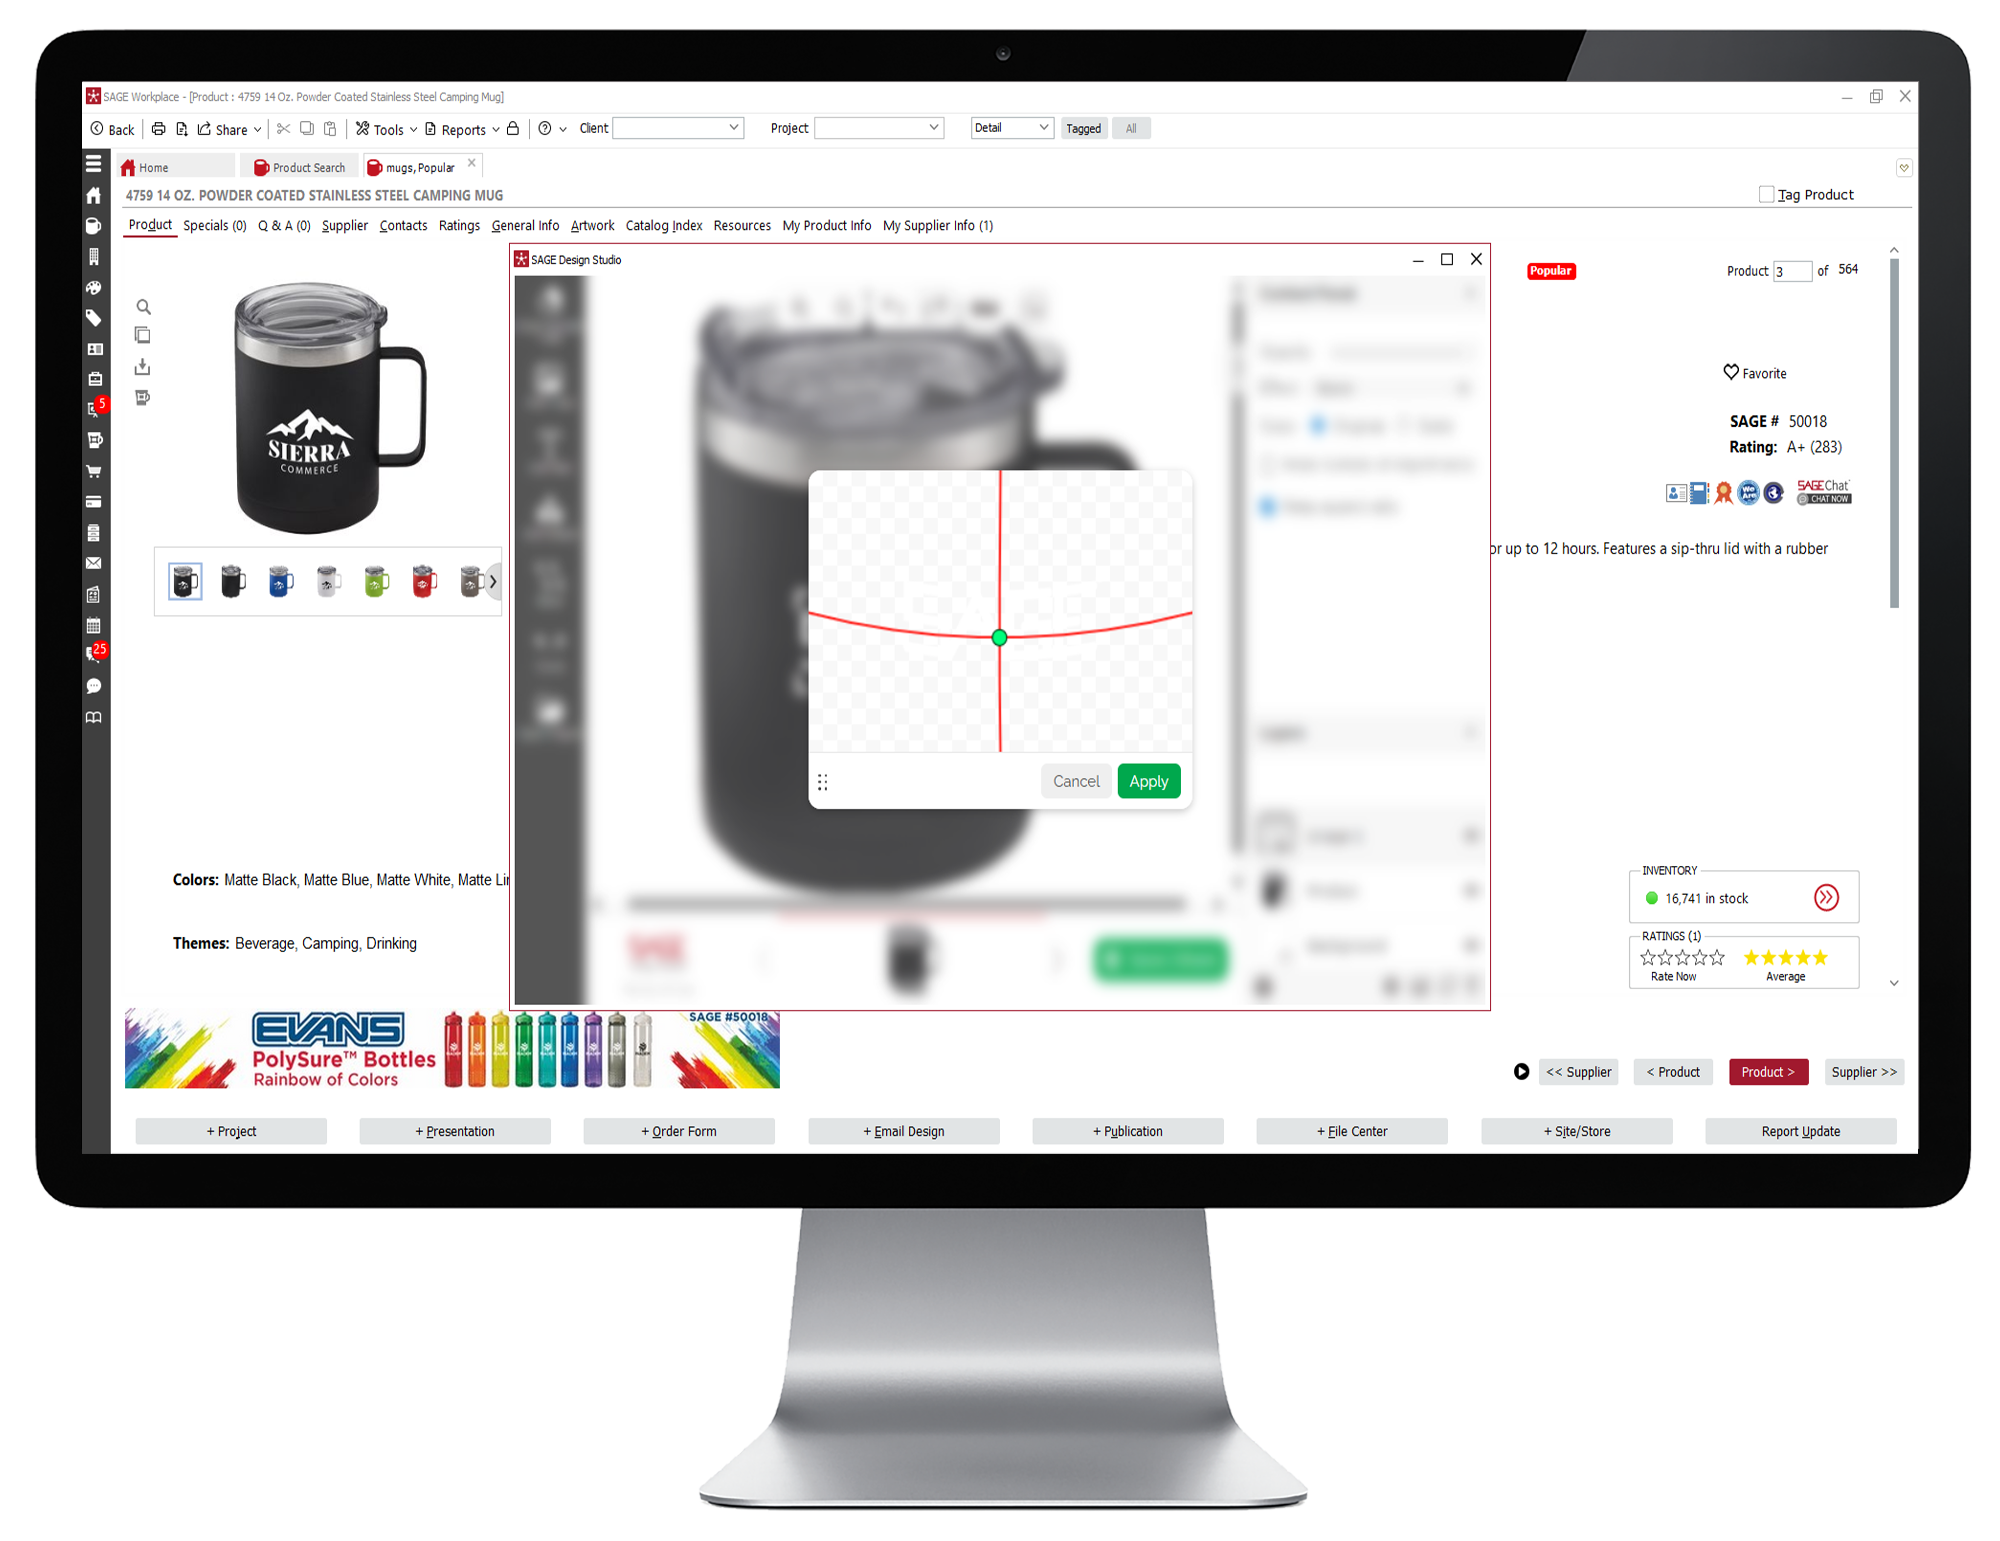
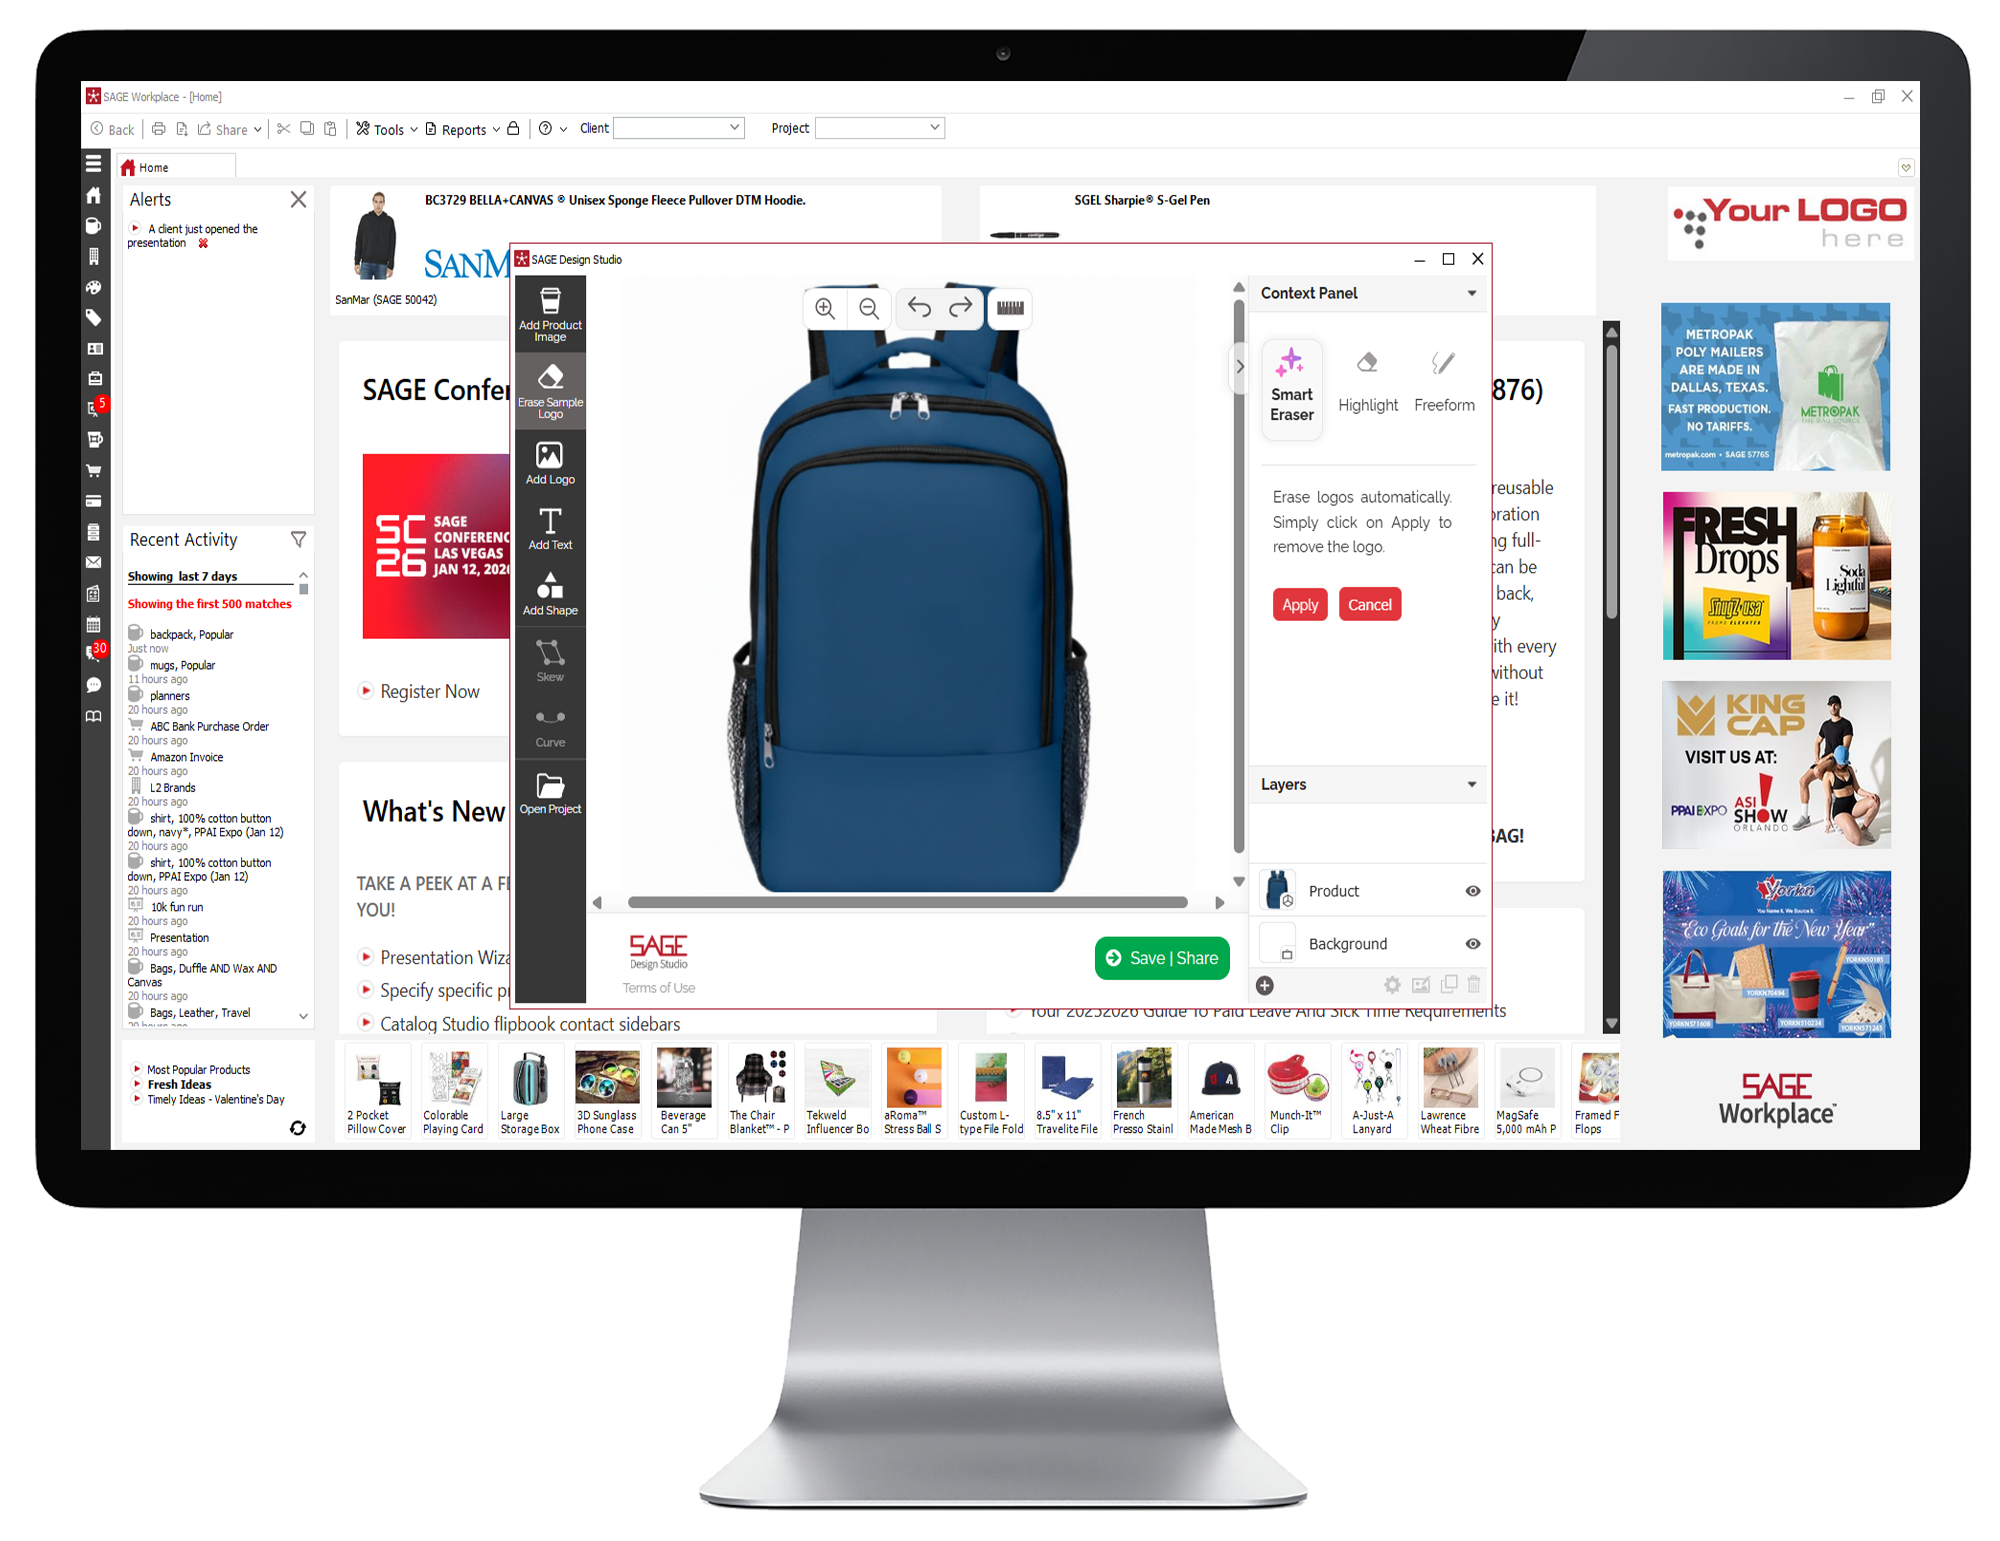
- From here, if your sample image includes a logo or decoration, you can remove it by clicking the Erase Sample Logo option at the top of the menu on the left side of the screen. The fastest way to delete a logo is to simply click “Apply”. This activates the Smart Eraser and removes the logo automatically. You can opt to use the Highlight or Freeform method, before clicking “Apply” if you’d prefer.
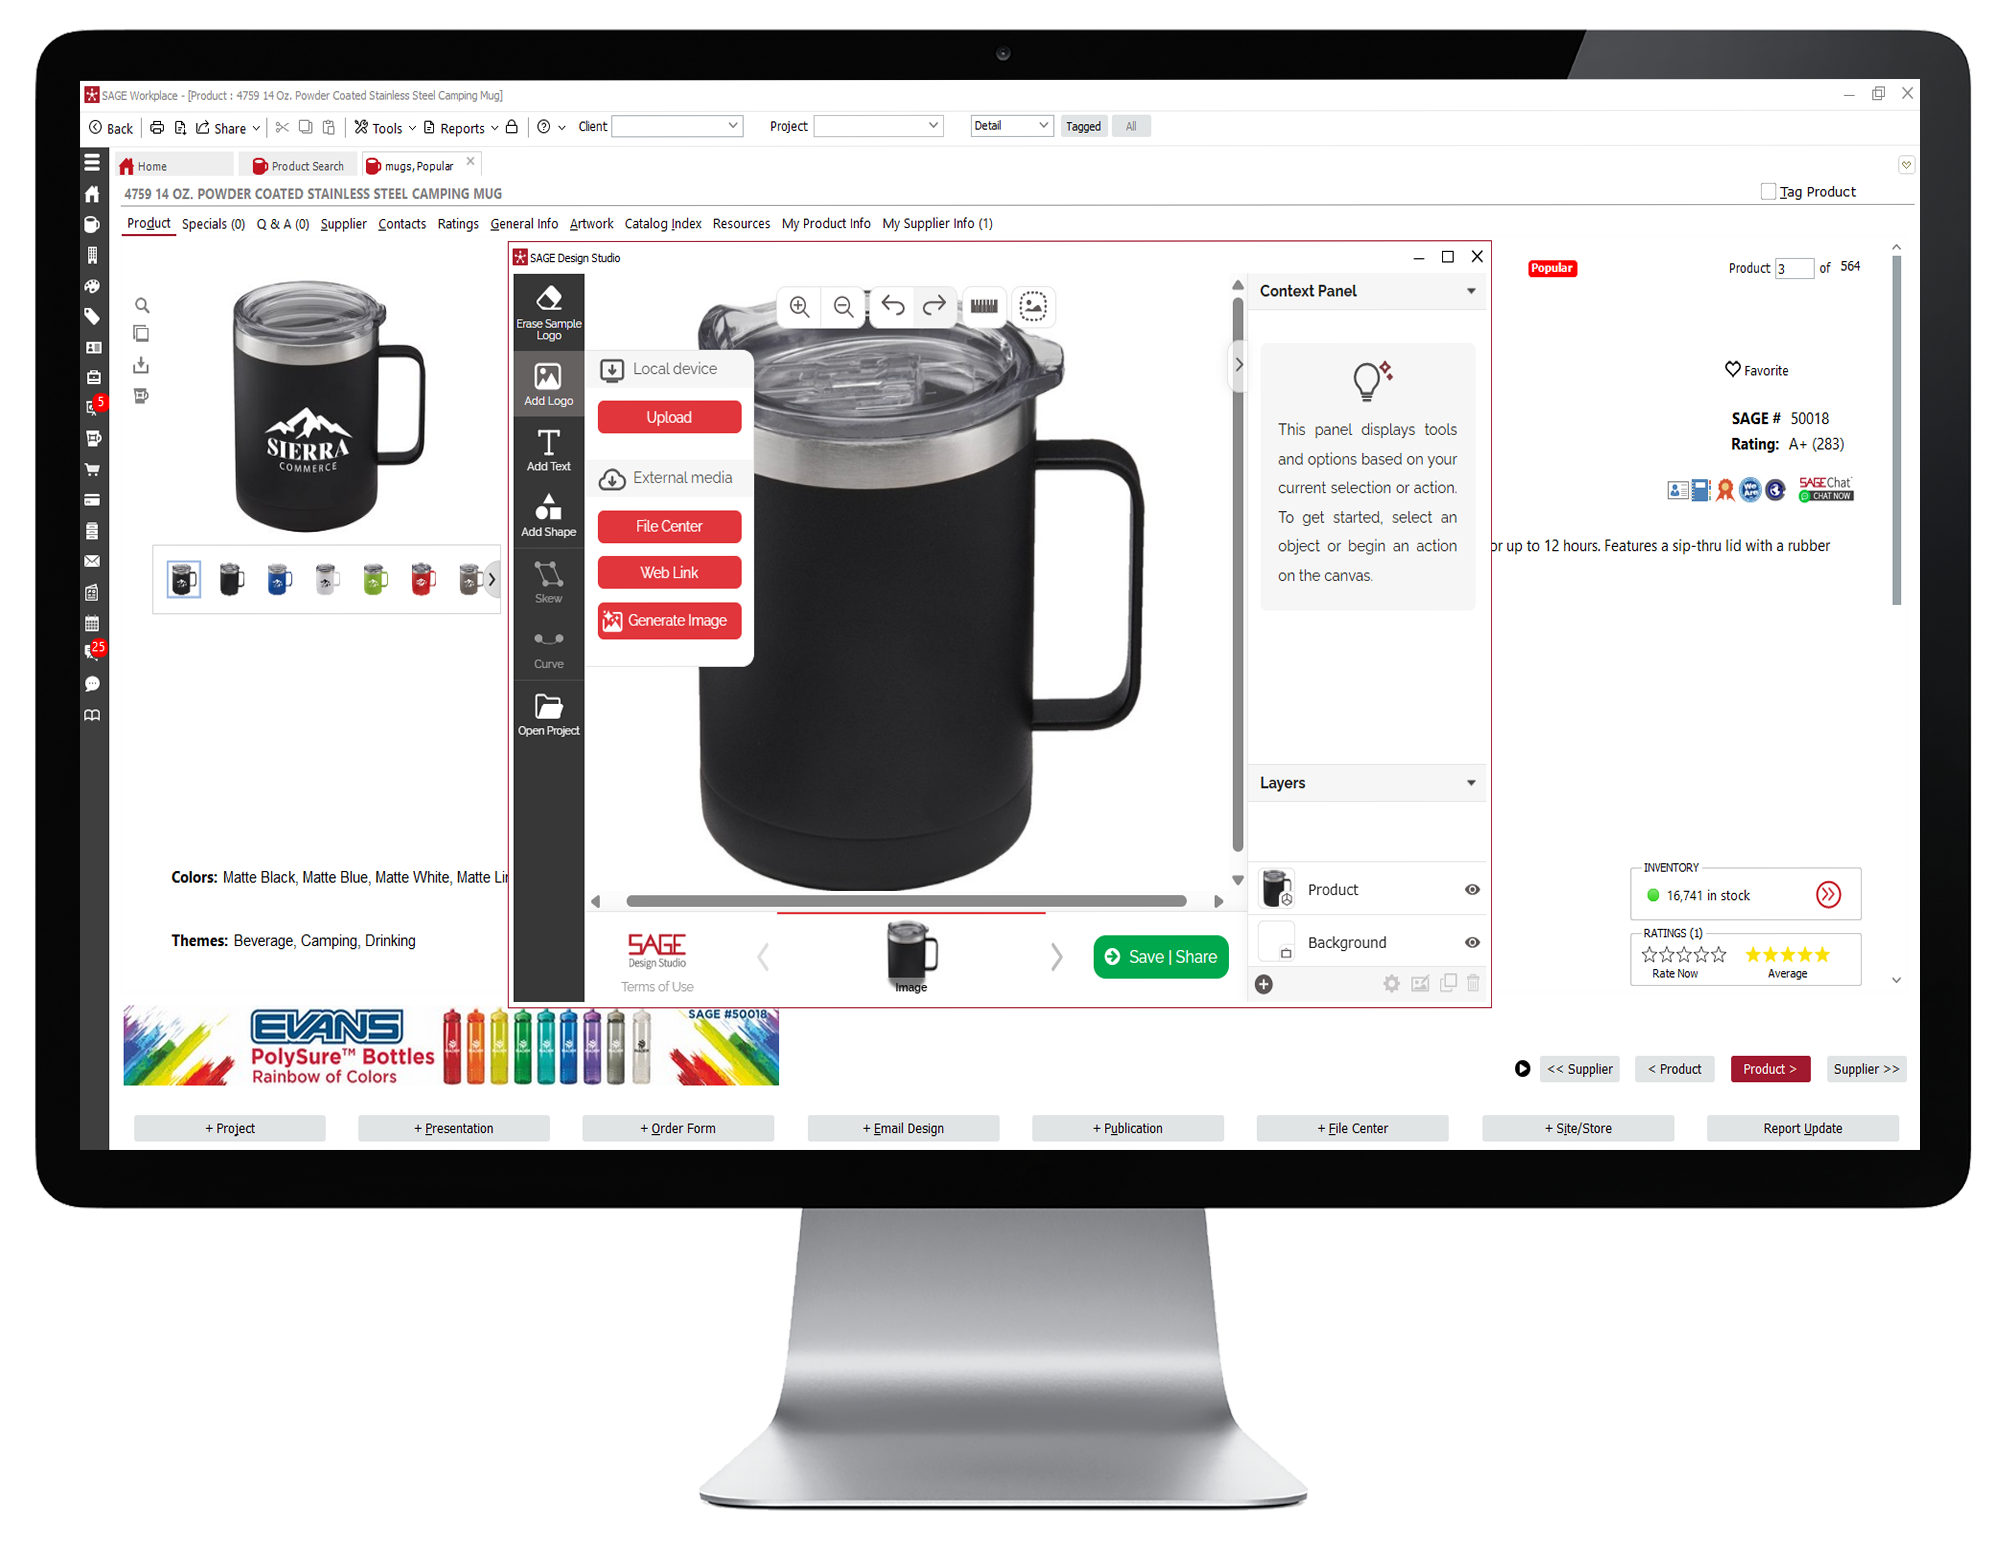
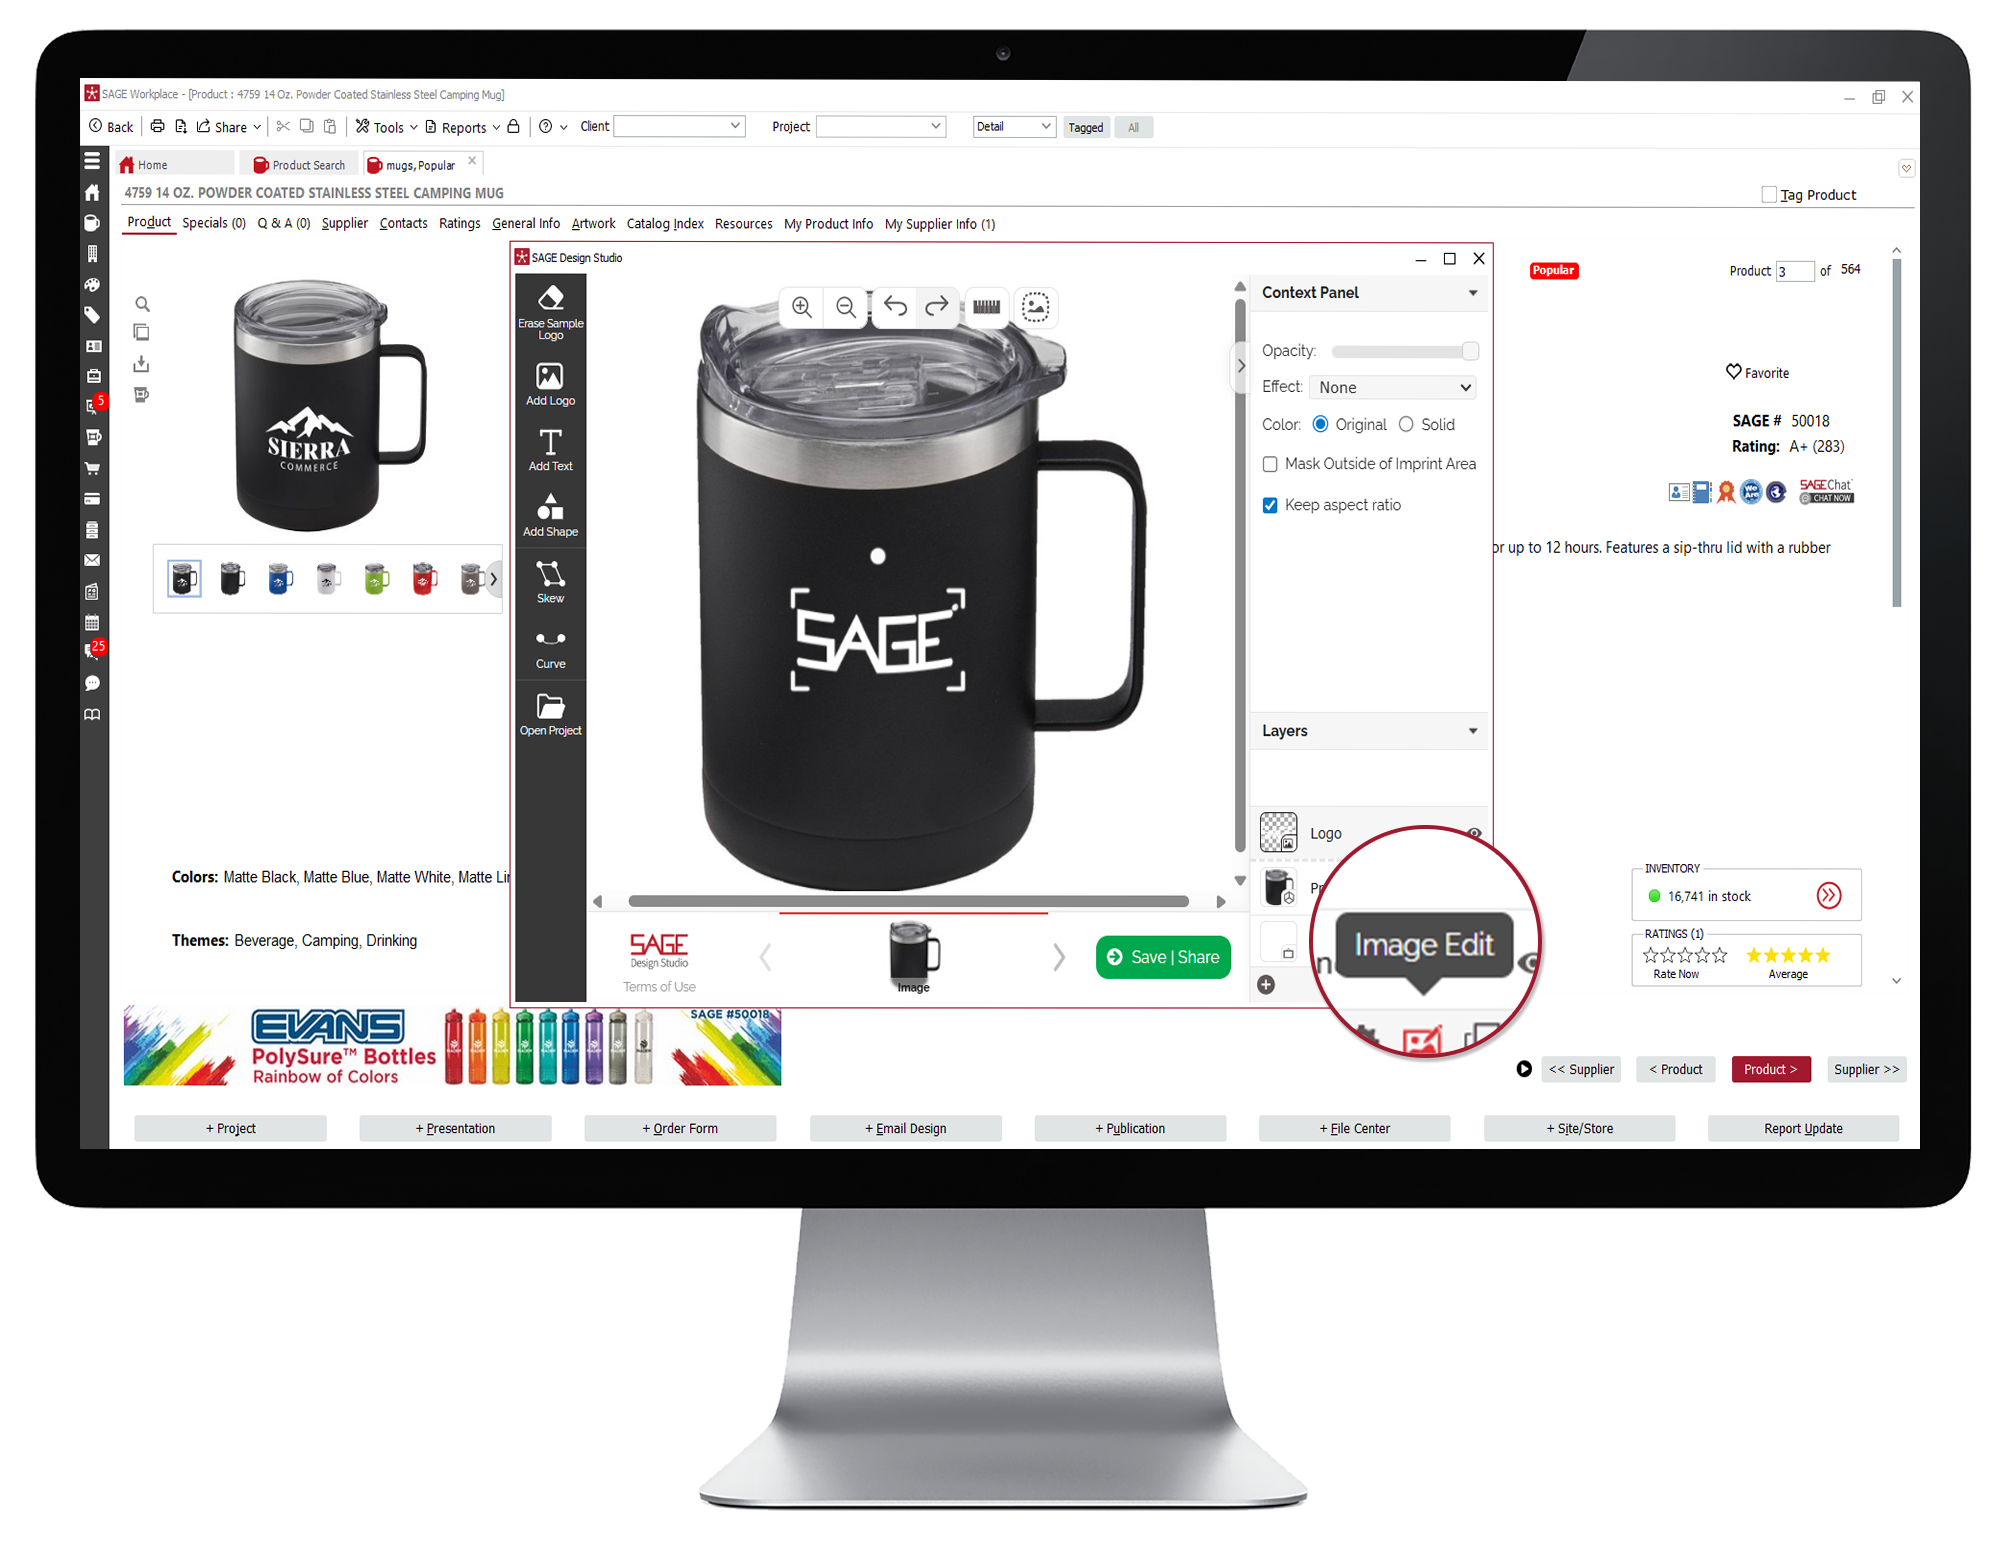
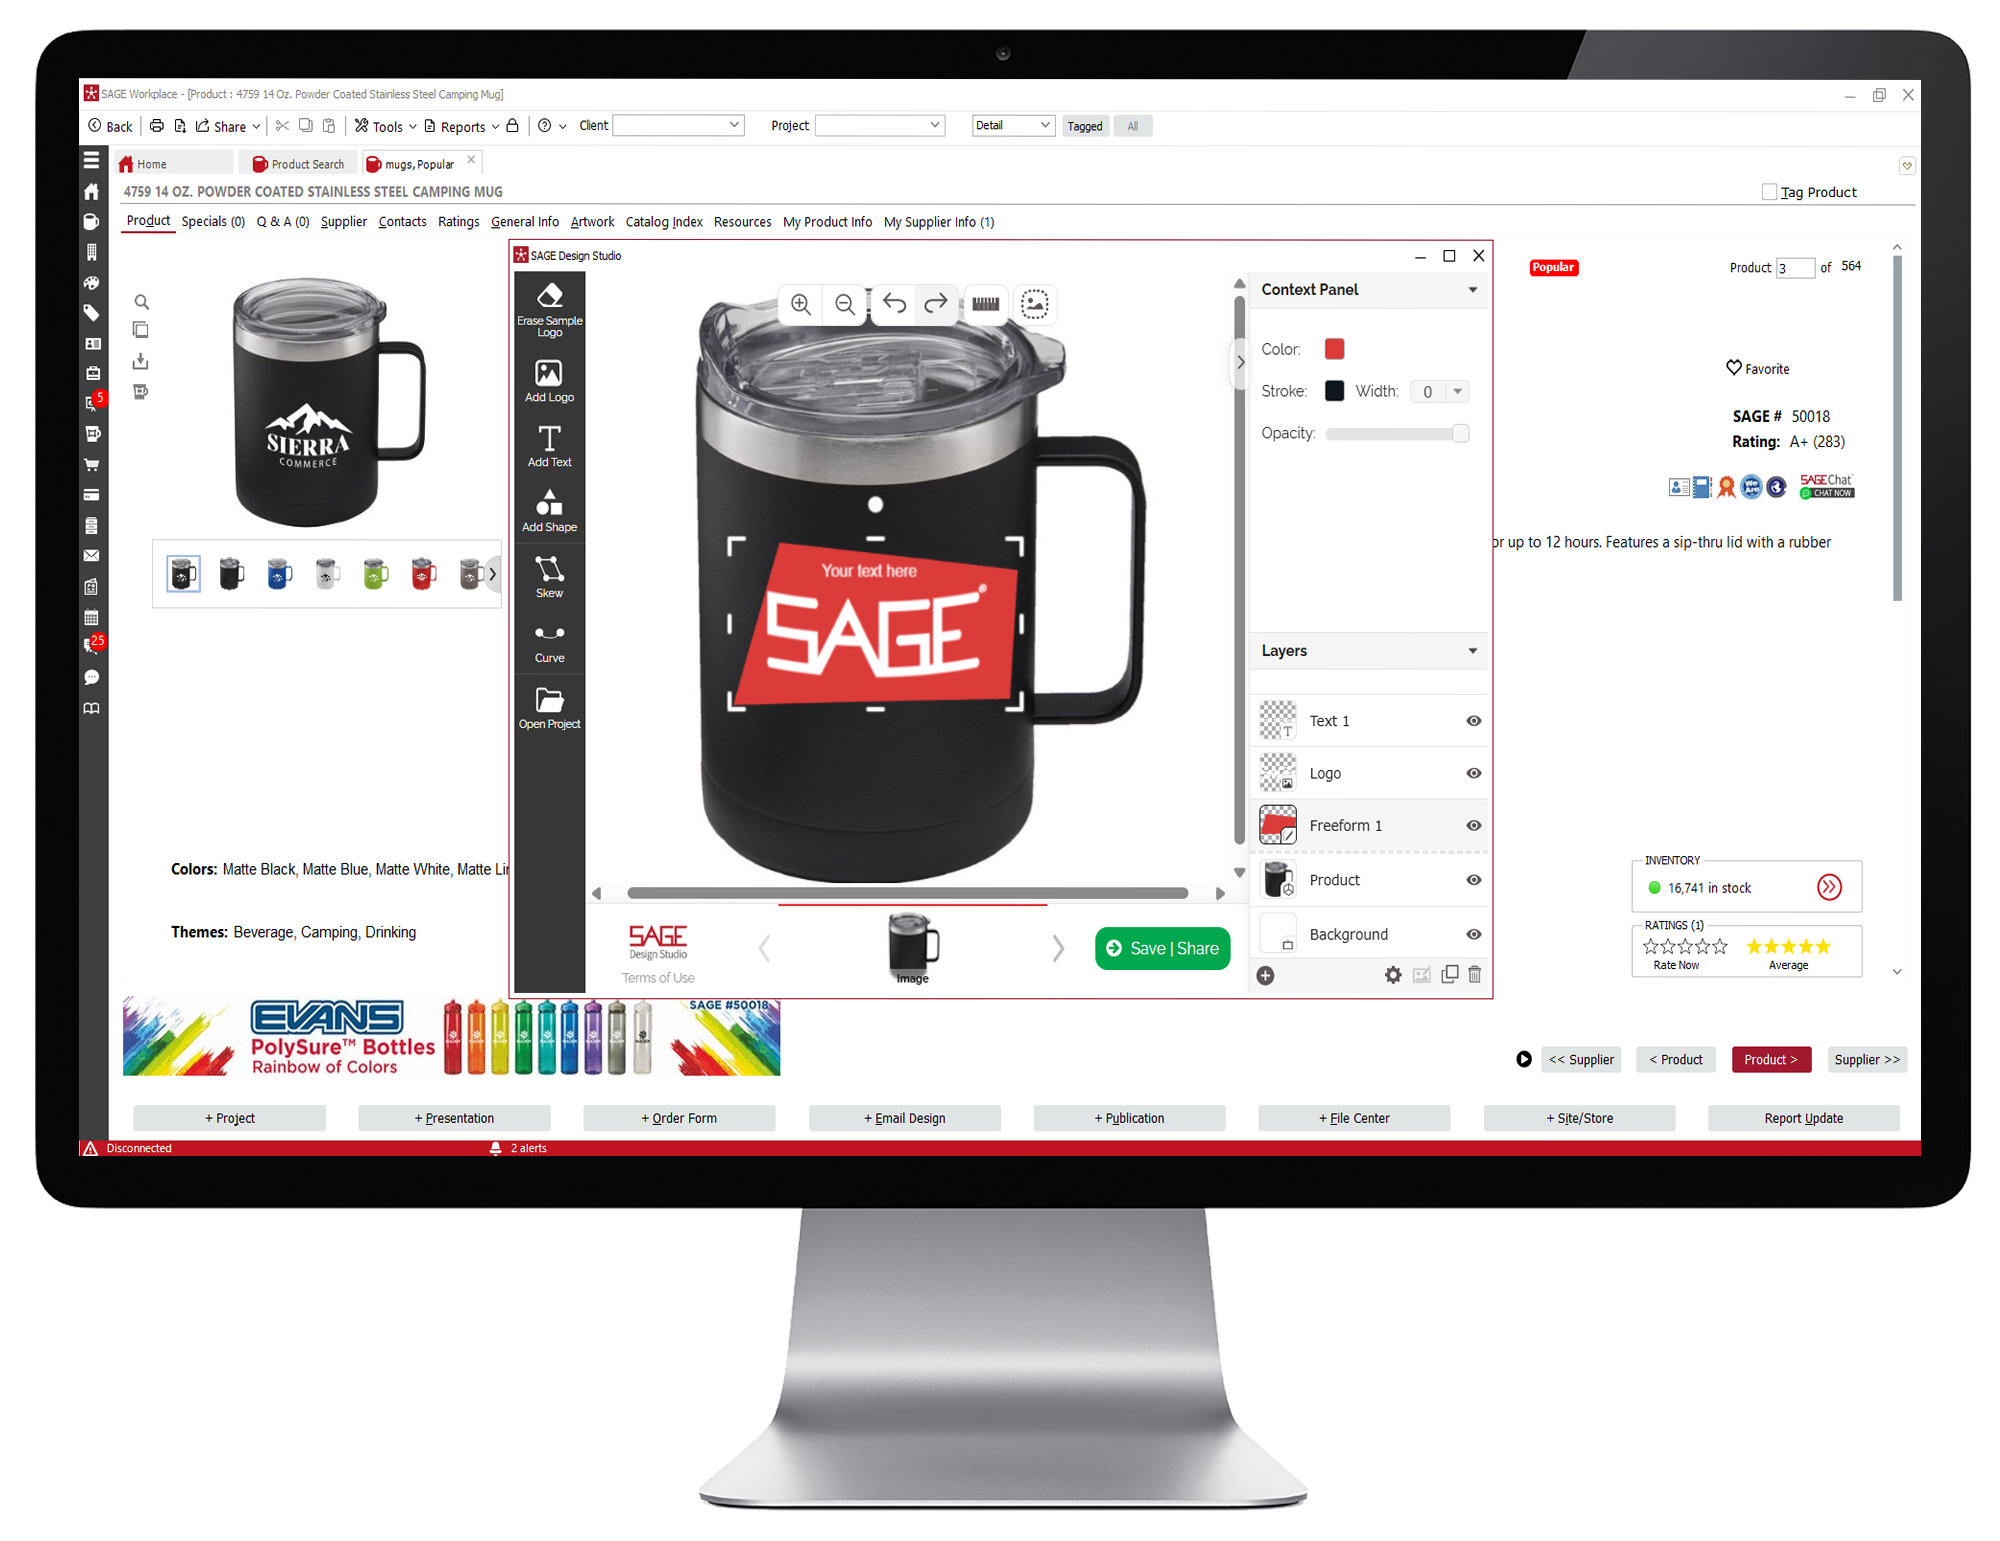
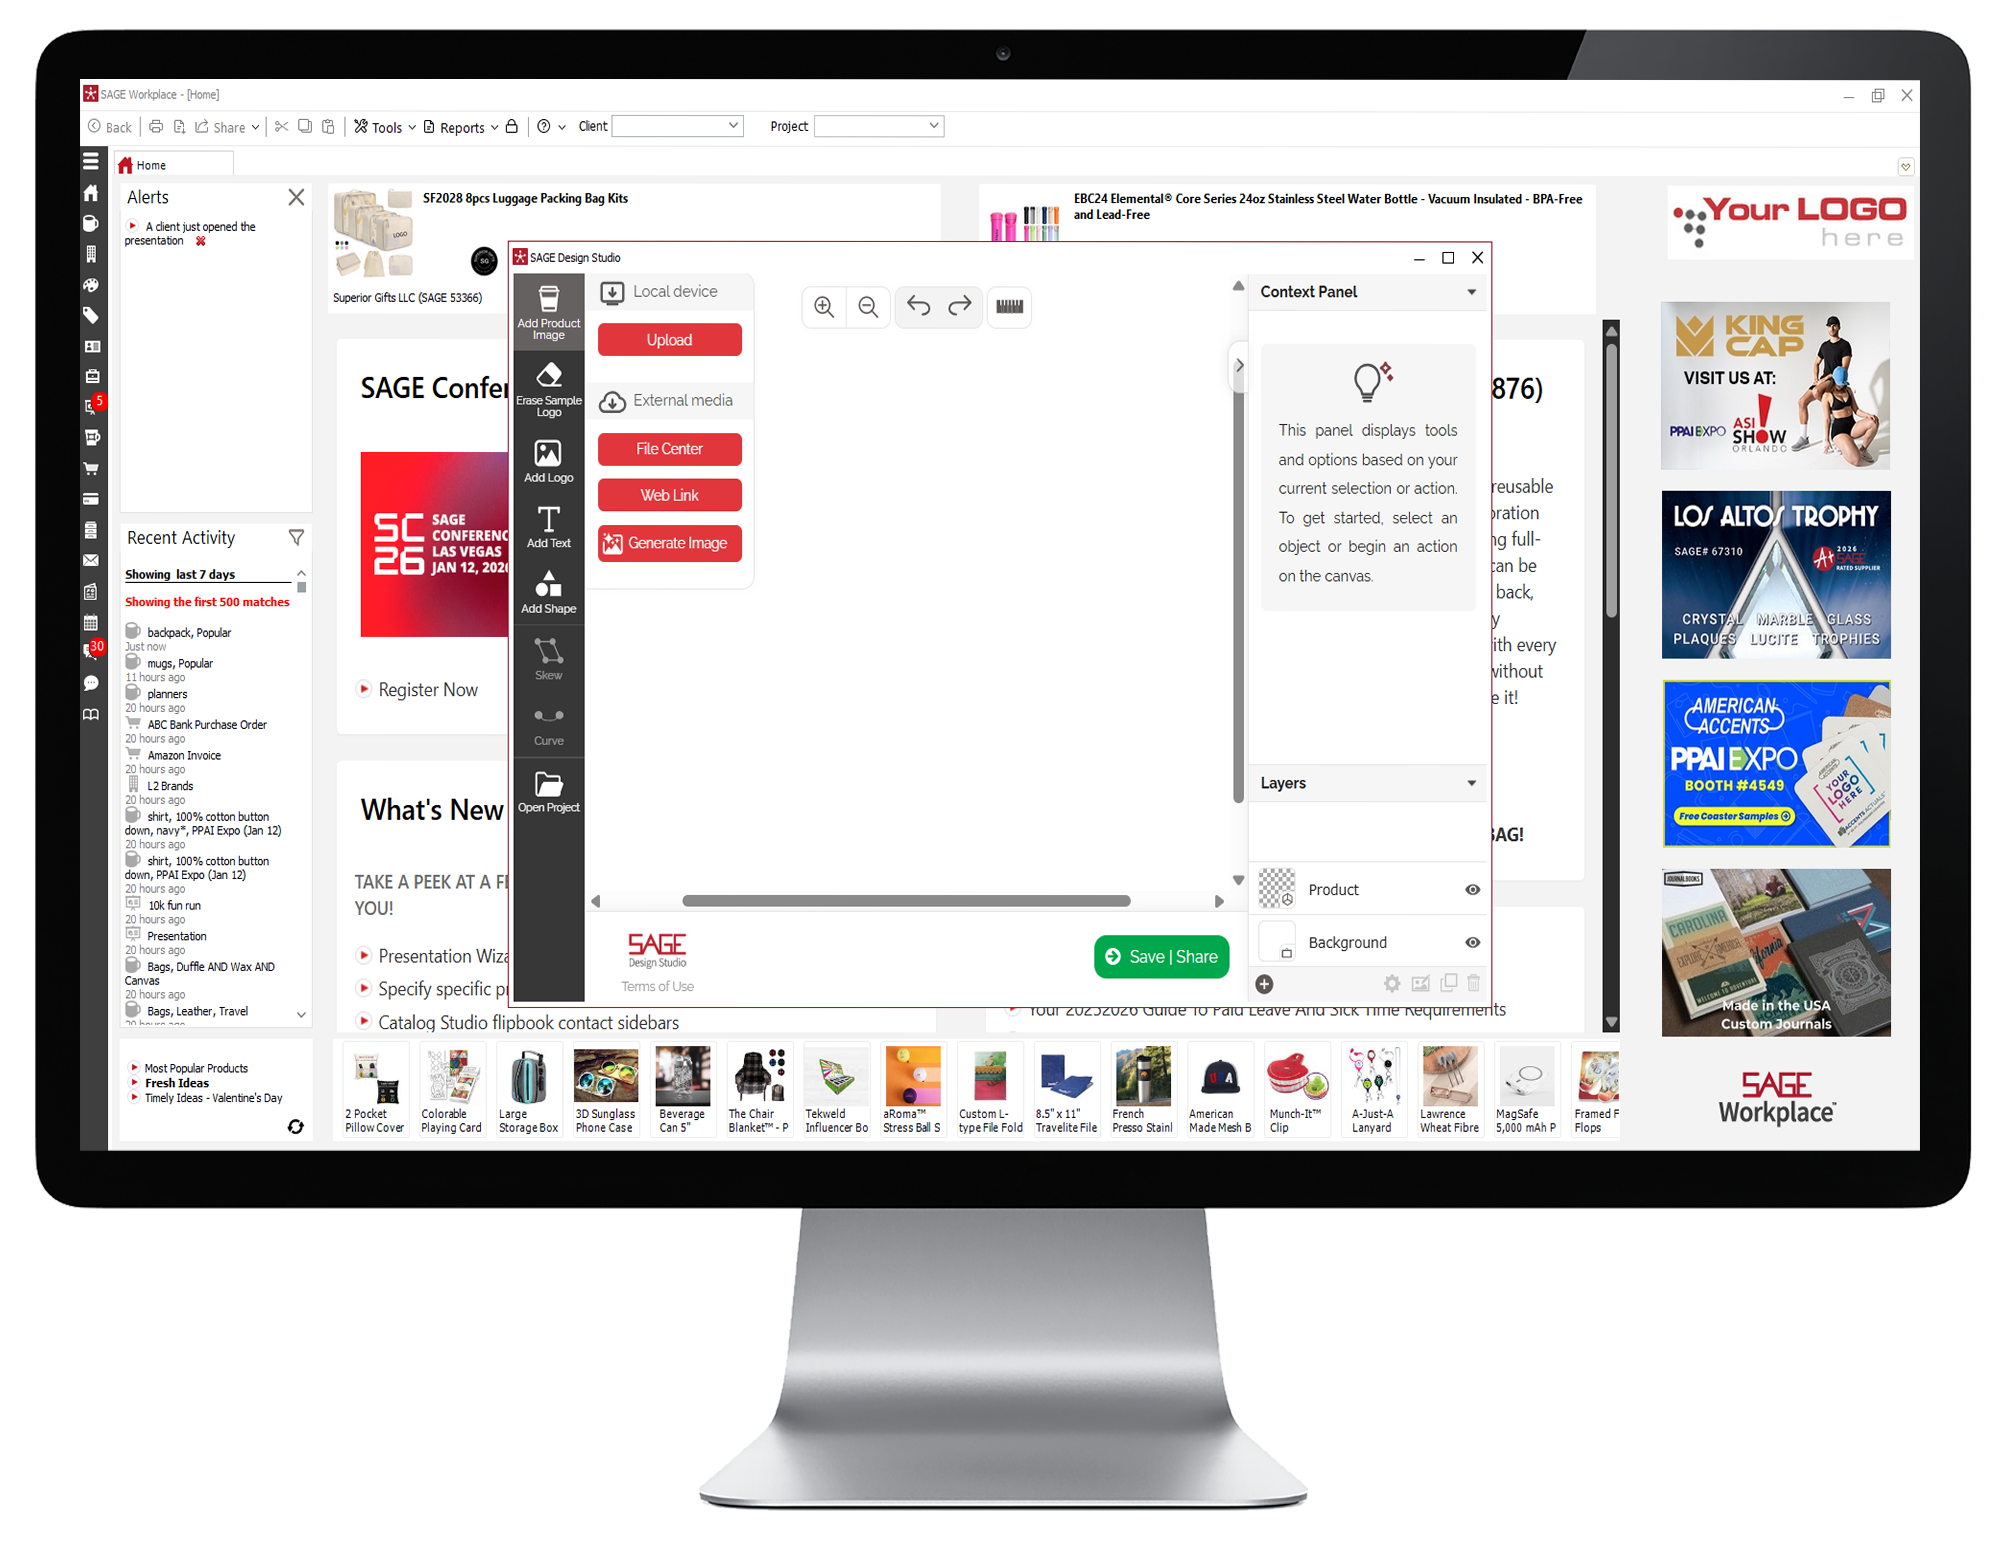
- To add your own logo, click Add Logo in the menu on the left. You can upload a new logo from your computer, access a logo saved in the File Center, upload directly from a web link, select one of the saved logos that appear at the bottom from your recently used logos, or click Generate Image to have SAGE AI create a logo.
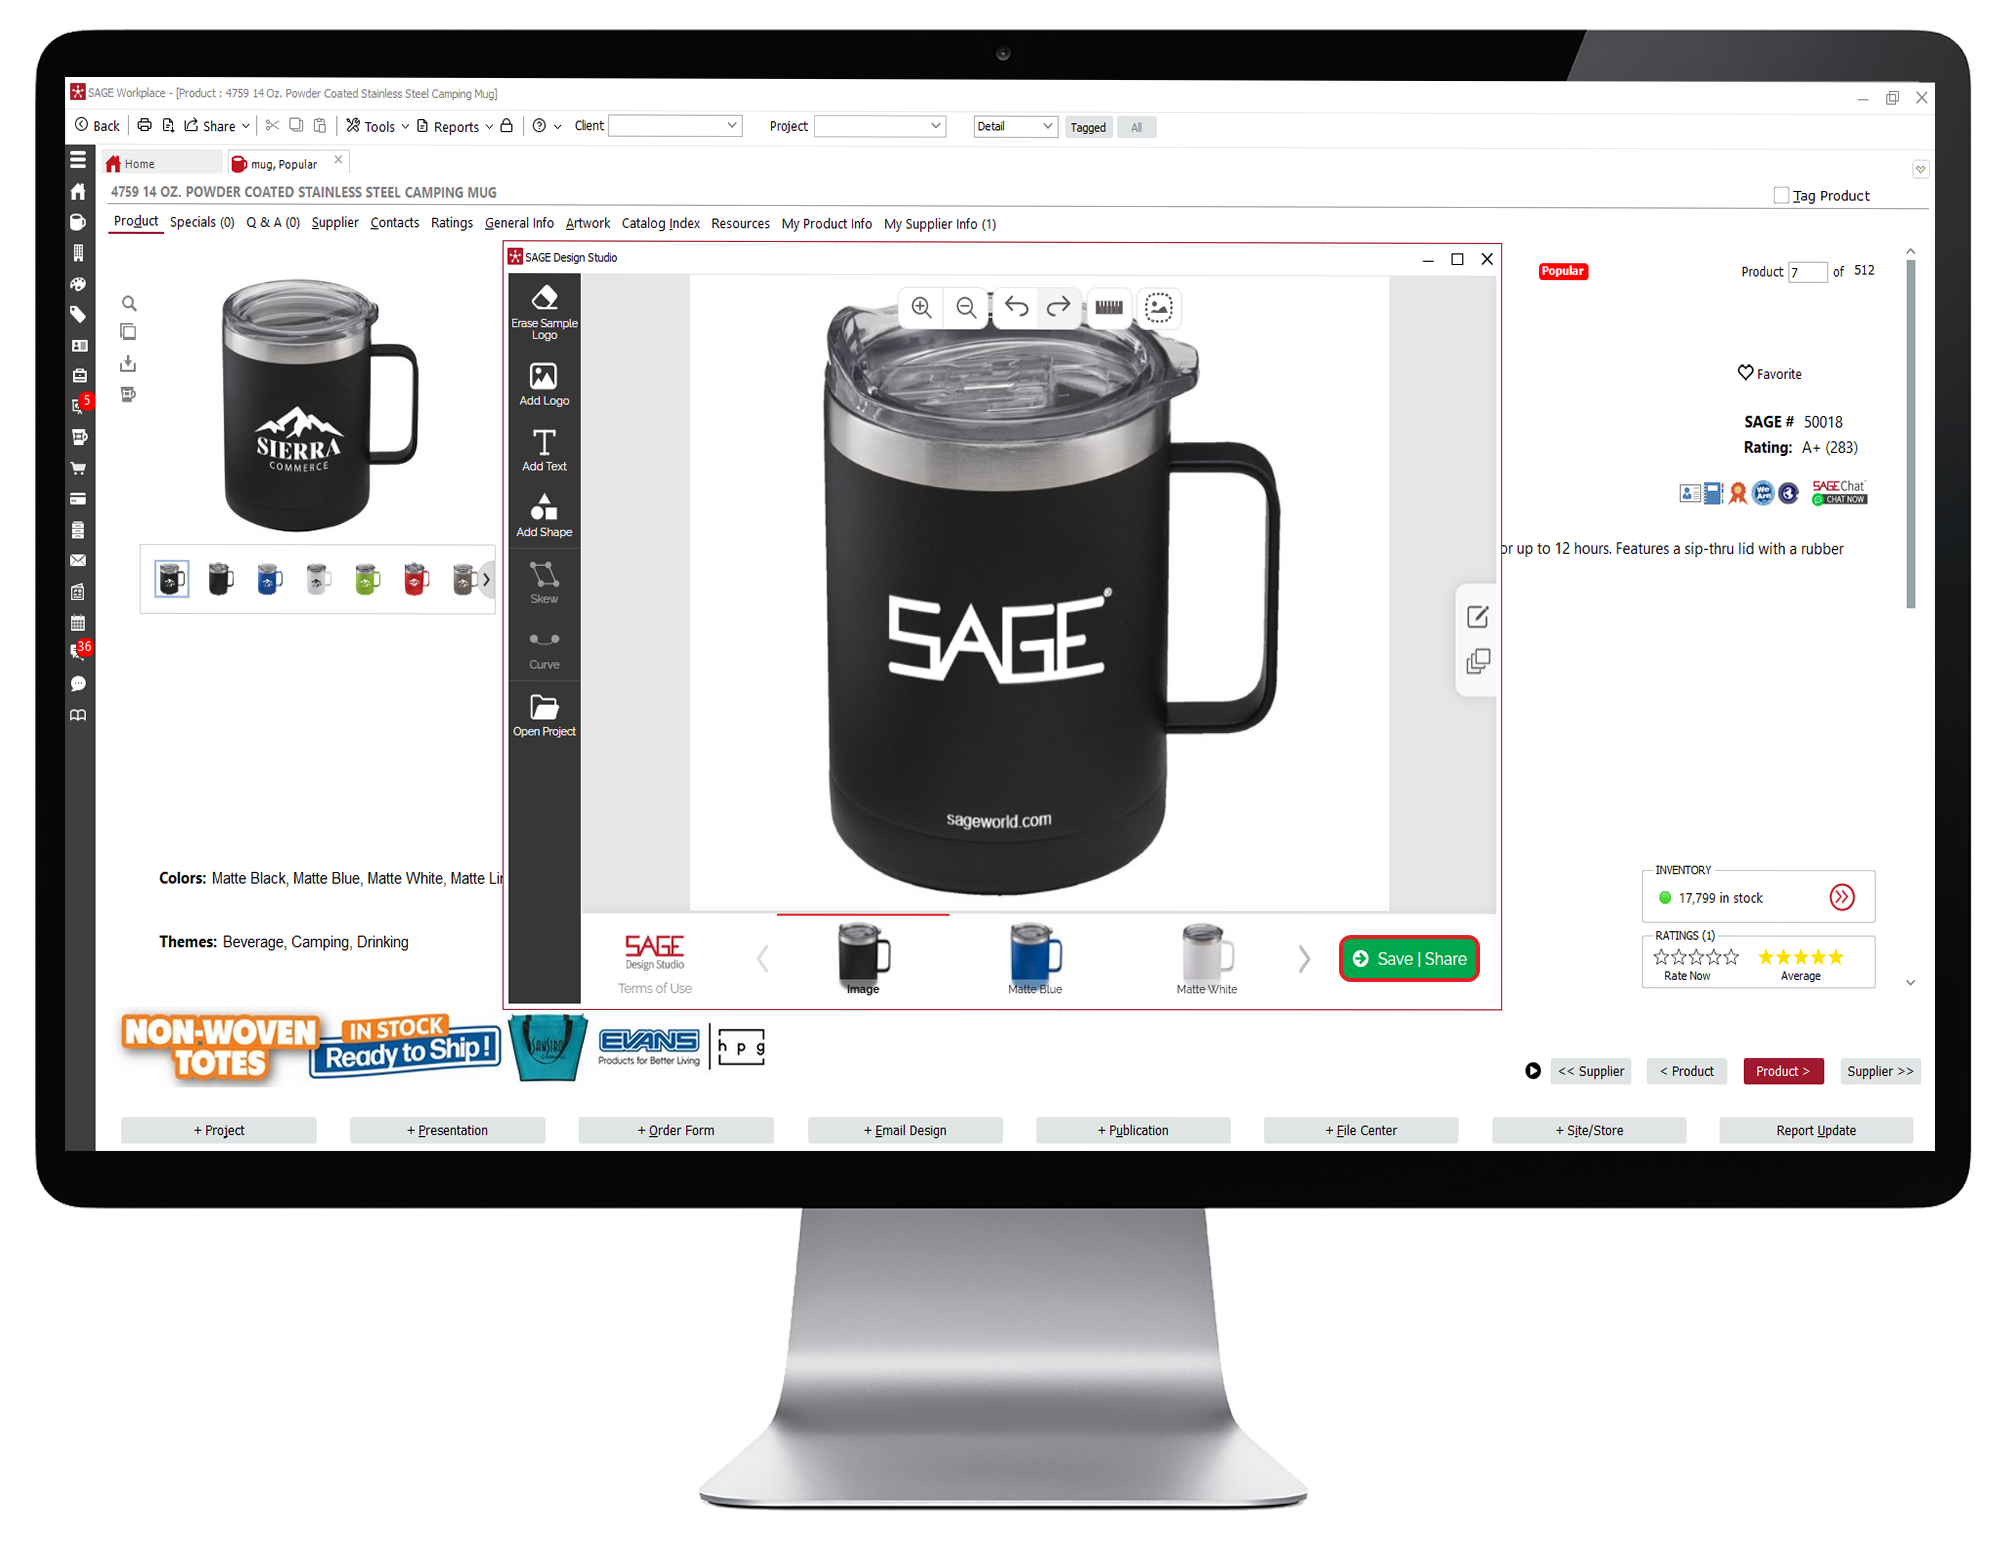
- Use your mouse to move, resize, or rotate your logo as needed to fit the product. If you make a mistake, use the Undo option in the controls at the top.
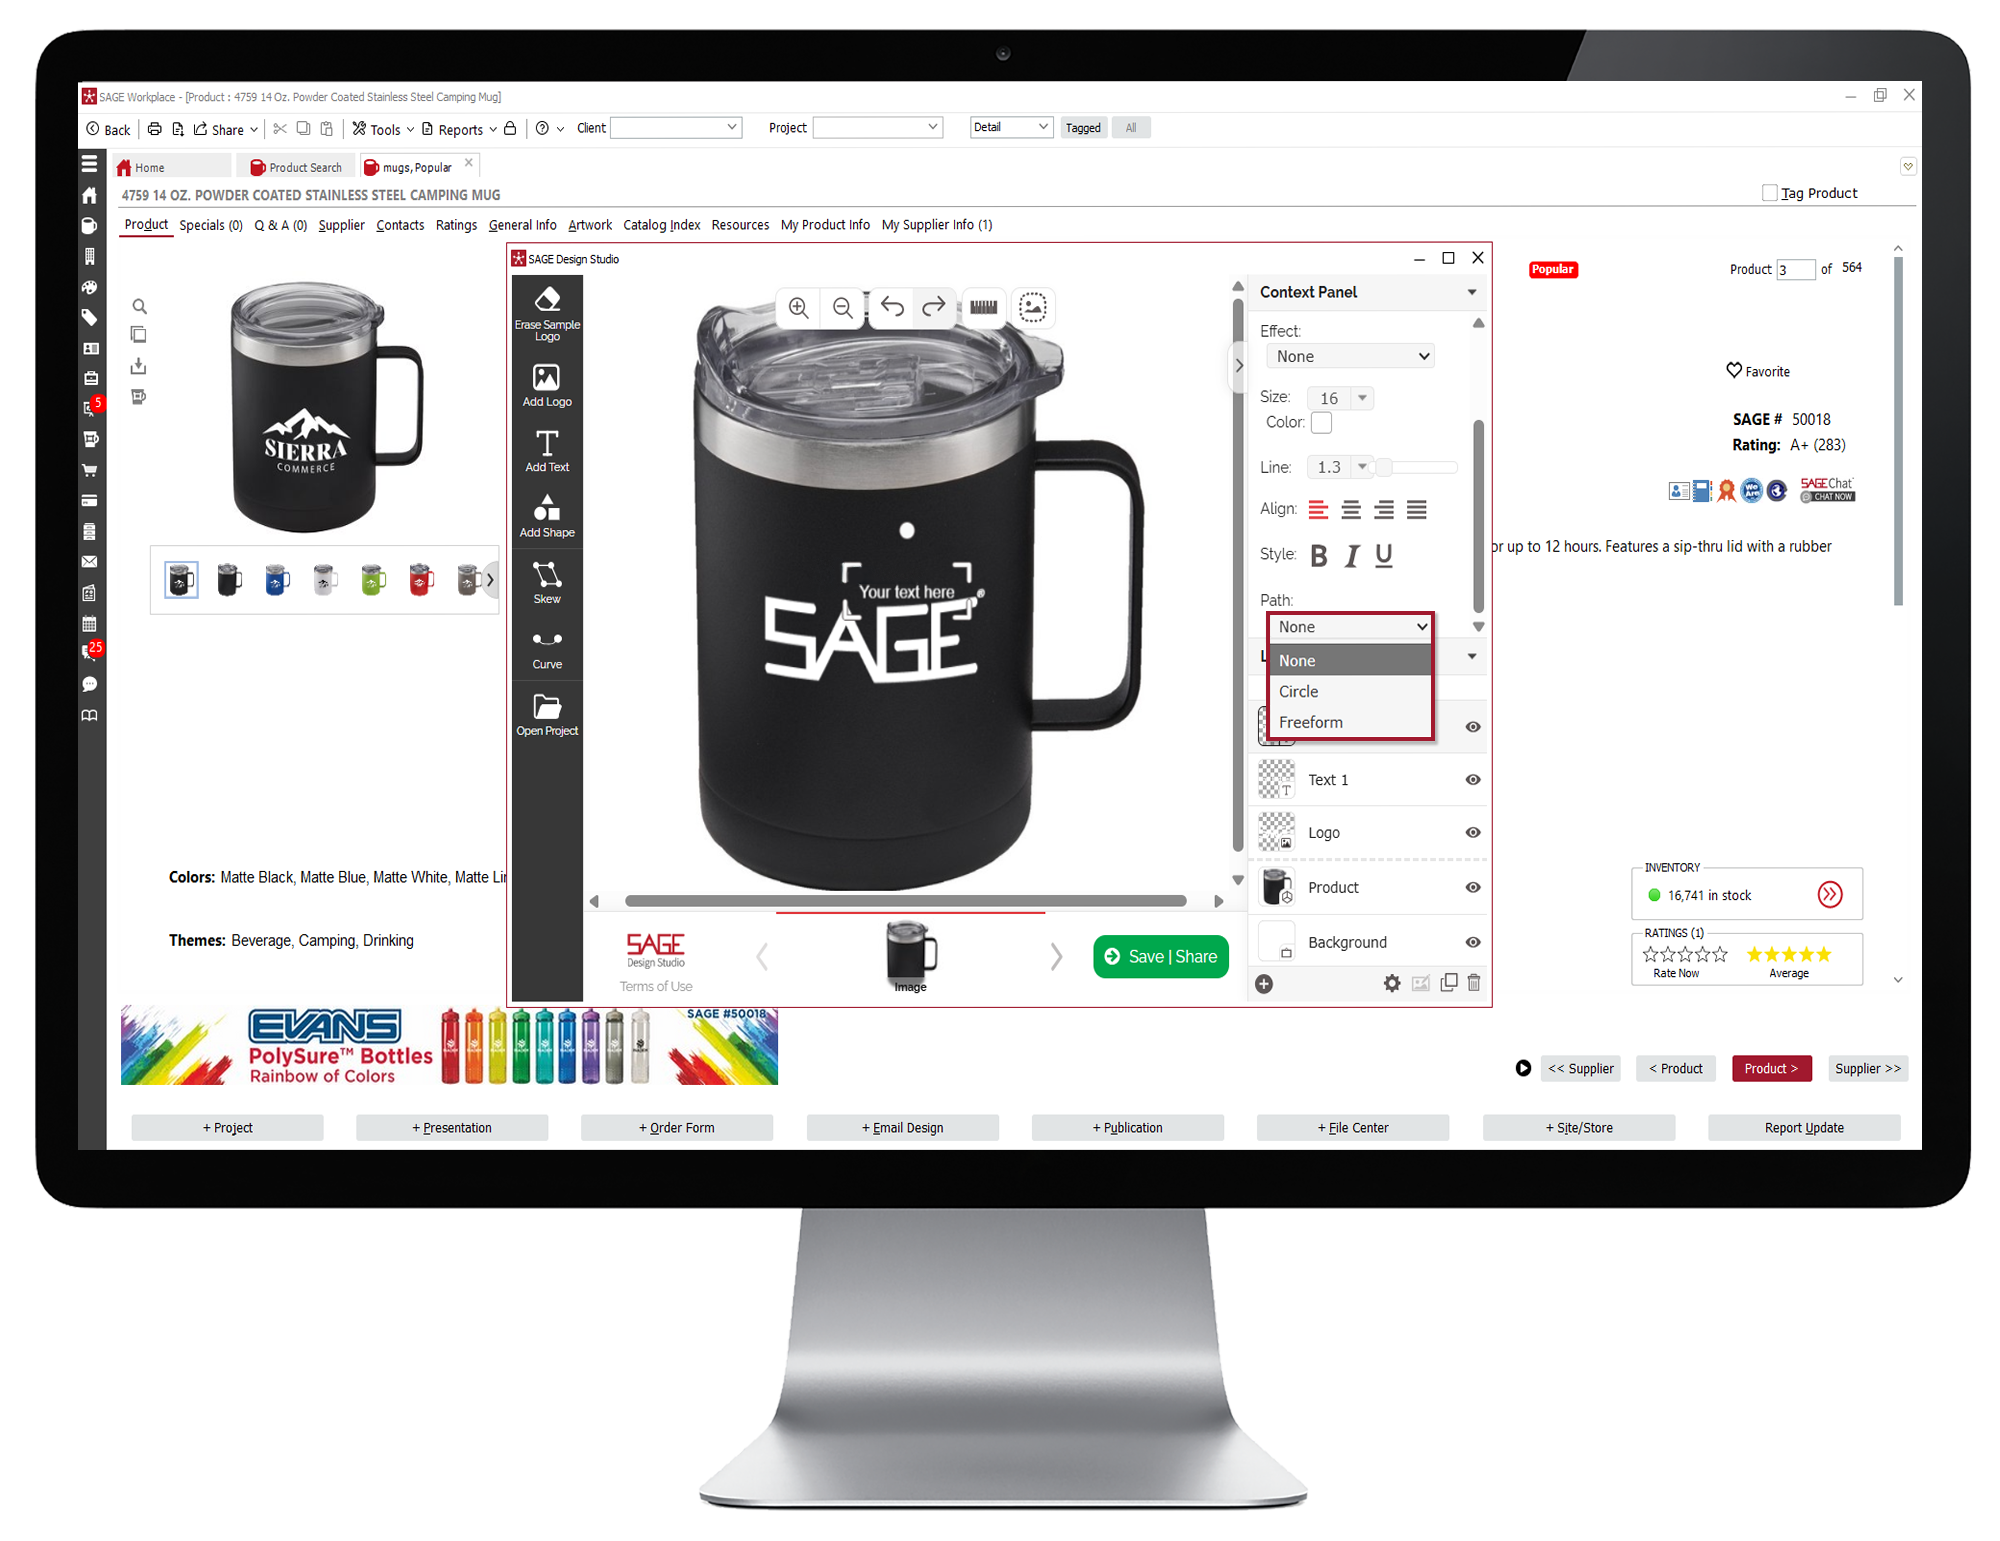
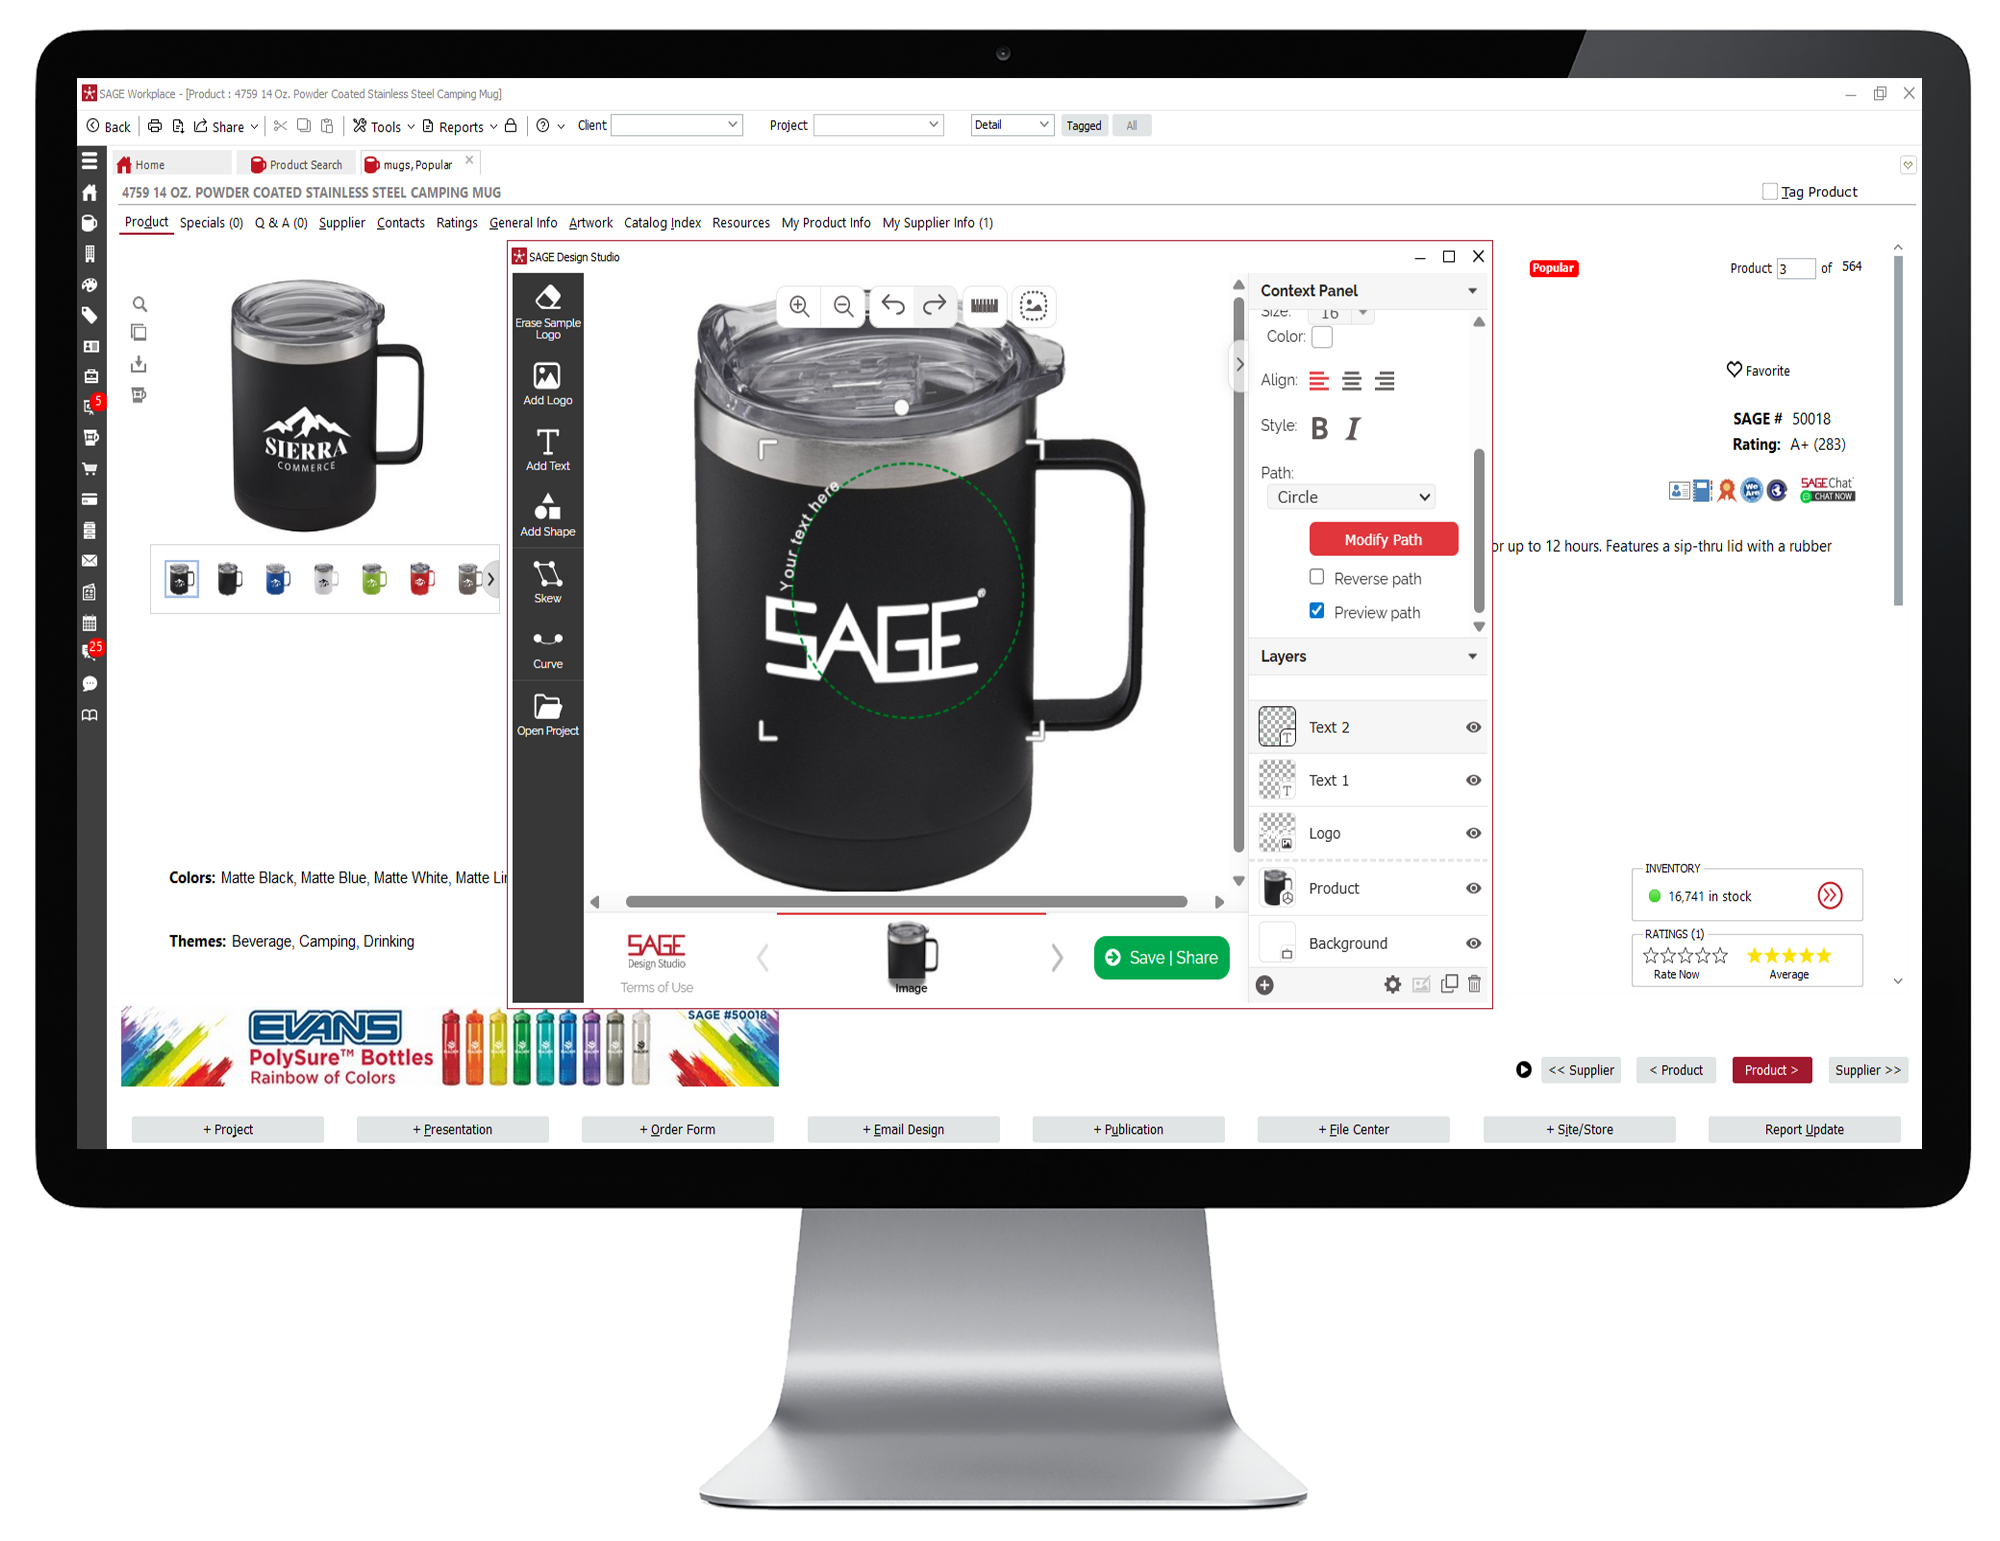
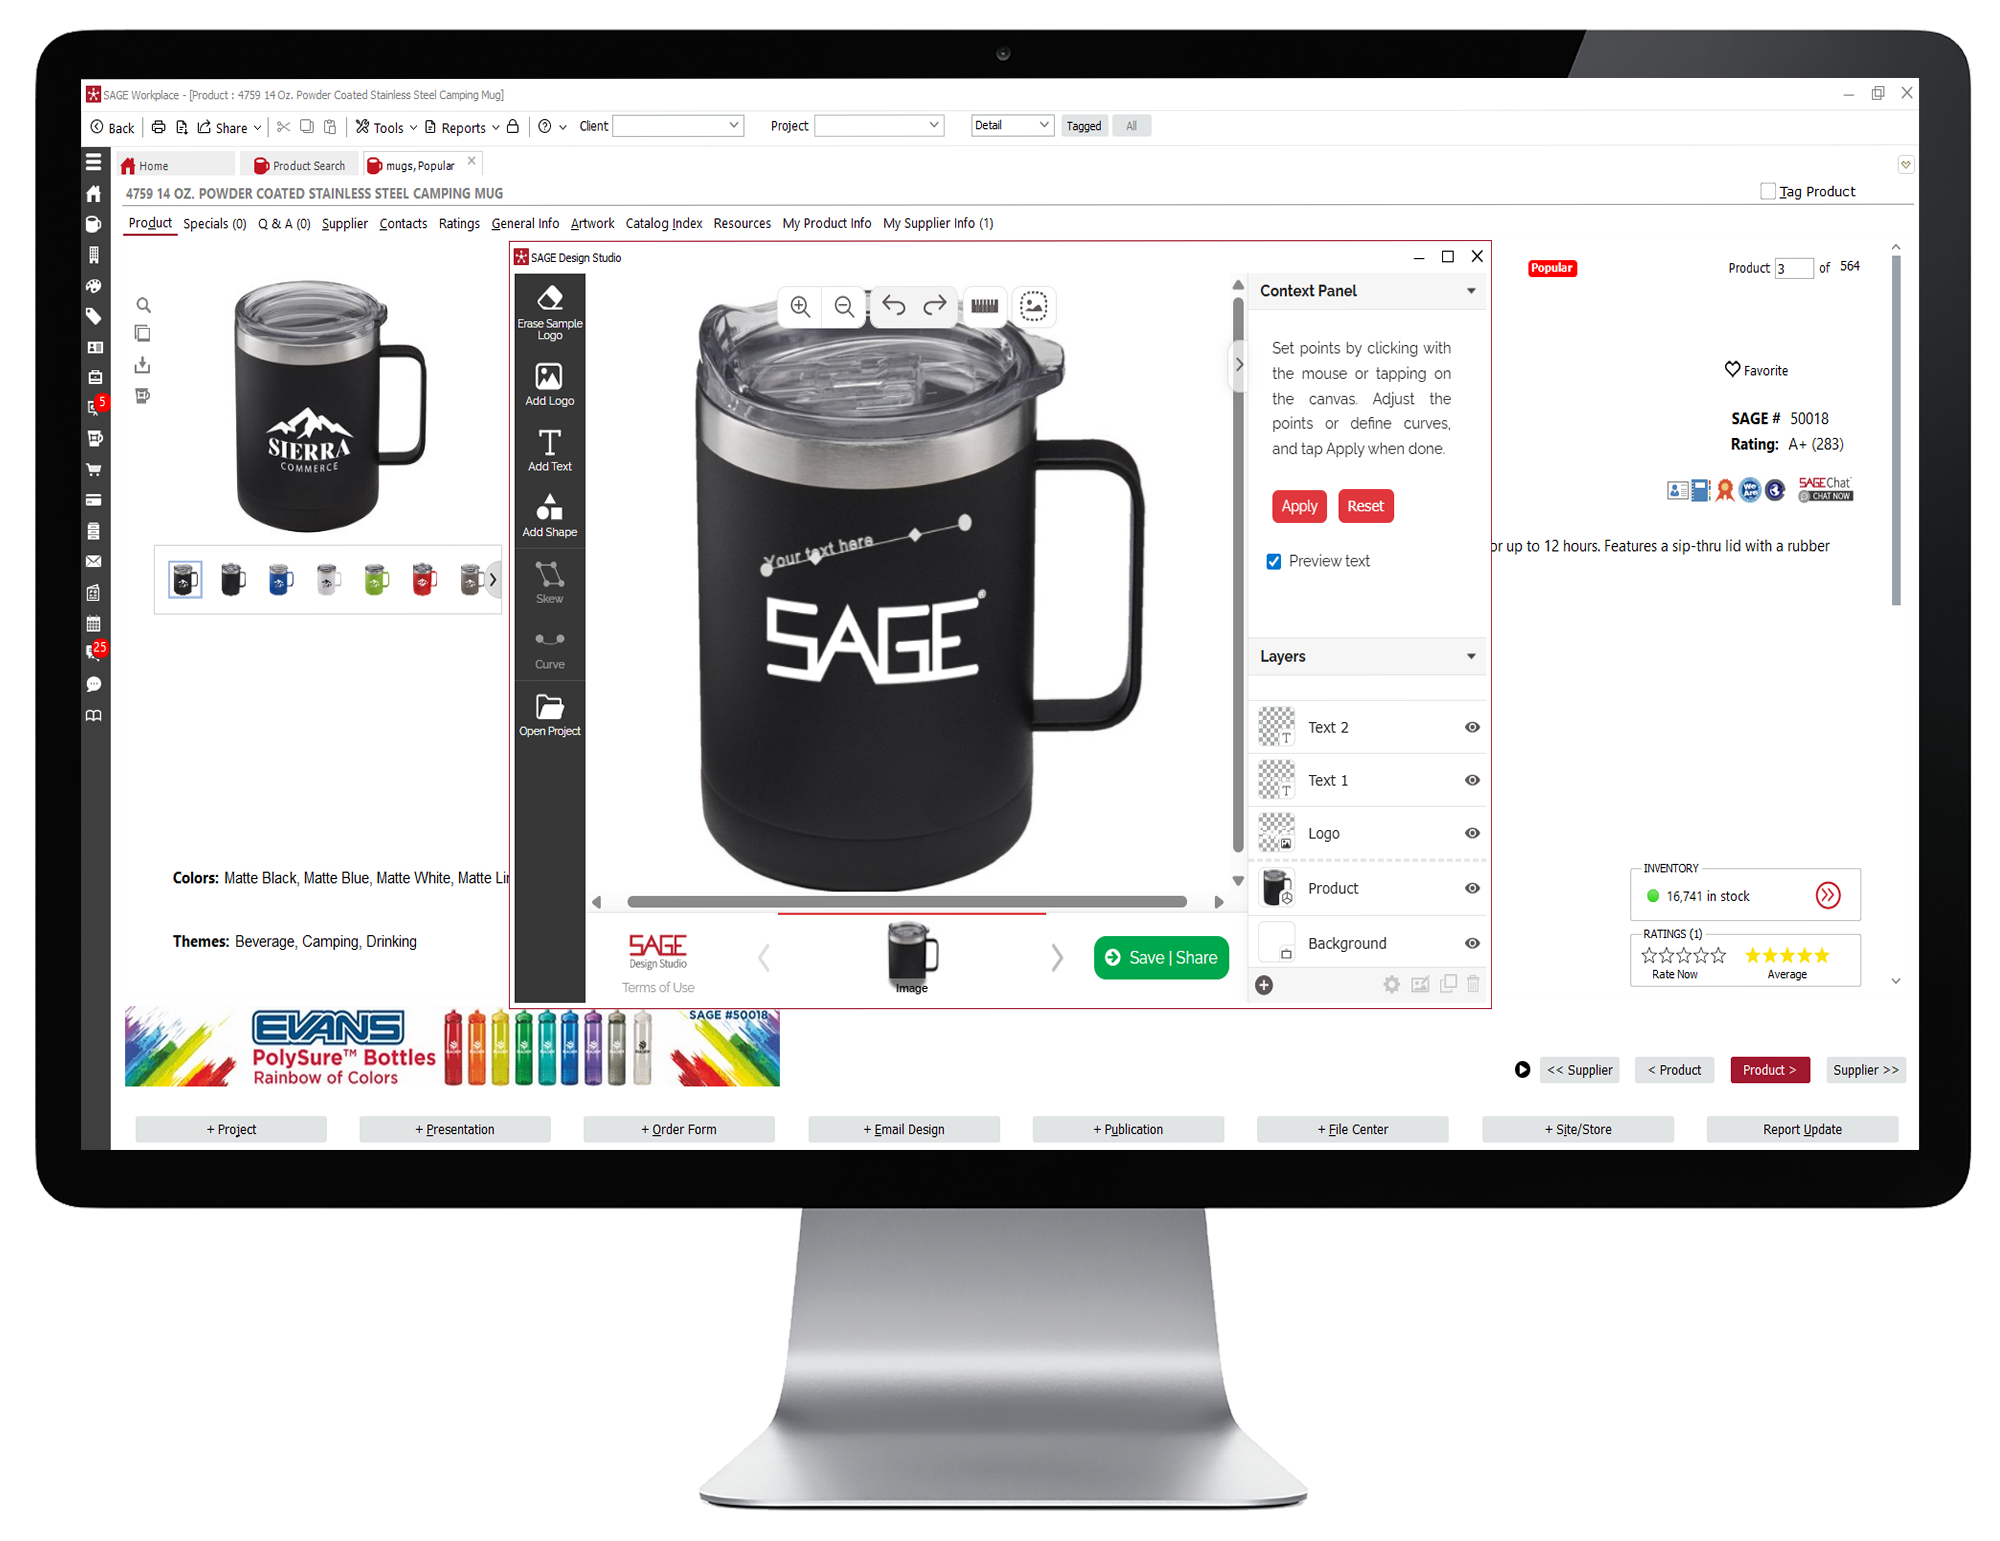
- You can also skew or curve your logo using the controls on the left to better fit the product. For example, if you are adding a logo to a mug, you would want to use the Curve function to curve the logo around the mug. Changing the perspective of your logo to fit the shape of the product you are adding the logo to creates a more realistic looking mockup.
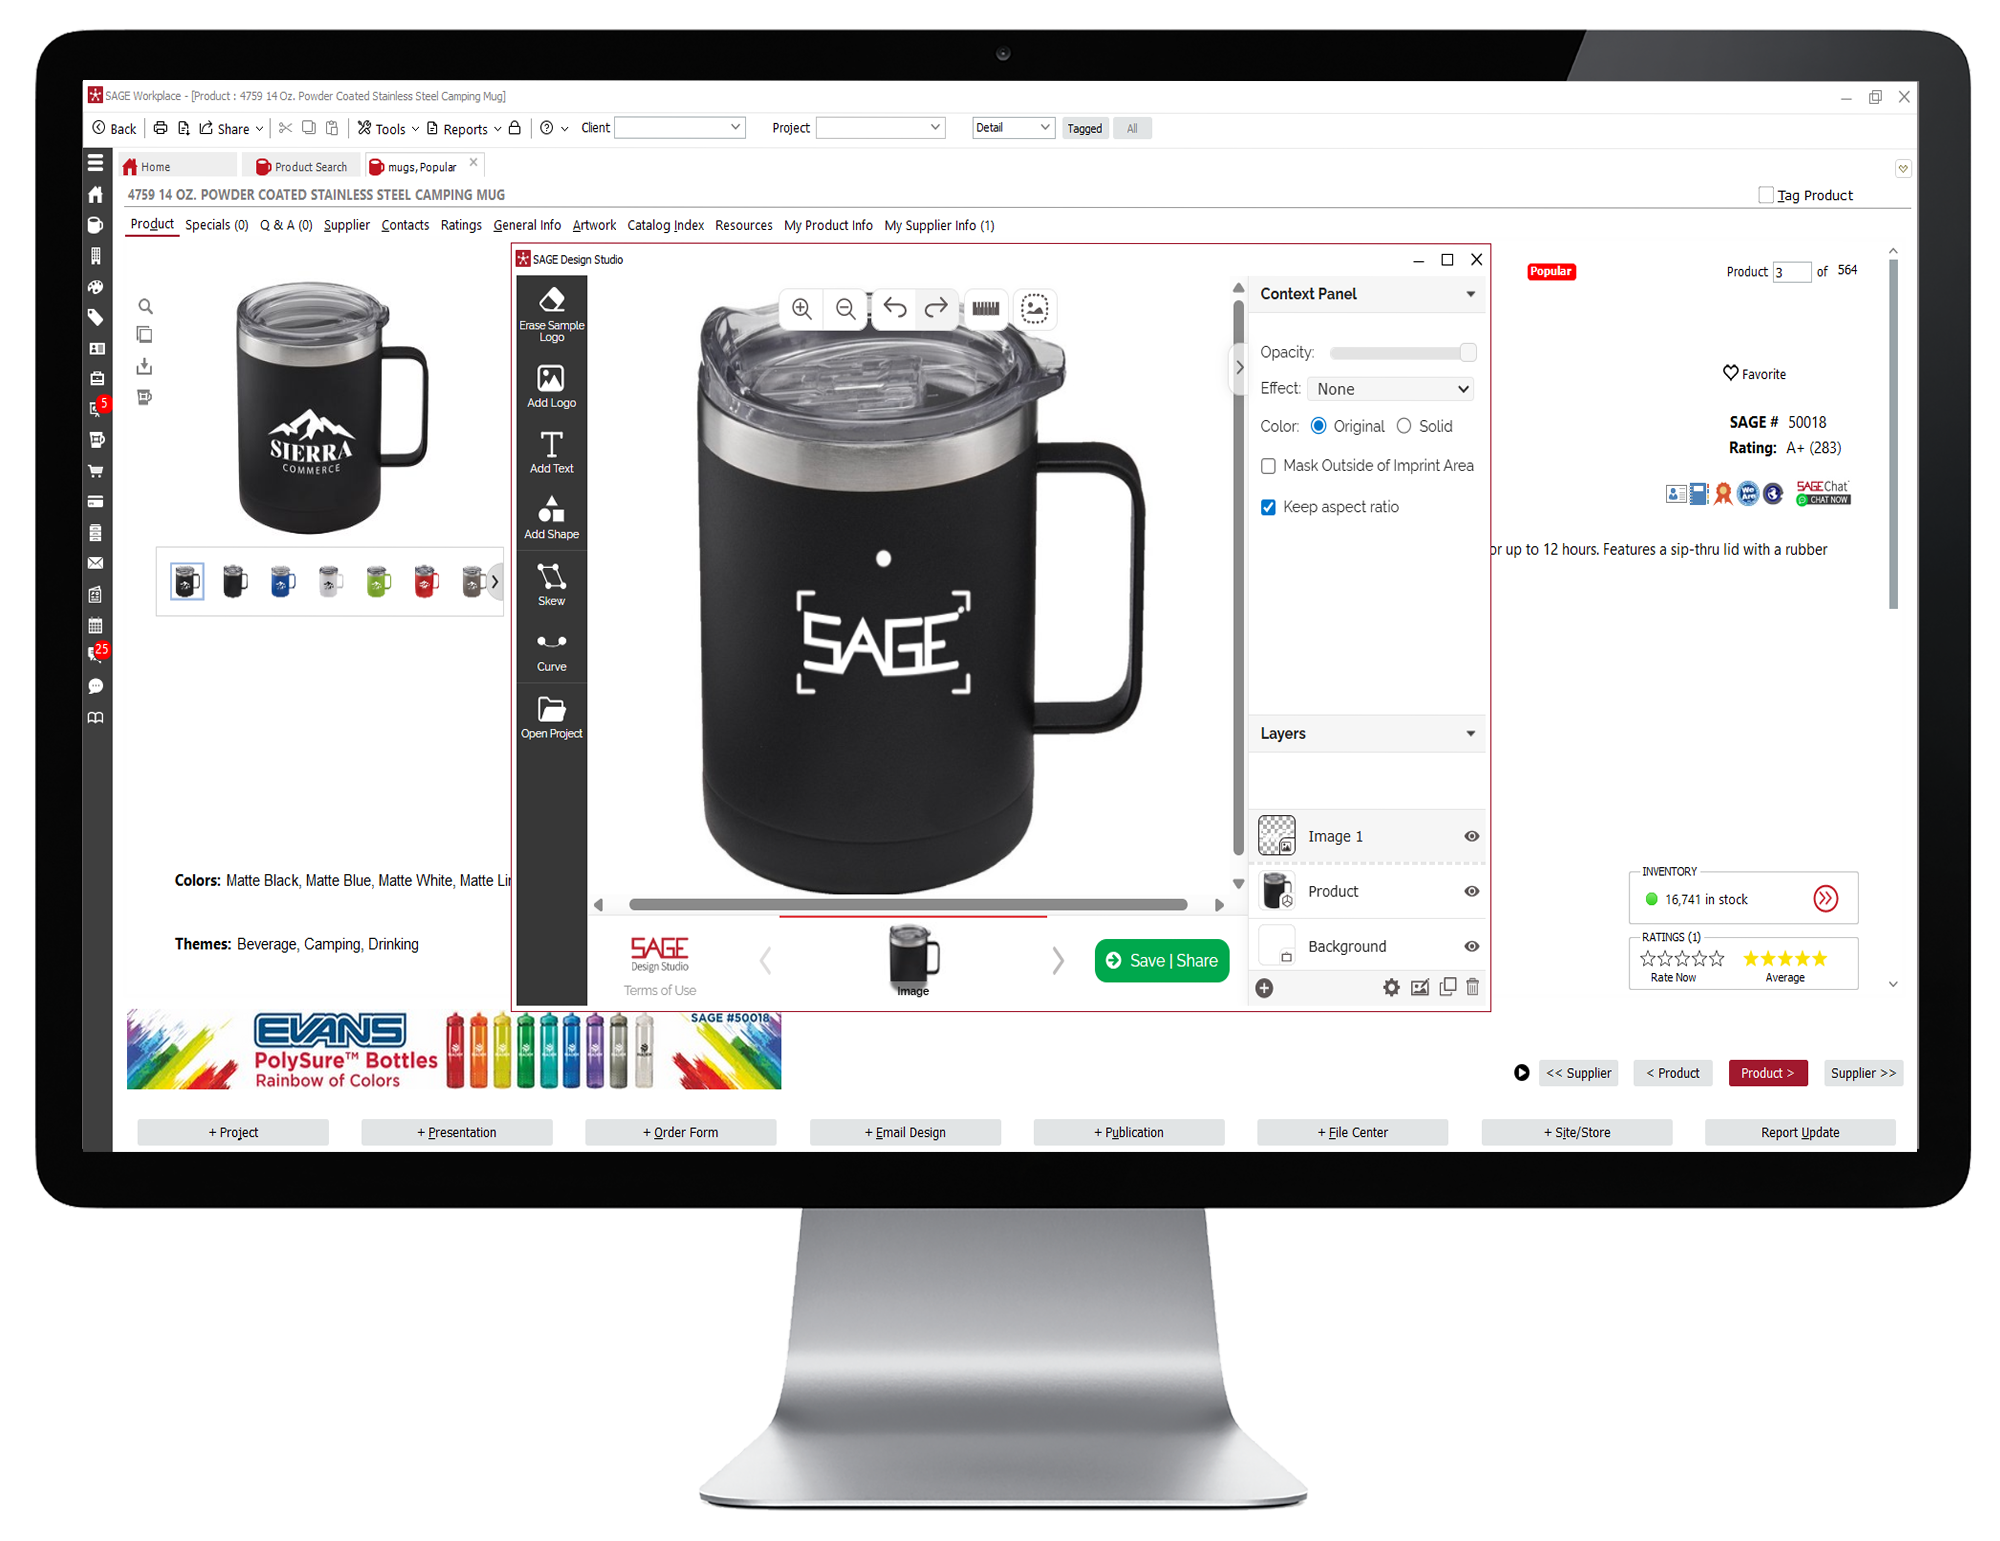
- To edit your logo, select the appropriate image in the Layers section of the panel on the right of the product image you’re working on. This will allow you to crop your logo, use the paint option to add to your logo, or the fill option to change the background color.
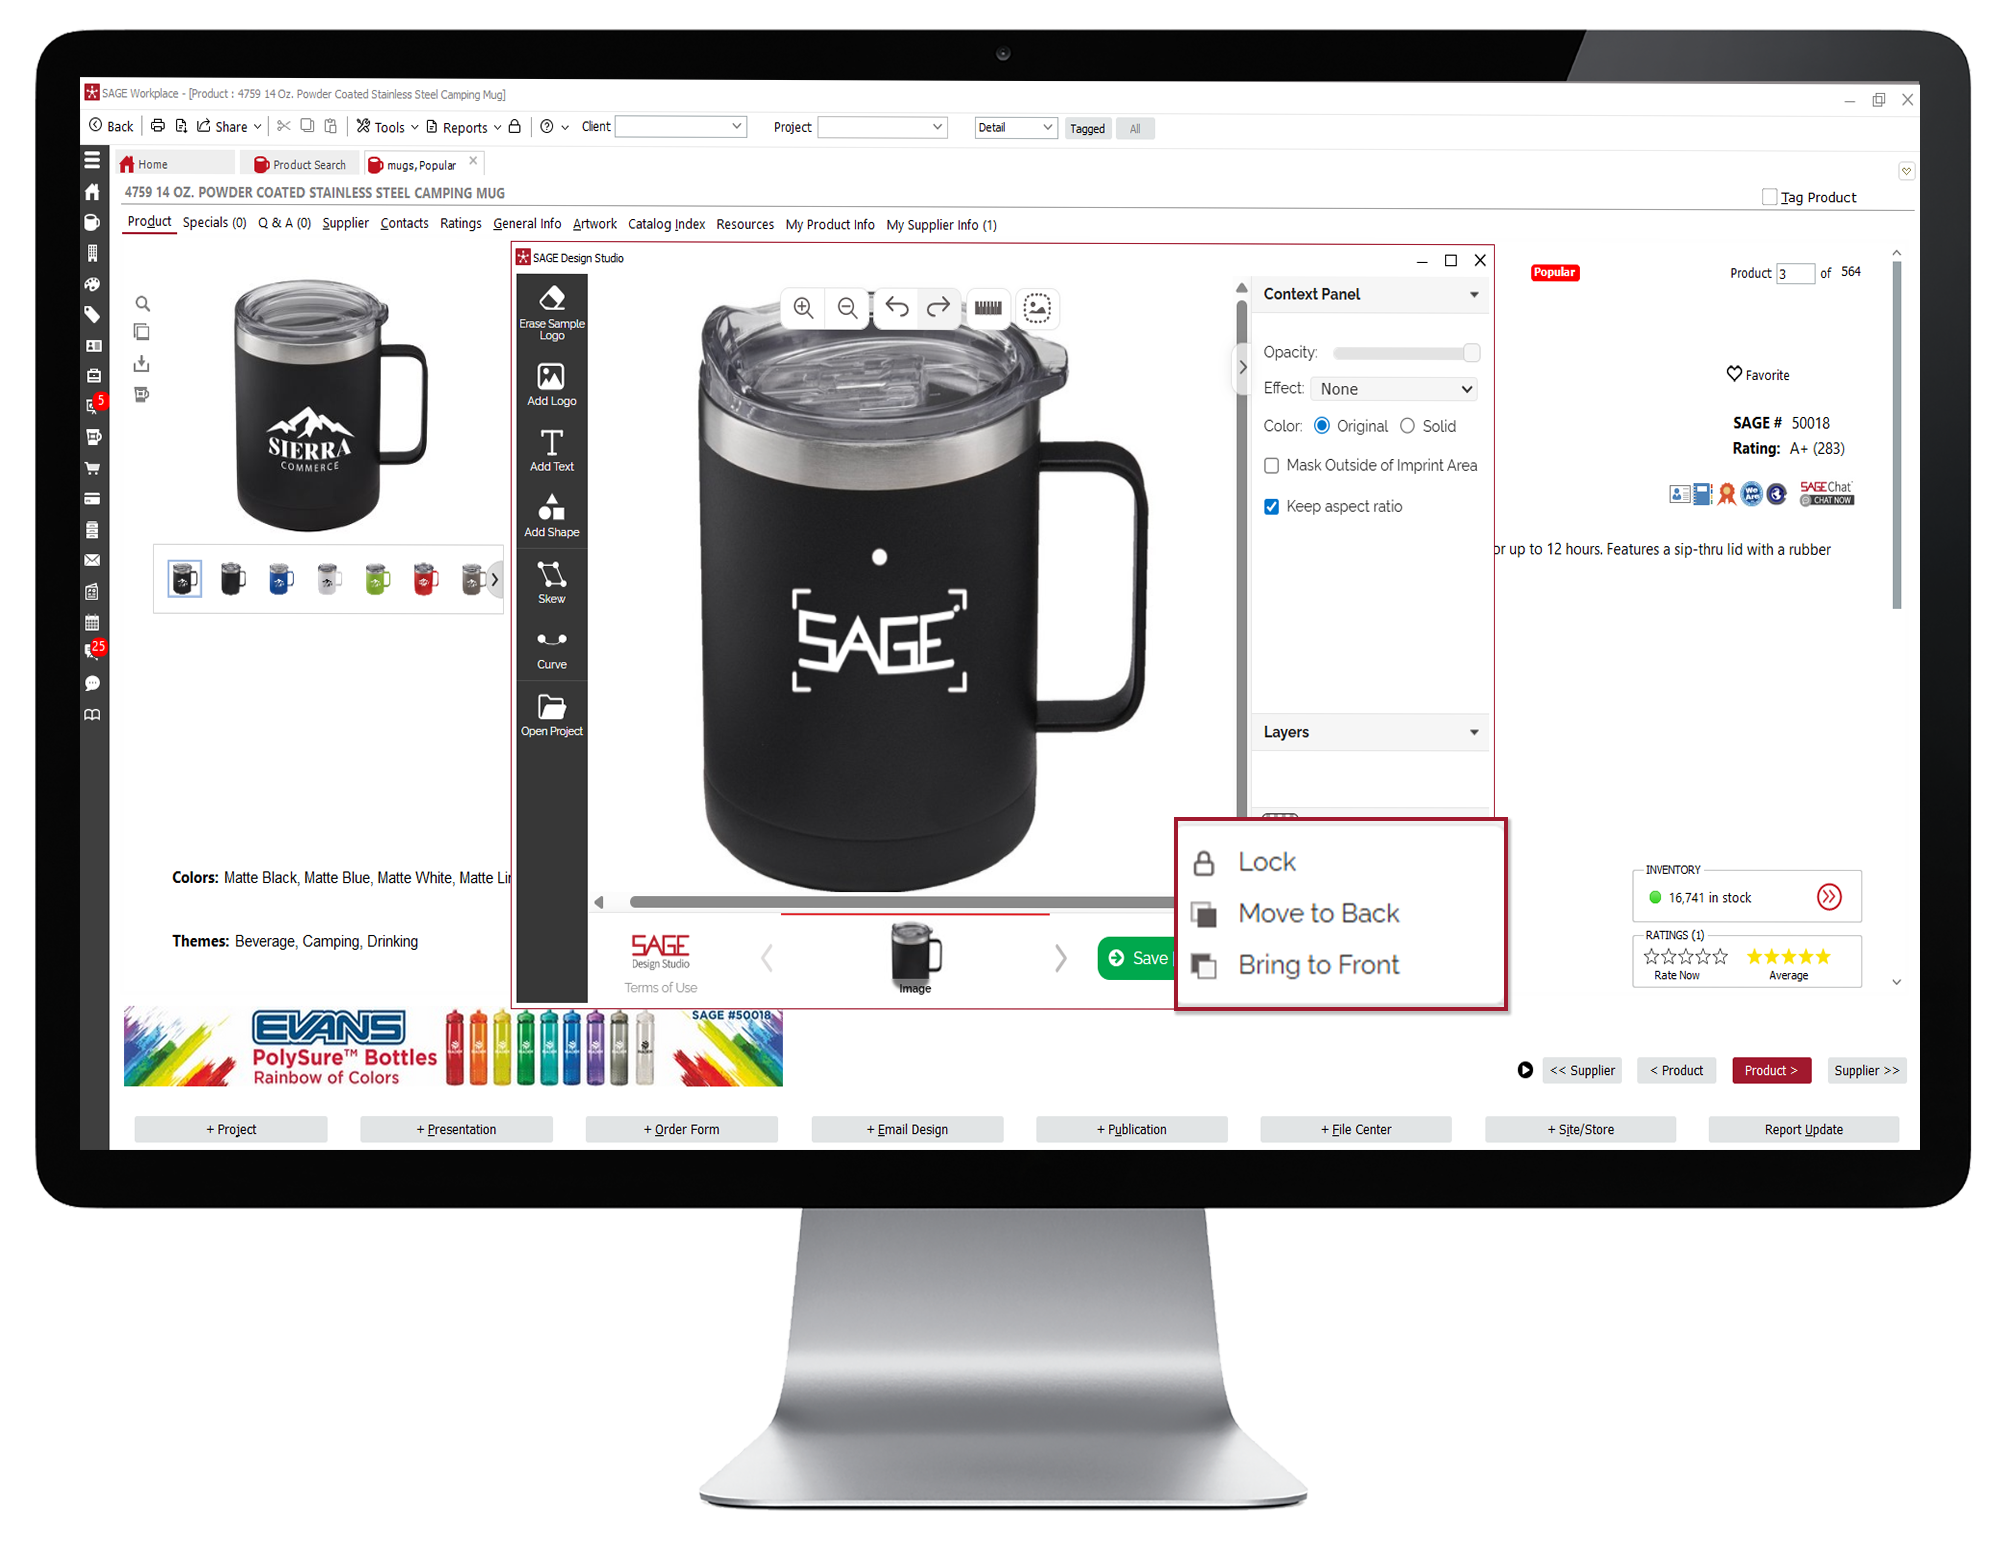
- If you have uploaded multiple images to imprint and need one image to appear in front of the other, select the image you want to appear in front or back. Then click the gear icon at the bottom of the panel on the right and choose Bring to Front or Move to Back.
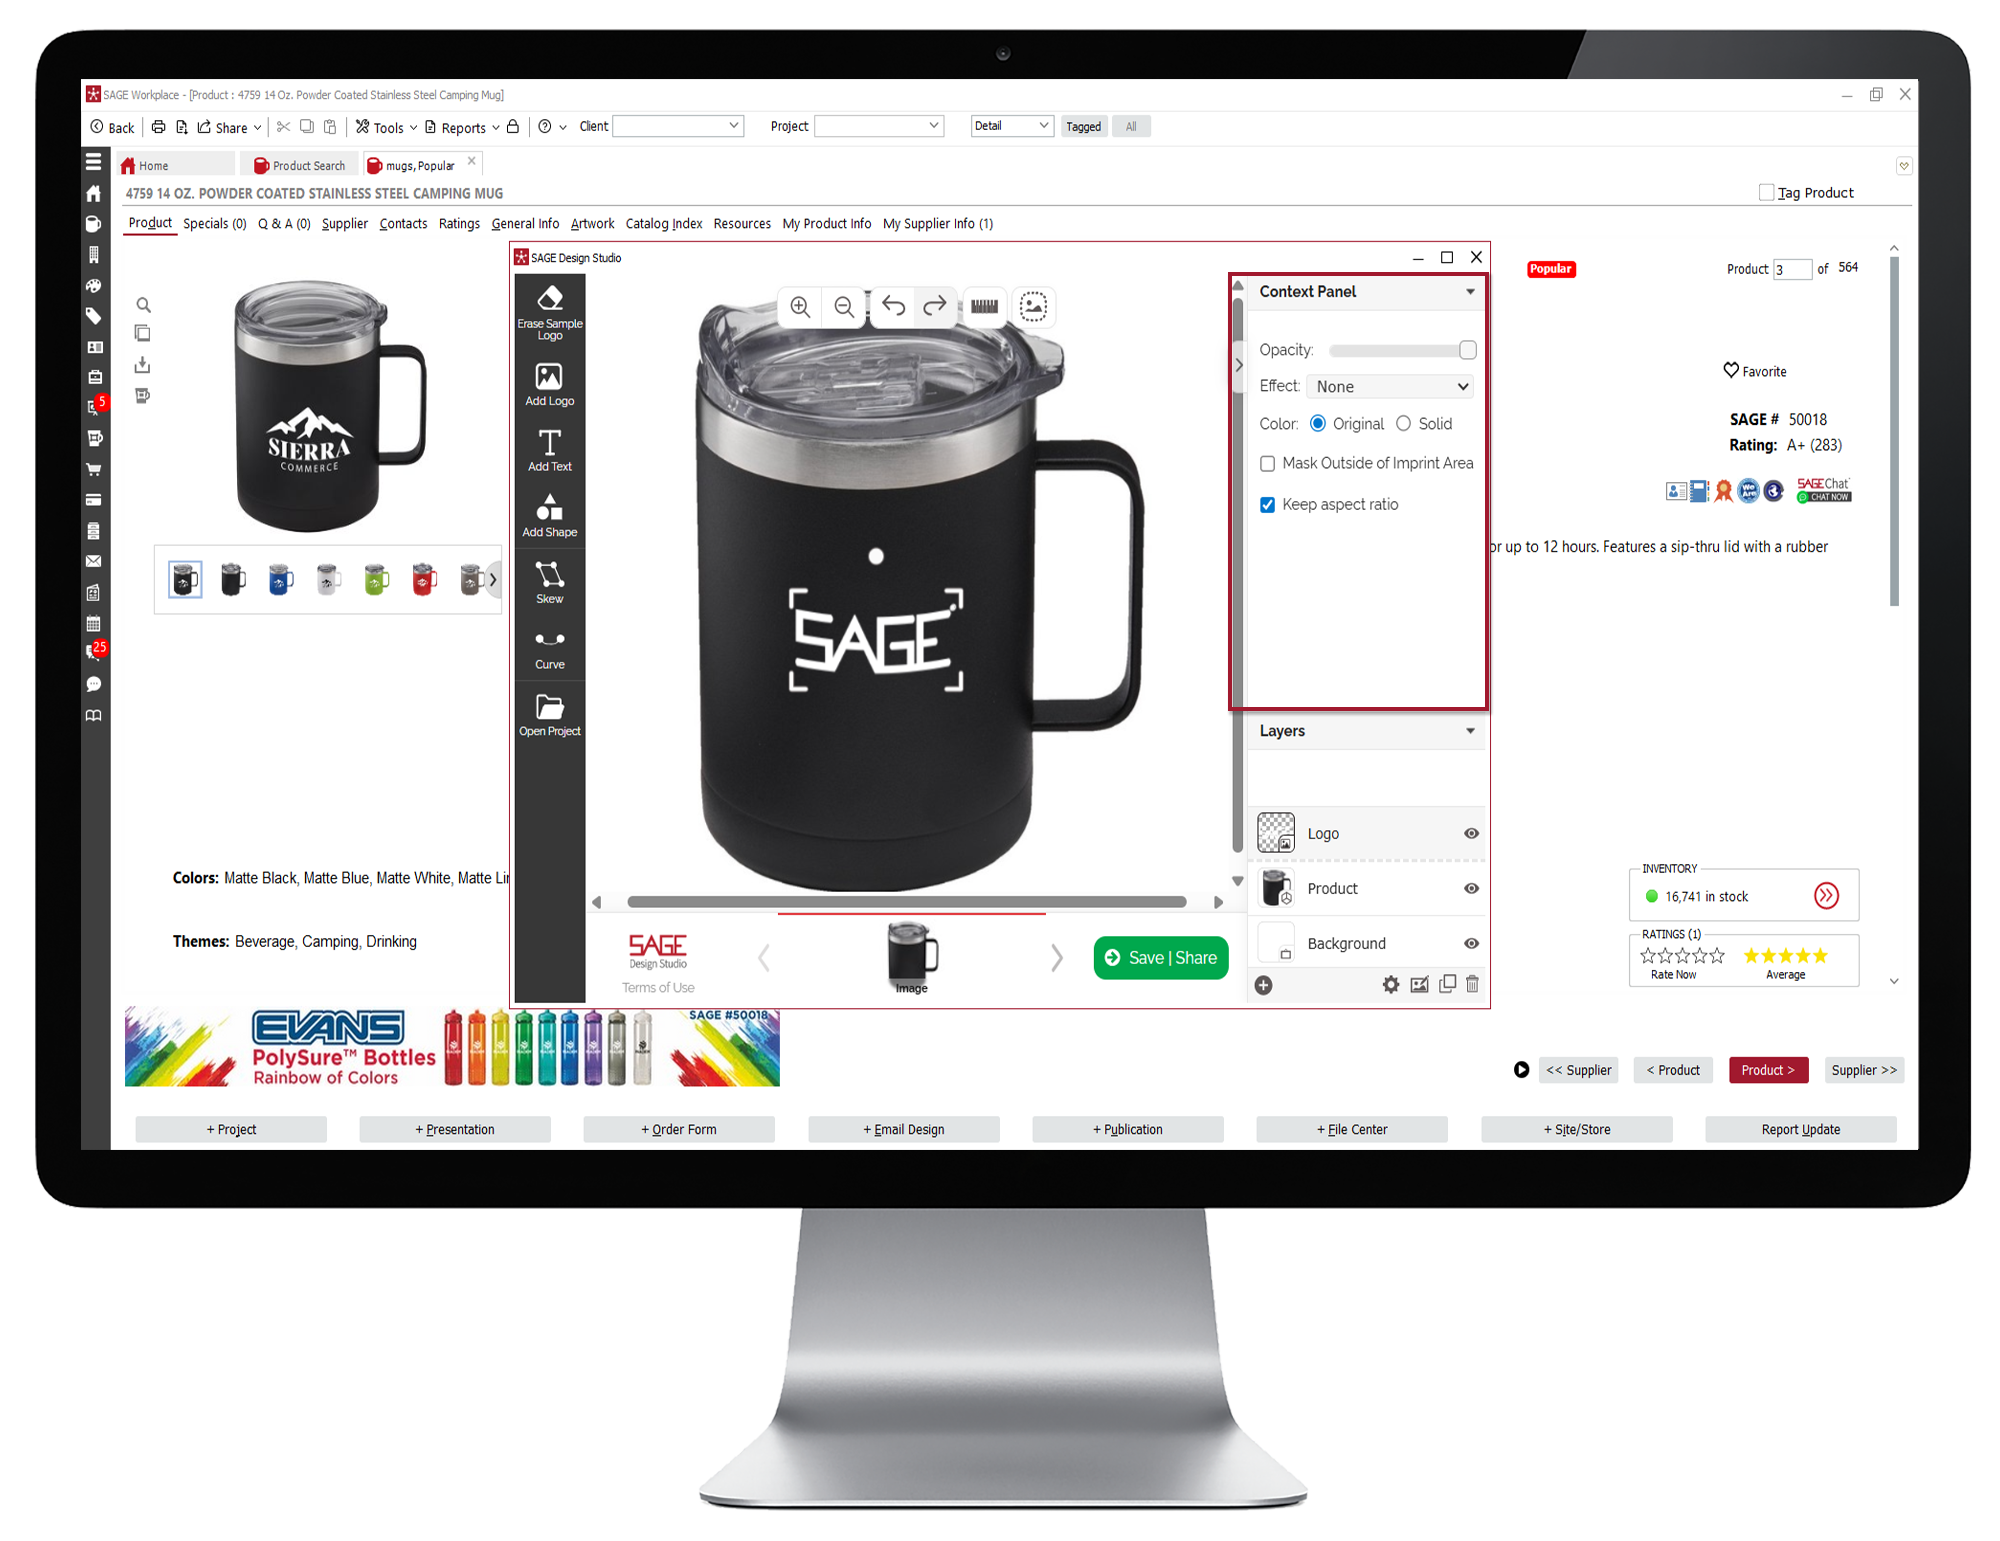
- You can also use the settings in the Context Panel to adjust the opacity of your logo or pick the imprint effect. To pick the imprint effect, select your preferred imprint method from the drop down menu. You can select emboss, deboss, embroidery, laser engraving, or gold or silver foil stamping. This allows you to see a better representation of what your logo will look like with different imprinting methods.
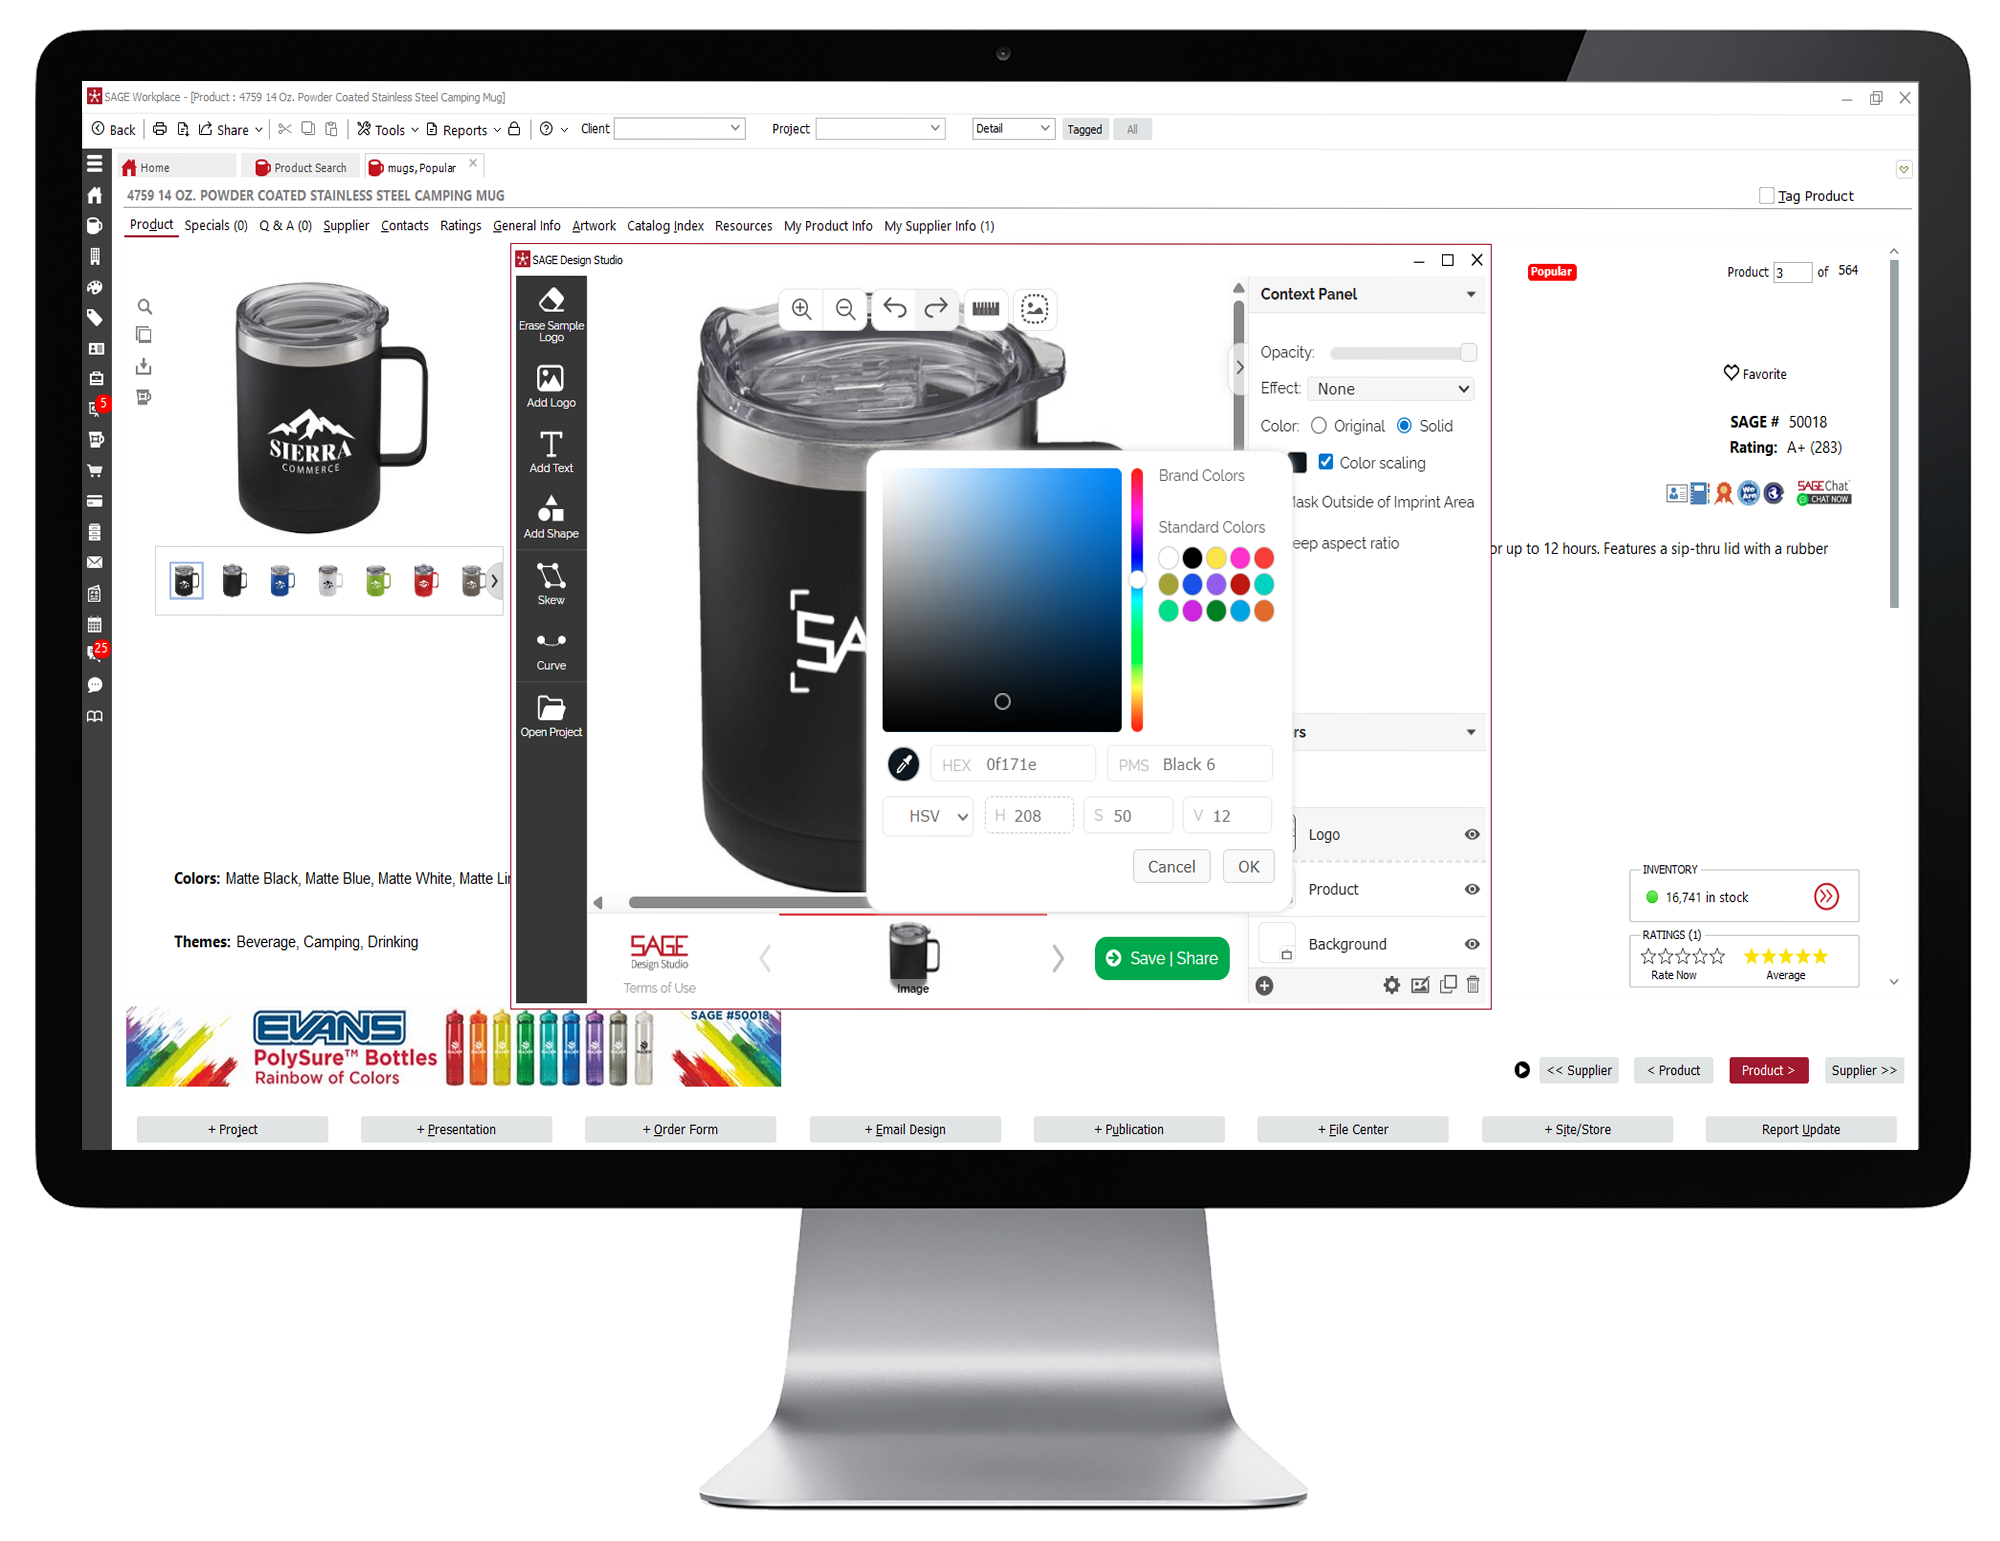
- To change the color of your logo, select “Solid” in the Context Panel where you’re given the option to choose the color. Next, click the solid-colored box to open the Color Picker. This will open a pop up where you can select a different color for your logo. All the brand colors that appear in the logo will be listed at the top or you can select from the standard color options. Use the eyedropper or color scale or enter the HEX, PMS, HSV, or RBG values that you want. Once you have selected the color of your choice, click OK.
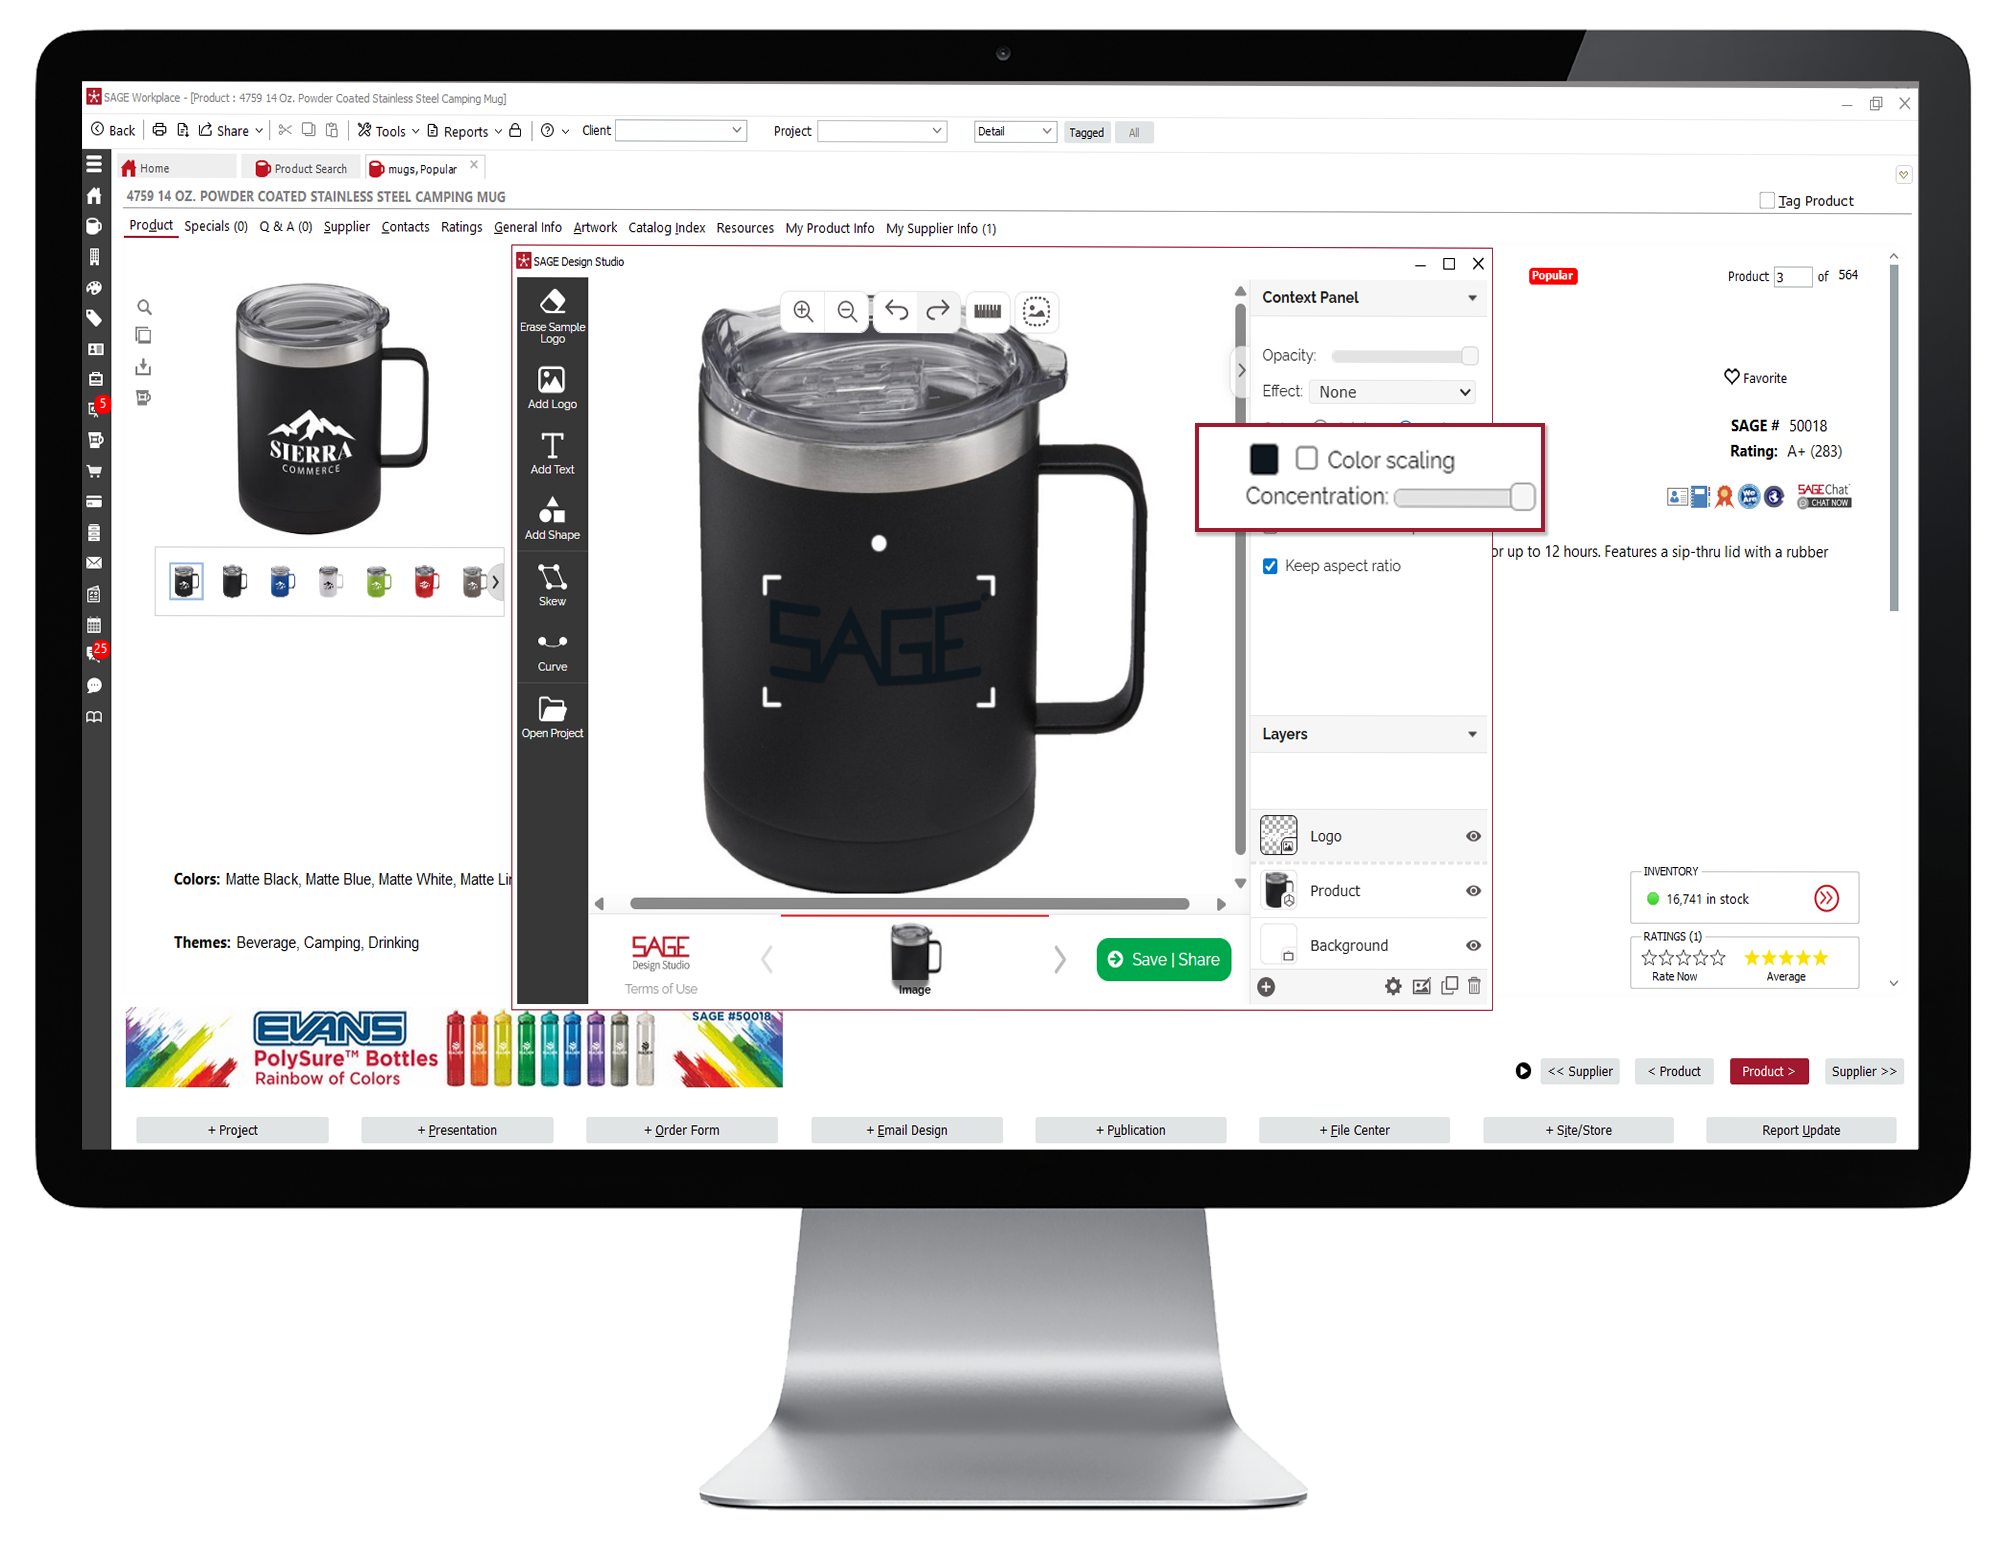
- The Color Scaling option determines how concentrated you want the new color in your logo to appear and will be selected by default. If you would like to make the color appear less concentrated, uncheck Color Scaling, and use the Concentration slider to change the intensity of the color you have selected.
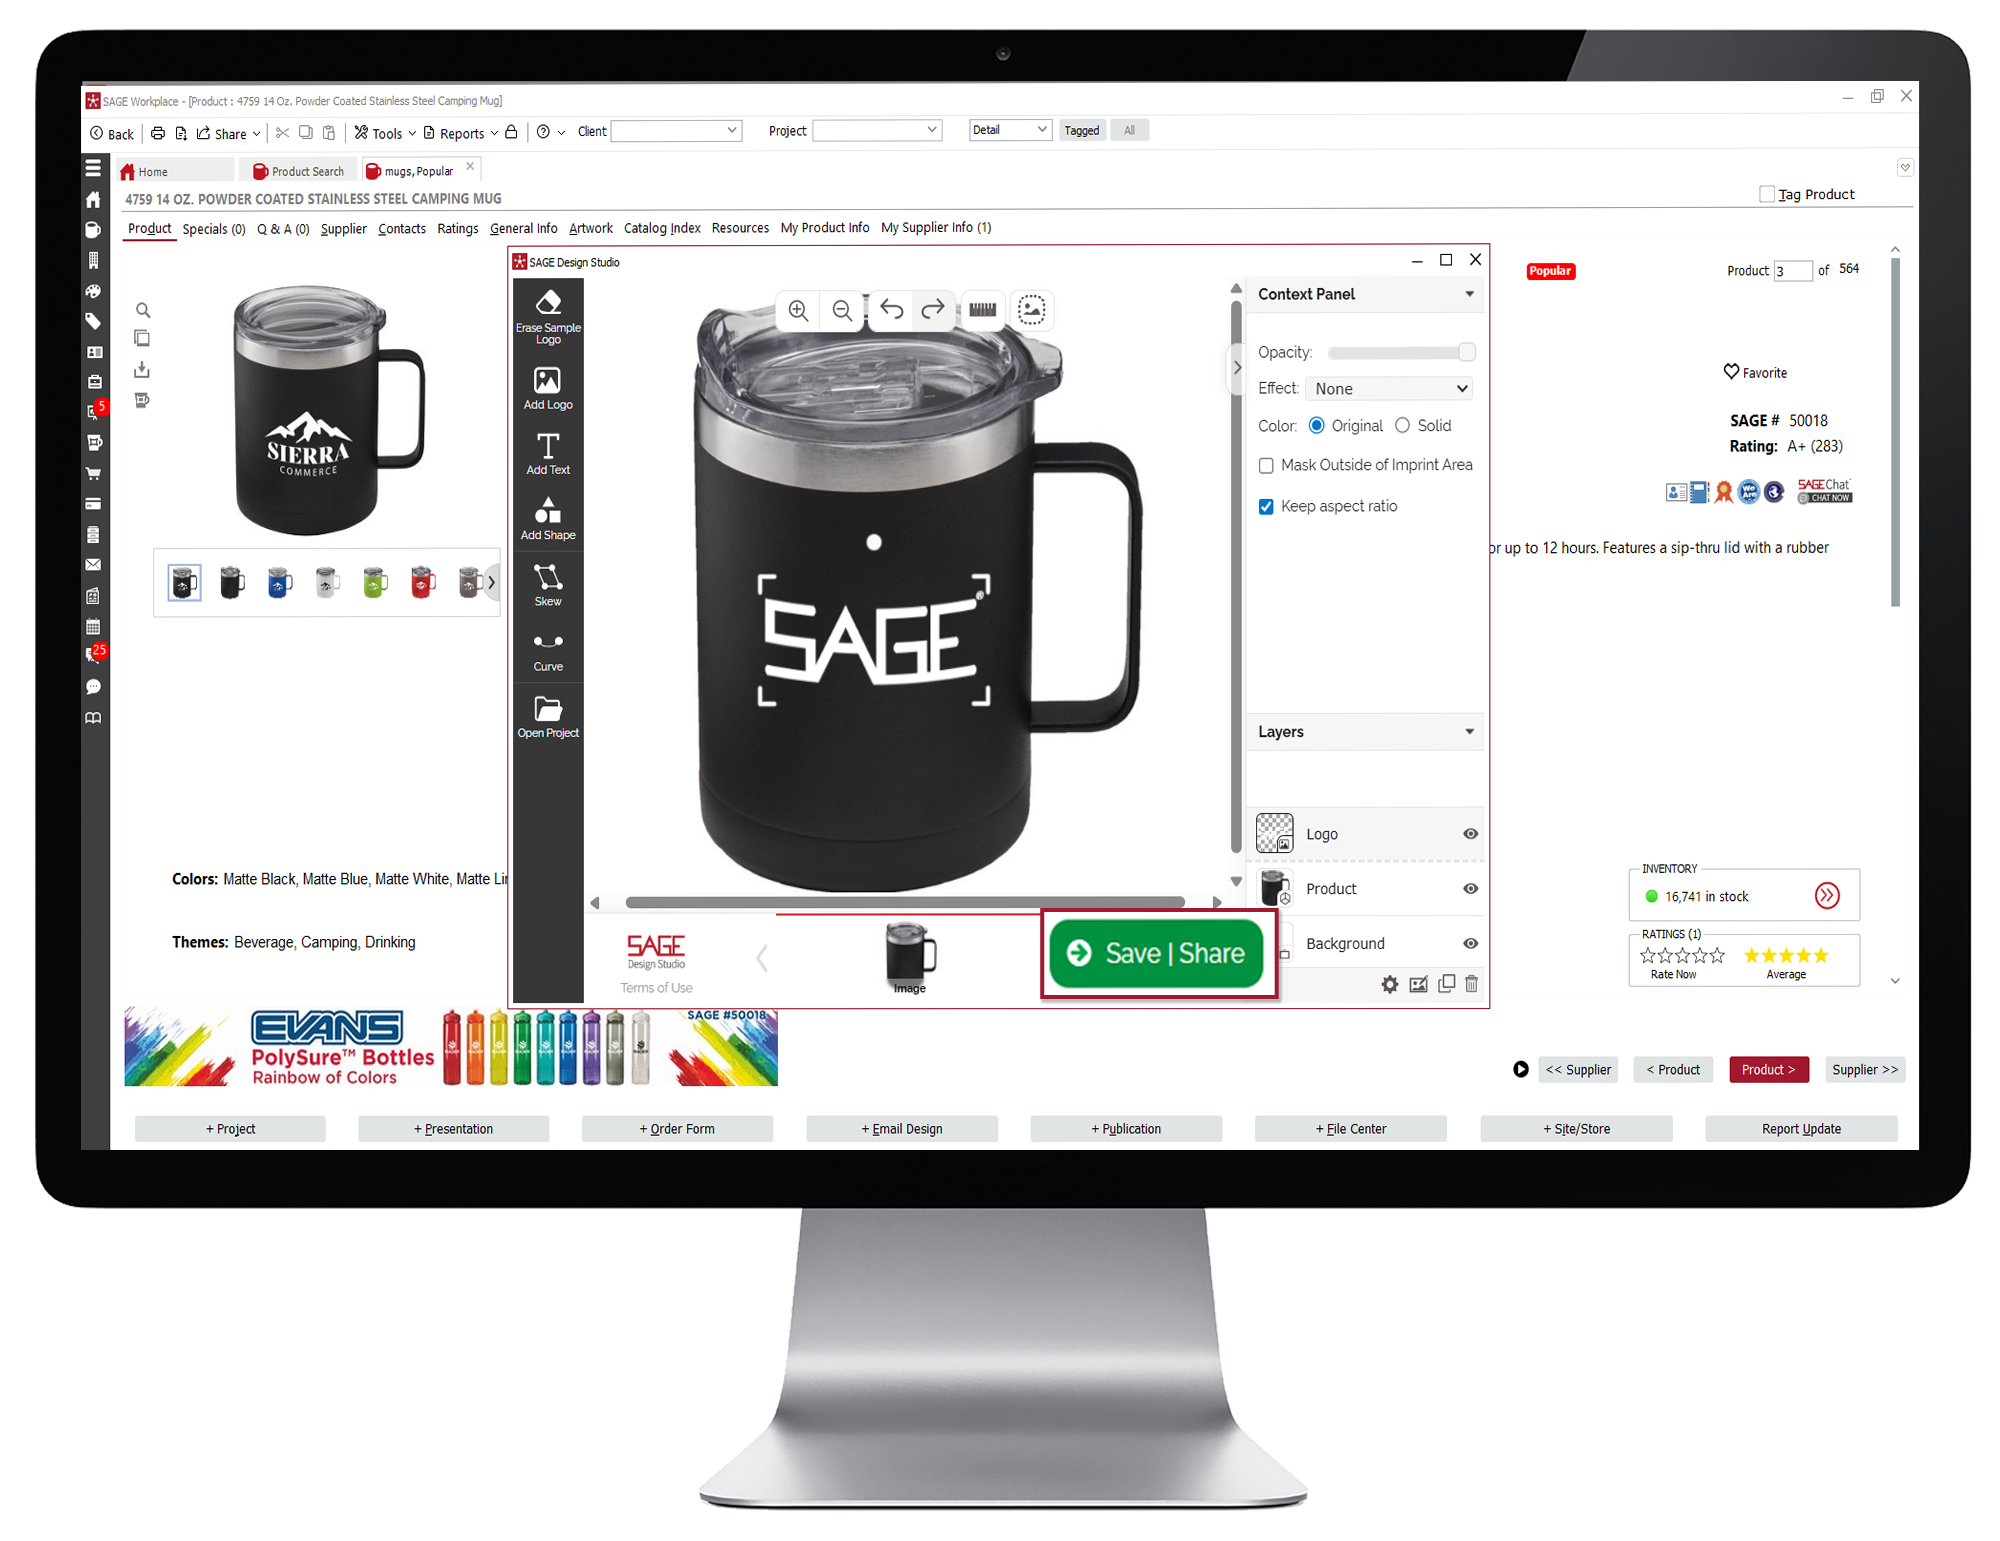
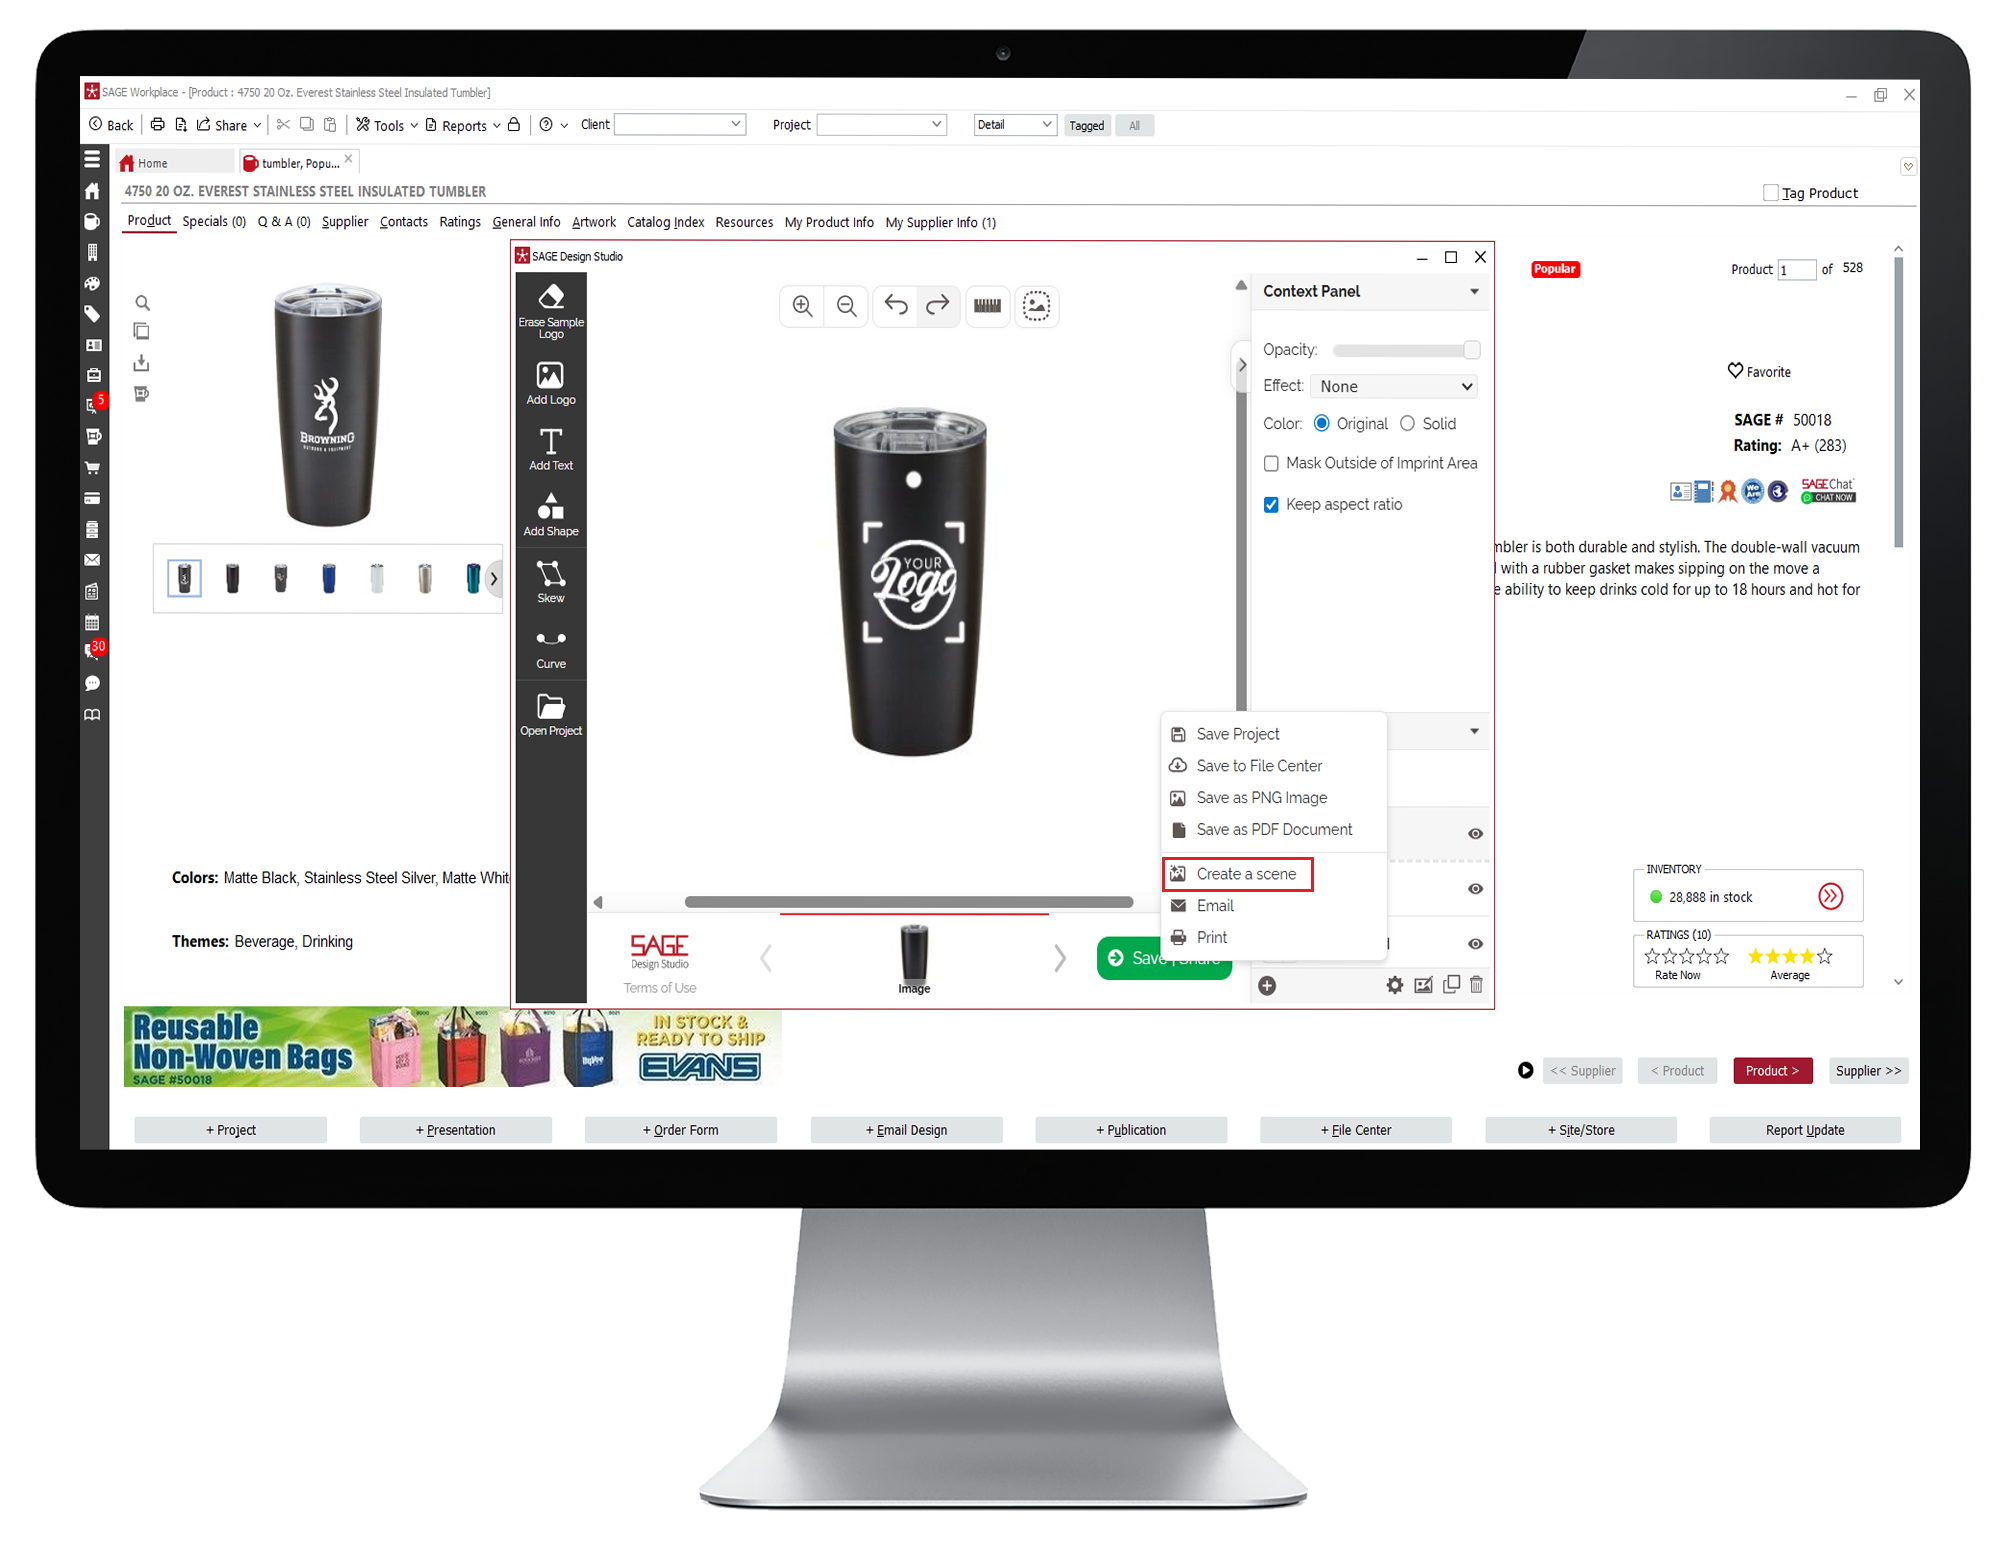
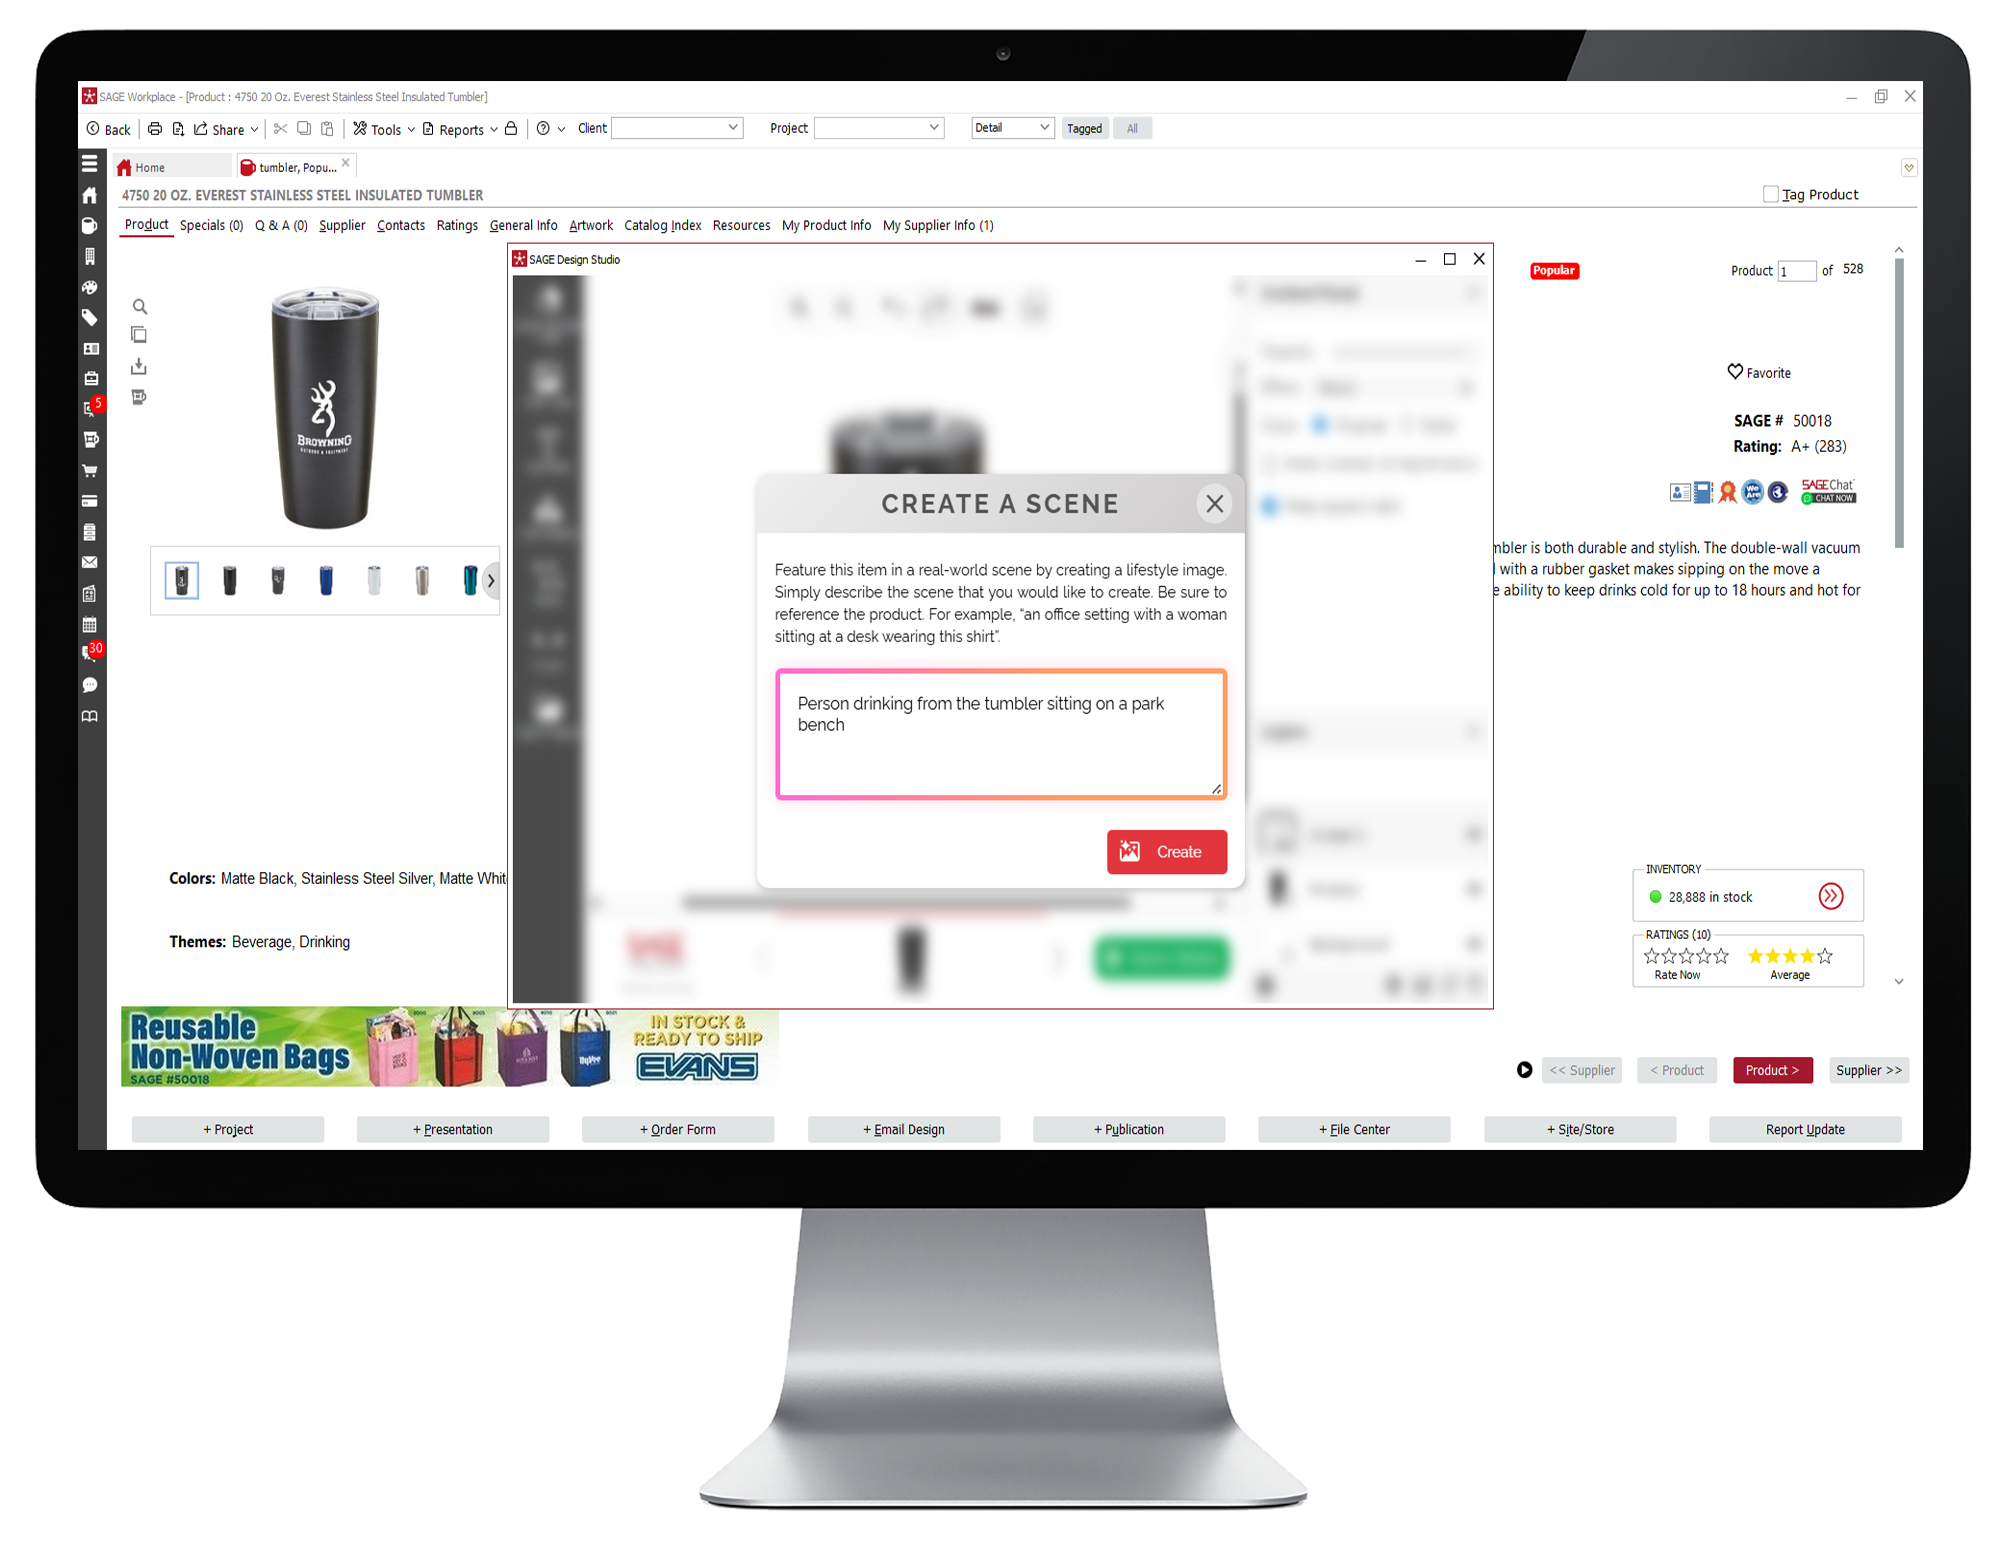
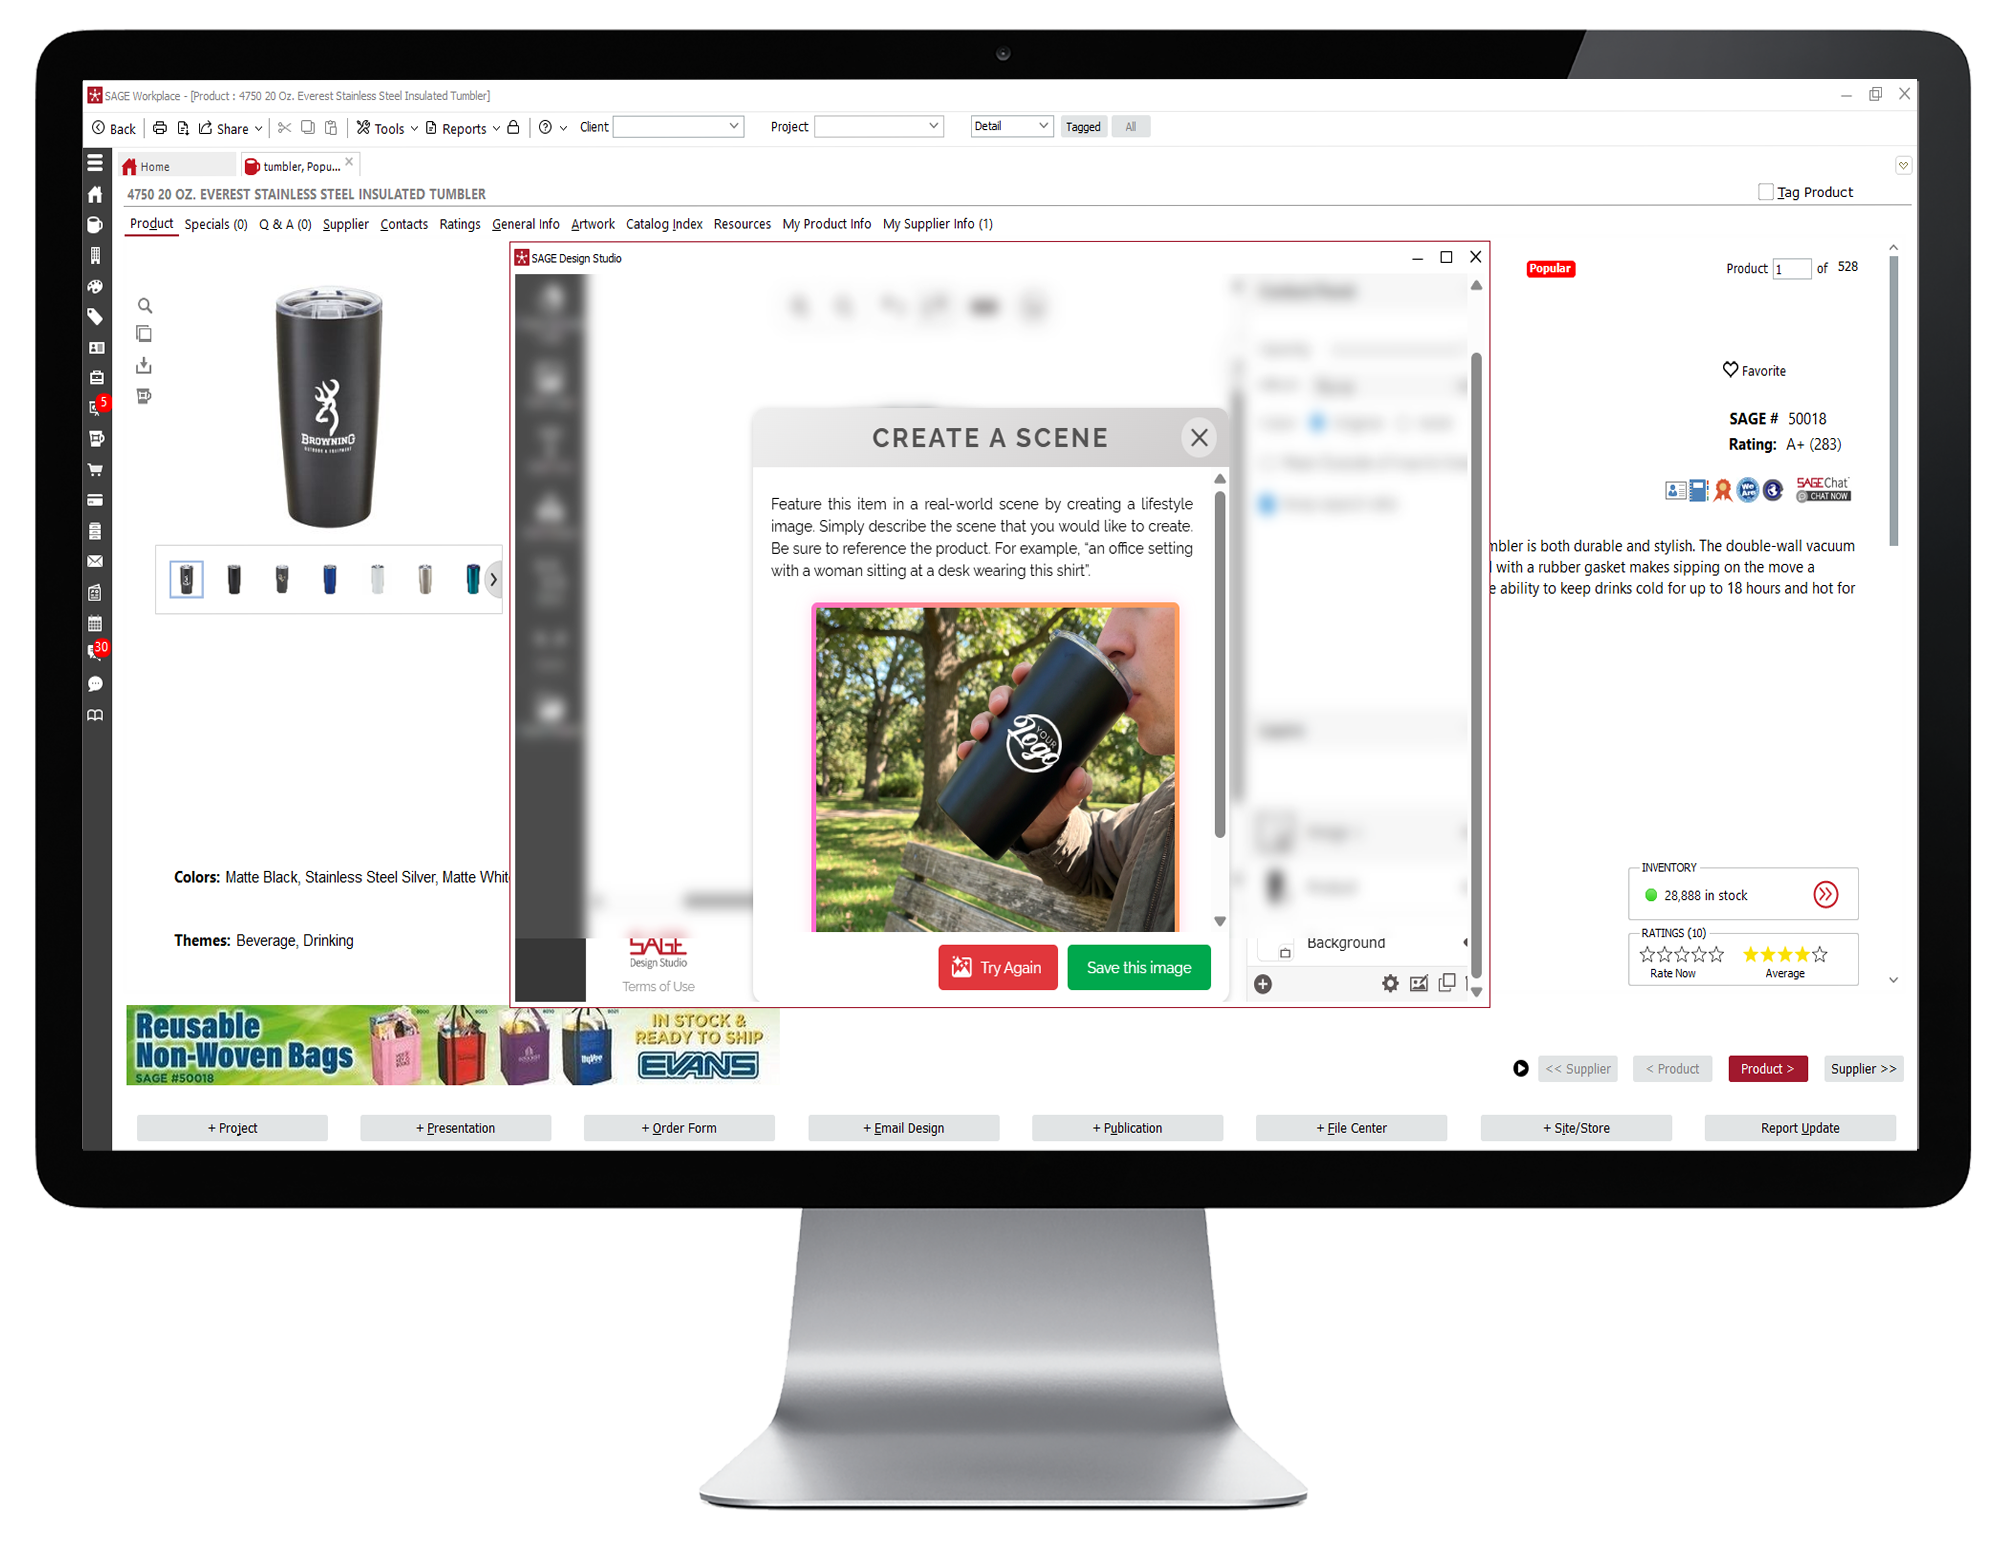
- Once you’re satisfied with your virtual sample, click on Save/Share. You can send the sample as an email, print it from your device, or save it as a PNG, PDF, save to the File Center or Projects area in SAGE Workplace, or create a scene.